7 Steps to Prepare a Scenic Outdoor Garden Bench Site
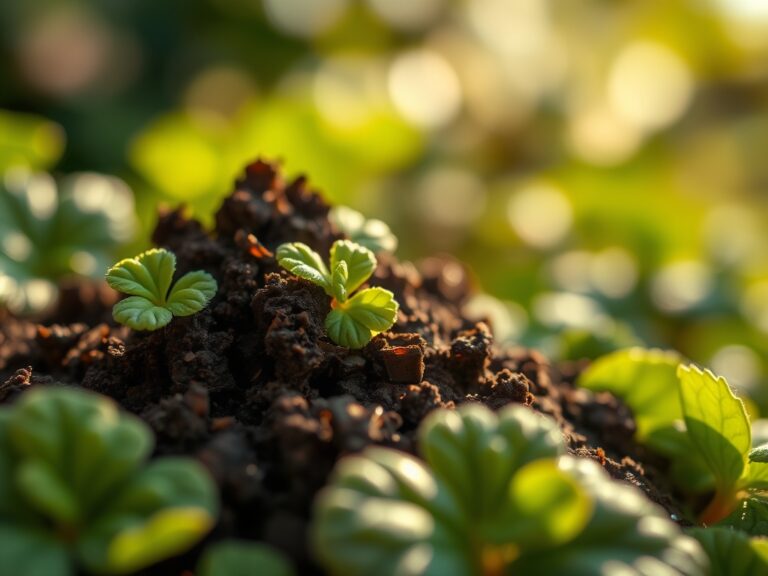
Crushed basalt and the smell of geosmin rising from damp earth signal a site ready for intervention. A healthy garden requires structural integrity where the rhizosphere meets the weight of human habitation. To understand how to prepare a site for a garden bench, one must first respect the soil mechanics and the turgor pressure of the surrounding flora. A bench is not merely furniture; it is a heavy object that exerts downward pressure, risking soil compaction and root asphyxiation for nearby woody perennials. Proper site preparation ensures that the underlying substrate maintains adequate drainage while preventing the settling that leads to structural failure. You must evaluate the Cation Exchange Capacity (CEC) of the area to ensure that the surrounding ornamental plants can still access nutrients despite the localized footprint of the bench. By removing turf and leveling the subsoil to a depth of six inches, you create a stable foundation that prevents anaerobic conditions. This process requires precision to protect the delicate balance of the garden ecosystem.
Materials:
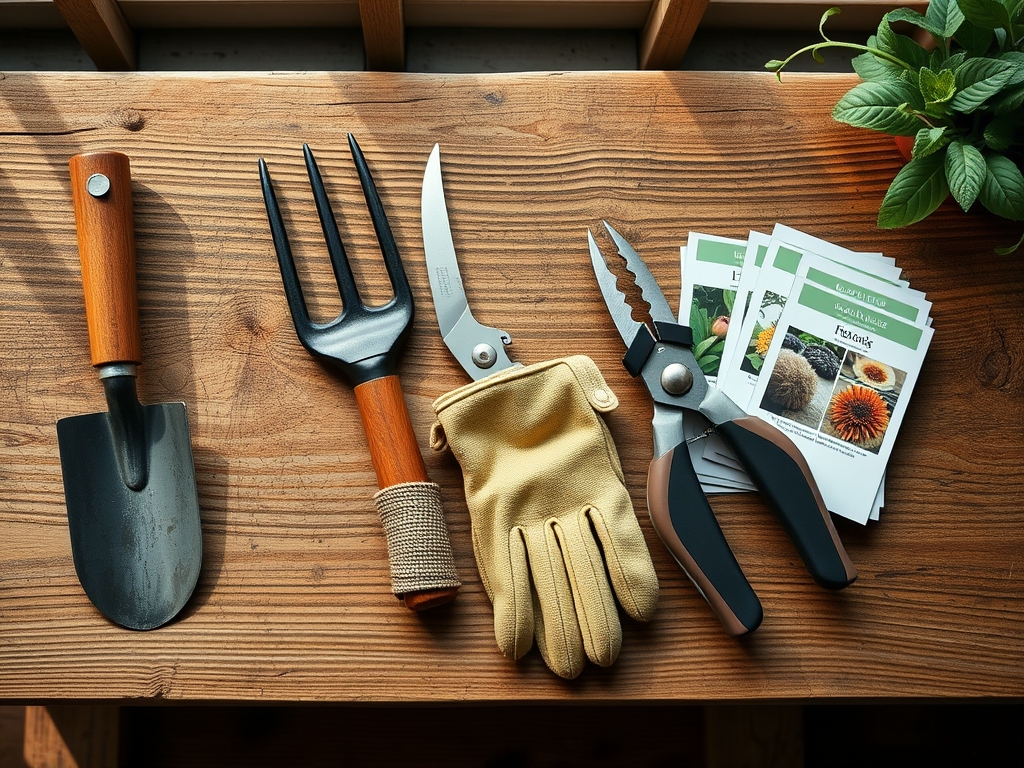
The ideal substrate for a garden bench site is a friable loam with a **pH between 6.0 and 7.0**. For the surrounding vegetation, integrate a slow-release fertilizer with an **NPK ratio of 10-10-10** to support root establishment. You will need **three cubic feet of 3/4-inch angular crushed stone** for the base layer. Unlike rounded pea gravel, angular stone interlocks to provide superior load-bearing capacity. Use a **geotextile weed barrier** with a flow rate of at least **10 gallons per minute per square foot** to allow vertical drainage while preventing the migration of fines into the subgrade. If the soil is heavy clay, incorporate **gypsum at a rate of 40 pounds per 1,000 square feet** to improve flocculation and increase pore space.
Timing:
In Hardiness Zones 4 through 8, site preparation should occur during the dormant season or early spring before the "Biological Clock" triggers the transition from vegetative to reproductive stages. Aim for a window at least three weeks before the average last frost date. This timing prevents excessive soil compaction, as frozen or saturated soil is highly susceptible to structural damage. Avoid construction when the photoperiod begins to lengthen significantly, as the increased metabolic activity in nearby plants makes them more sensitive to root disturbance. Performing the work while plants are in state of endodormancy minimizes the risk of transplant shock or auxin-driven growth suppression in adjacent shrubs.
Phases:
Sowing and Site Clearance
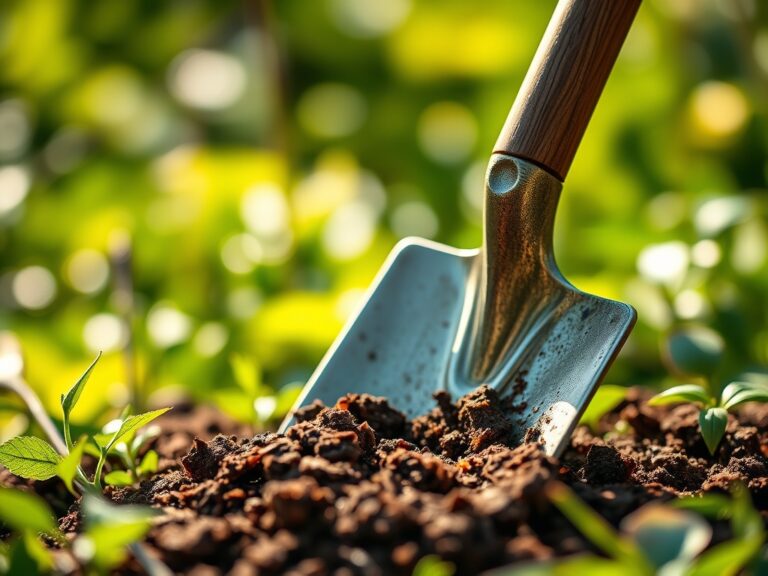
Remove all organic matter, including turf and leaf litter, from a 4-foot by 6-foot area. Dig to a depth of 8 inches. Ensure the floor of the excavation has a 2 percent slope away from nearby structures to prevent water pooling.
Pro-Tip: Removing the O-horizon (organic layer) prevents future subsidence. As organic matter undergoes senescence and decomposes, it loses volume; a mineral-based foundation prevents the bench from tilting over time.
Transplanting and Perimeter Planting
If moving plants to accommodate the bench, keep the root ball intact. Replant at the same depth as the previous location. Apply a mycorrhizal inoculant to the root zone to facilitate nutrient uptake.
Pro-Tip: Mycorrhizal symbiosis increases the effective root surface area by up to 1,000 times. This biological partnership is essential for plants recovering from the mechanical stress of site construction.
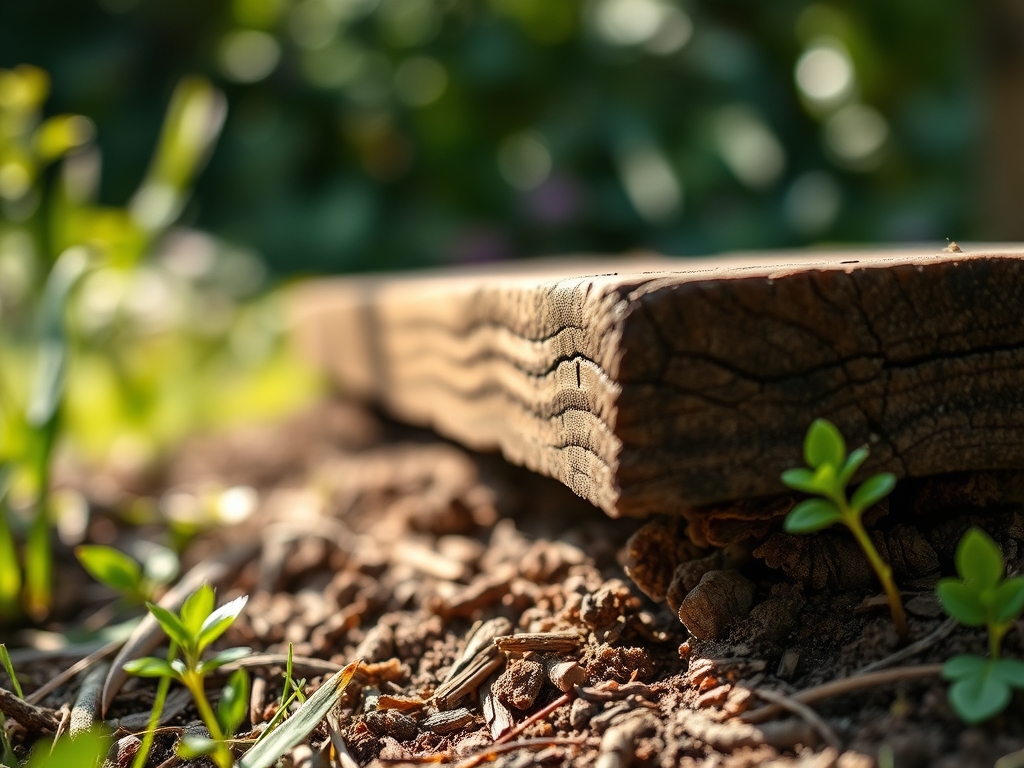
Establishing the Foundation
Fill the excavation with 4 inches of crushed stone, compacting it in 2-inch lifts using a hand tamper. Top with a 2-inch layer of stone dust or coarse sand for final leveling. Use a 4-foot carpenter's level to ensure the surface is true.
Pro-Tip: Proper compaction eliminates large macropores that lead to shifting. However, leaving the perimeter soil loose encourages lateral root growth and prevents the "bathtub effect" where water gathers in the compacted pit.
The Clinic:
Physiological disorders in nearby plants often manifest shortly after site preparation. Monitor for these specific symptoms:
- Nitrogen Chlorosis: Yellowing of older leaves while veins remain green. Fix-It: Apply a water-soluble fertilizer with a high N-value (20-10-10) to restore chlorophyll production.
- Anthocyanin Accumulation: Purpling of leaves, indicating Phosphorus deficiency or cold stress. Fix-It: Check soil temperature; if above 55 degrees Fahrenheit, apply bone meal to increase Phosphorus availability.
- Marginal Leaf Burn: Indicates salt accumulation or potassium deficiency. Fix-It: Flush the soil with 2 inches of water and apply potassium sulfate (0-0-50).
- Iron Chlorosis: Yellowing of new growth in high pH soils. Fix-It: Apply chelated iron and lower the pH using elemental sulfur at a rate of 5 pounds per 1,000 square feet.
Maintenance:
A bench site requires ongoing hydrological management. Ensure the surrounding plants receive 1.5 inches of water per week at the drip line, monitored by a soil moisture meter inserted 6 inches deep. Use a hori-hori knife to remove deep-rooted weeds that may penetrate the gravel base. Prune encroaching branches with bypass pruners using clean, 45-degree angle cuts to prevent water retention on the wound site. Inspect the level of the bench annually; if settling occurs, use a pry bar to lift the legs and shim with additional crushed stone to maintain structural equilibrium.
The Yield:
If the bench is situated near a cutting garden, harvest flowers when they reach the "tight bud" stage for maximum longevity. Use a sharp knife to cut stems at an angle, increasing the surface area for water uptake. For woody stems, such as lilac or hydrangea, crush the bottom inch of the stem to break the xylem fibers and enhance hydration. Place stems immediately into 110-degree Fahrenheit water with a pH-balanced floral preservative. This "hardening off" process ensures the plant material maintains turgor and freshness for up to 10 days post-harvest.
FAQ:
How deep should I dig for a garden bench base?
Dig to a minimum depth of 6 to 8 inches. This allows for 4 inches of compacted aggregate and 2 inches of leveling sand, providing a stable foundation that resists frost heave and soil subsidence.
What is the best material for a bench foundation?
Use 3/4-inch angular crushed stone. Unlike rounded gravel, angular edges lock together under pressure, creating a rigid surface that supports the bench weight without shifting or migrating into the surrounding soil.
How do I prevent weeds from growing under the bench?
Install a heavy-duty geotextile fabric between the subsoil and the gravel layer. This barrier prevents weed seeds from germinating in the soil while allowing water to pass through, maintaining proper site drainage.
Can I put a bench directly on the grass?
Placing a bench on turf leads to soil compaction and anaerobic conditions, killing the grass and causing the bench to sink. Always remove the sod and create a dedicated mineral-based pad for long-term stability.
How do I protect nearby tree roots during installation?
Avoid cutting any roots larger than 2 inches in diameter. If roots are encountered, hand-dig around them or slightly shift the bench location to prevent compromising the tree's structural integrity and nutrient transport system.