6 Steps to Prepare a Power Auger for Seasonal Storage
The scent of anaerobic decomposition in waterlogged clay signals the end of the primary growing season; it is the smell of microbial activity slowing as soil temperatures drop below 45 degrees Fahrenheit. For the serious horticulturist, this transition marks the shift from active cultivation to equipment preservation. Learning how to prepare a garden auger for storage is not merely a matter of tidiness; it is a critical protocol to prevent the oxidation of steel and the degradation of engine seals. A neglected auger accumulates rust that increases friction during the next spring's excavation, forcing the motor to work harder and potentially damaging the delicate rhizosphere of your dormant perennials. Proper winterization ensures that when the soil warms and the first signs of turgor pressure return to the local flora, your equipment is ready to penetrate the earth with surgical precision. Neglect leads to pitted metal and gummed carburetors. Mastery of this process preserves the tool's integrity and your garden's structural health.
Materials:
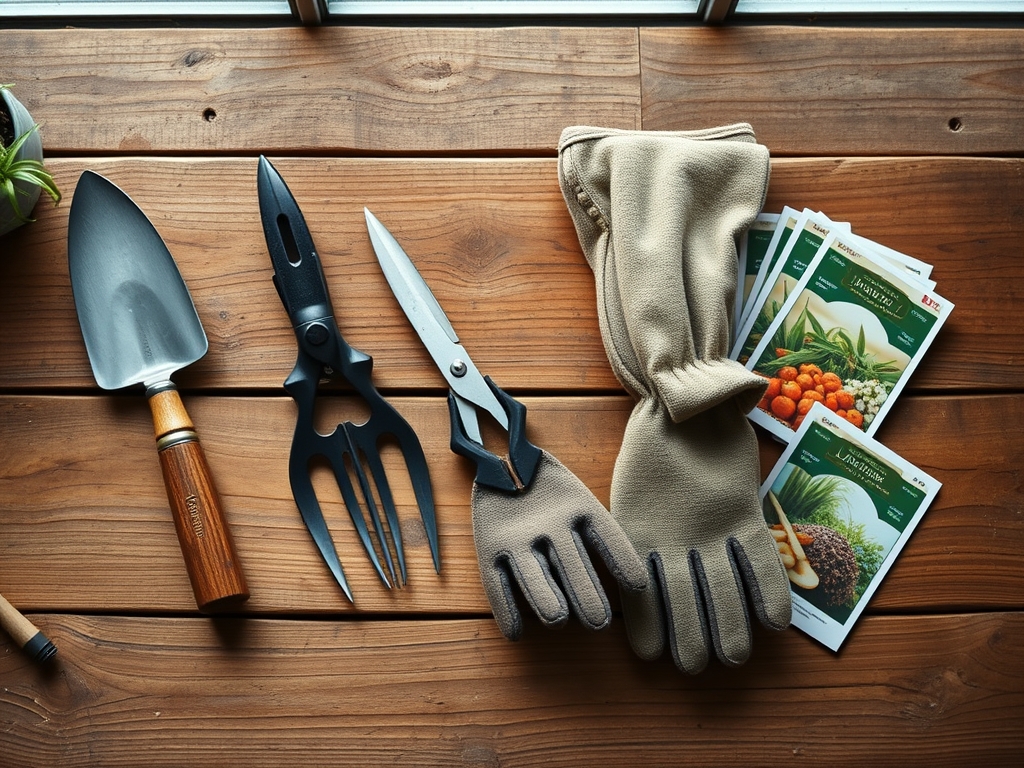
Preparing an auger requires a workspace free of contaminants. You will need a stiff wire brush, a solvent-based degreaser, and a high-grade lithium grease. For gasoline-powered units, procure a fuel stabilizer or a siphon for complete drainage. If you are working in a potting shed, ensure the floor is clear of **friable loam**; this ideal substrate, characterized by a balanced mix of sand, silt, and clay, should have a **pH between 6.0 and 7.0** for most garden applications. However, during storage, the presence of organic matter on your tools can trap moisture and lower the local pH, accelerating corrosion. Keep a supply of **10W-30 motor oil** for four-stroke engines and a clean rag saturated with a light machine oil to coat the flighting. If your soil has a high **Cation Exchange Capacity (CEC)**, it likely contains high clay content, which is particularly abrasive and acidic. This makes thorough cleaning mandatory to neutralize chemical reactions on the metal surface.
Timing:
The storage window is dictated by your local USDA Hardiness Zone. In Zones 3 through 5, the storage protocol must be completed by late October, before the first hard freeze locks the soil. In Zones 8 through 10, the window is more flexible, but storage should coincide with the plant's transition into senescence, when the biological clock shifts from the reproductive stage to dormancy. As the photoperiod shortens, the reduction in light triggers a hormonal shift in plants, moving sugars from the leaves to the root system. This is the exact moment to cease soil disturbance. Attempting to use an auger in frozen ground (below 32 degrees Fahrenheit) can snap the shear pins or strip the gearbox. Aim to have your equipment winterized at least two weeks prior to the historical first frost date in your region to avoid working in sub-freezing conditions that can cause plastic components to become brittle and crack.
Phases:

Sowing the Seeds of Maintenance
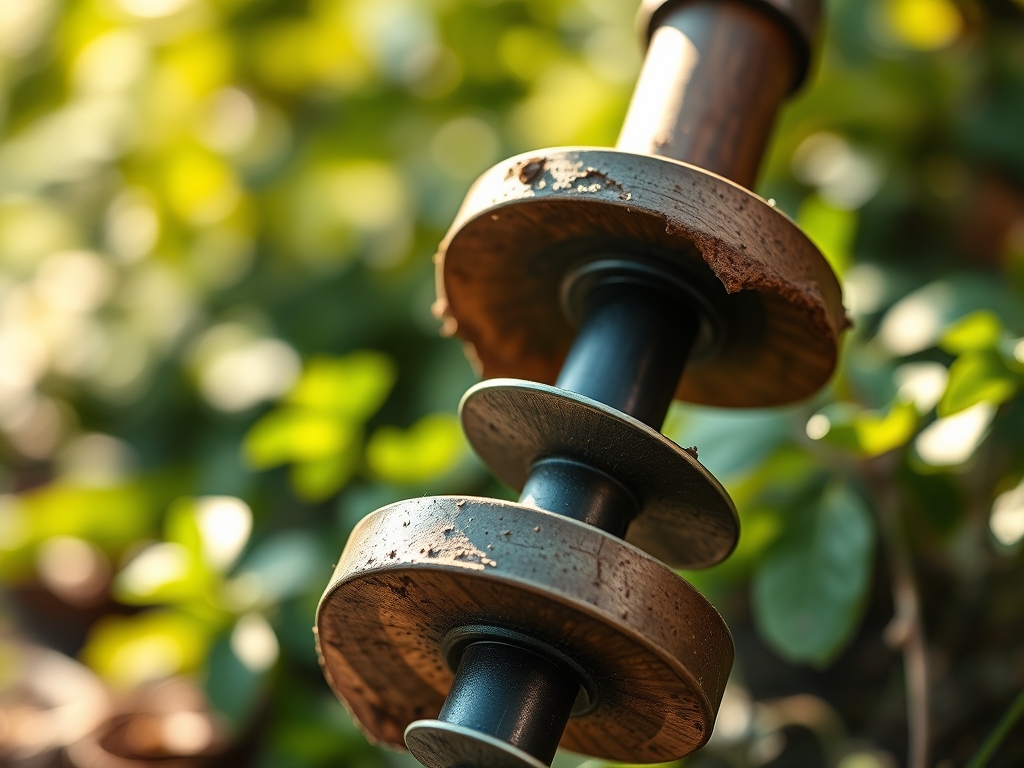
Begin by removing all macroscopic debris from the auger bit. Use a hori-hori knife to scrape away compacted earth from the pilot bit and the cutting edges. Once the heavy soil is removed, wash the bit with a solution of water and mild detergent to remove salts and residual fertilizers, particularly if you have been working in soils with high NPK ratios like 10-10-10. Dry the metal immediately with a microfiber cloth to prevent flash rusting.
Pro-Tip: Removing organic matter prevents the growth of anaerobic bacteria on the tool. This is vital because certain pathogens can survive on metal surfaces, leading to accidental inoculation of the rhizosphere during the next planting cycle.
Transplanting to the Storage Rack
For gas-powered augers, the fuel system is the most vulnerable component. Ethanol-blended fuels attract moisture, which leads to phase separation. Run the engine until the carburetor is dry or add a fuel stabilizer and run the motor for five minutes to ensure the treated fuel reaches the internal jets. For electric models, remove the lithium-ion battery and store it in a climate-controlled environment between 50 and 70 degrees Fahrenheit.
Pro-Tip: Storing batteries in moderate temperatures prevents the degradation of the electrolyte solution. Extreme cold slows ion movement, while extreme heat can trigger a permanent loss of capacity through internal chemical stress.
Establishing a Protective Barrier
Apply a thin, even coat of protective oil to the entire length of the auger flighting. Check the gearbox oil level; if the oil appears milky, it indicates water infiltration and must be replaced with 80W-90 gear luster. Inspect the spark plug for carbon buildup or "fouling." A healthy plug should have a light tan or gray color. If it is black and oily, the engine is running too "rich," or there is an issue with the oil-to-fuel mix in two-stroke models.
Pro-Tip: Oiling the metal creates a hydrophobic barrier that prevents oxygen from reaching the iron molecules. This stops the electrochemical reaction of oxidation, which is otherwise accelerated by the high humidity found in most garden sheds.
The Clinic:
Even with careful use, augers and the plants they help install can suffer from "symptoms" that require a scientific fix.
- Symptom: Excessive Vibration during use.
- Solution: Inspect the pilot bit for bends or the flighting for warping. A deviation of even 3 millimeters can cause significant centrifugal imbalance, leading to gearbox failure.
- Symptom: Engine bogs down in heavy clay.
- Solution: This often indicates a dull cutting edge. Use a flat file to sharpen the leading edge of the auger at a 45-degree angle to restore its ability to shear through root masses.
- Symptom: Nitrogen Chlorosis (Yellowing of older leaves in the garden).
- Fix-It: This is a nutrient deficiency, not a tool issue, but often occurs in holes dug with a dull auger that "glazed" the sides of the hole. Use a soil moisture meter to check for drainage issues and apply a high-nitrogen fertilizer (e.g., 21-0-0 ammonium sulfate) to restore chlorophyll production.
- Symptom: Surface Rust on Flighting.
- Solution: Use a 0000 steel wool pad soaked in penetrating oil to buff away oxidation. If the pitting is deeper than 0.5 millimeters, the structural integrity of the steel may be compromised.
Maintenance:
Post-storage, your garden still requires precision. Monitor your perennials using a soil moisture meter to ensure they receive at least 1.5 inches of water per week at the drip line during dry winters. When spring arrives, use bypass pruners to remove any winter-killed wood before you begin new excavations. Always check the tension of the auger's mounting bolts; they should be torqued to the manufacturer's specification, typically measured in foot-pounds, to ensure the bit does not detach during high-torque operations in compacted subsoil.
The Yield:
While an auger is a tool for preparation, its "yield" is measured in the success of the plants it helps install. For spring-flowering bulbs planted in the fall, timing is everything. Harvest flowers when the buds show "true color" but before the petals fully unfurl. Use a sharp knife to cut stems at a 45-degree angle to maximize the surface area for water uptake, maintaining turgor pressure and ensuring "day-one" freshness for up to ten days in a cool environment.
FAQ:
Should I drain the gas or use a stabilizer?
Drain the tank for storage exceeding six months. For shorter durations, use a high-quality stabilizer. Ethanol-free fuel is preferred to prevent the degradation of rubber fuel lines and carburetor diaphragms over the winter.
How do I prevent the auger bit from rusting?
Clean the bit with a wire brush to remove all soil. Apply a thin layer of machine oil or silicone spray over the entire surface. Store the bit vertically in a dry area to prevent moisture pooling.
Can I store my auger in an unheated shed?
Yes, provided the fuel system is stabilized and the metal is oiled. However, lithium-ion batteries must be removed and stored indoors, as sub-freezing temperatures can permanently damage the battery's ability to hold a charge.
Why is my auger bit getting stuck in the ground?
This is often caused by "glazing" in high-clay soils or a dull pilot bit. Ensure the cutting edges are sharp. If the soil is too dry, it may lack the lubrication needed for the flighting to eject spoils.