7 Steps to Install a Heavy-Duty Outdoor Garden Gate
Crushing a handful of friable loam reveals the structural integrity of your rhizosphere; if the soil holds its shape but crumbles under slight pressure, the moisture levels are optimal for heavy construction. A garden gate is more than a boundary. It is a structural anchor that must withstand the lateral forces of wind and the constant gravitational pull on its hinges. Mastering the steps for installing a garden gate requires a deep understanding of soil mechanics and mechanical leverage to ensure the gate does not sag or impede the turgor pressure of nearby specimen plants. Proper installation prevents soil compaction around the root zones of peripheral perennials while providing a secure entry point for high-traffic horticultural maintenance.
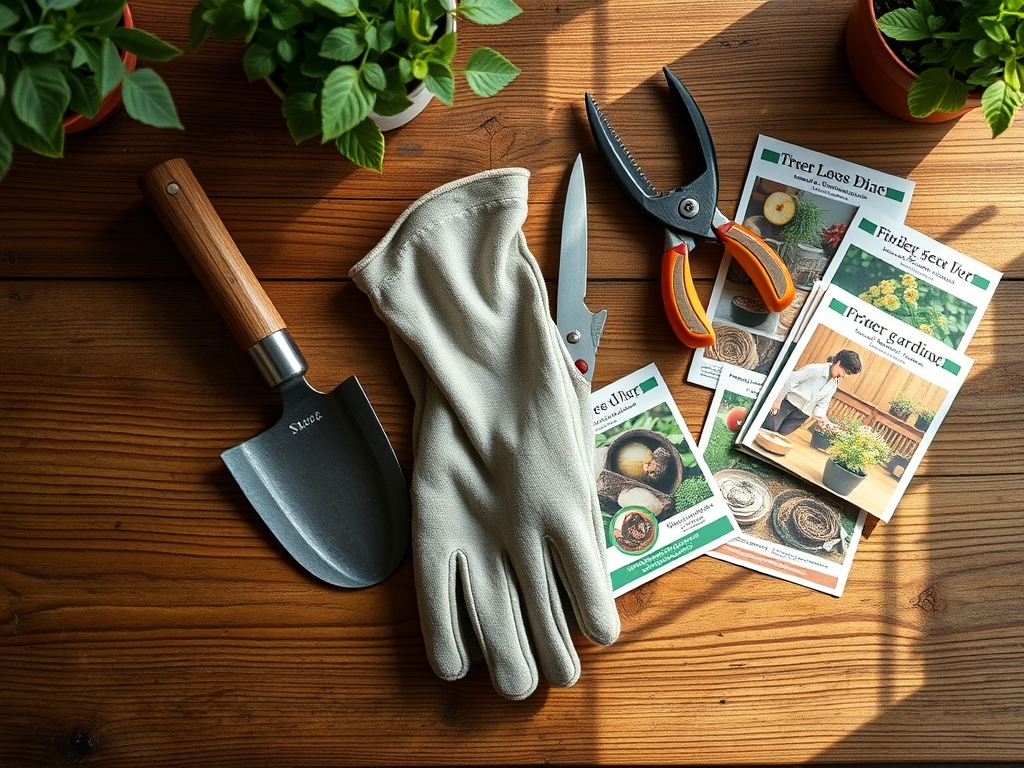
Materials:
Structural stability begins with the substrate. For a heavy-duty gate, the soil must be a **friable loam** with a high Cation Exchange Capacity (CEC) to ensure that any concrete footings do not leach excess calcium into the surrounding root zones. Maintain a **soil pH between 6.2 and 6.8** to prevent the corrosion of galvanized steel hardware. If the soil is heavy clay, incorporate coarse sand to improve drainage and prevent frost heave.
Specific nutrient profiles are required for the "living" components of the gateway. Use a 10-10-10 NPK ratio for general establishment of surrounding turf. If planting climbing woody vines like Clematis near the posts, ensure a 5-10-10 NPK ratio to prioritize root development and lignification over excessive vegetative growth. High nitrogen levels can lead to soft, succulent tissue that is susceptible to mechanical damage during gate operation.
Timing:
Installation should occur during the dormant season or early spring, specifically in Hardiness Zones 4 through 8, to minimize stress on the surrounding flora. The ideal window is after the first hard frost but before the ground freezes solid; or in spring, once the soil temperature reaches a consistent 50 degrees Fahrenheit.
The biological clock of the garden dictates that structural work be completed before the transition from the vegetative stage to the reproductive stage. Disrupting the soil during peak flowering can cause premature senescence due to root disturbance. Aim for a period of low transpiration to ensure that any peripheral plants moved during the steps for installing a garden gate can recover without losing turgor pressure.
Phases:

Sowing the Foundation
Excavate post holes to a depth of at least one-third the height of the post, plus an additional 6 inches for a gravel drainage base. In colder climates, the hole must extend below the frost line, typically 30 to 48 inches deep. A diameter of 12 inches provides sufficient volume for a concrete collar.
Pro-Tip: Use a gravel base to prevent "wet feet" for the wooden posts. This facilitates drainage and prevents anaerobic conditions that lead to fungal decay. This is critical because fungal hyphae can migrate from rotting wood into the rhizosphere of nearby healthy plants.
Transplanting the Hardware
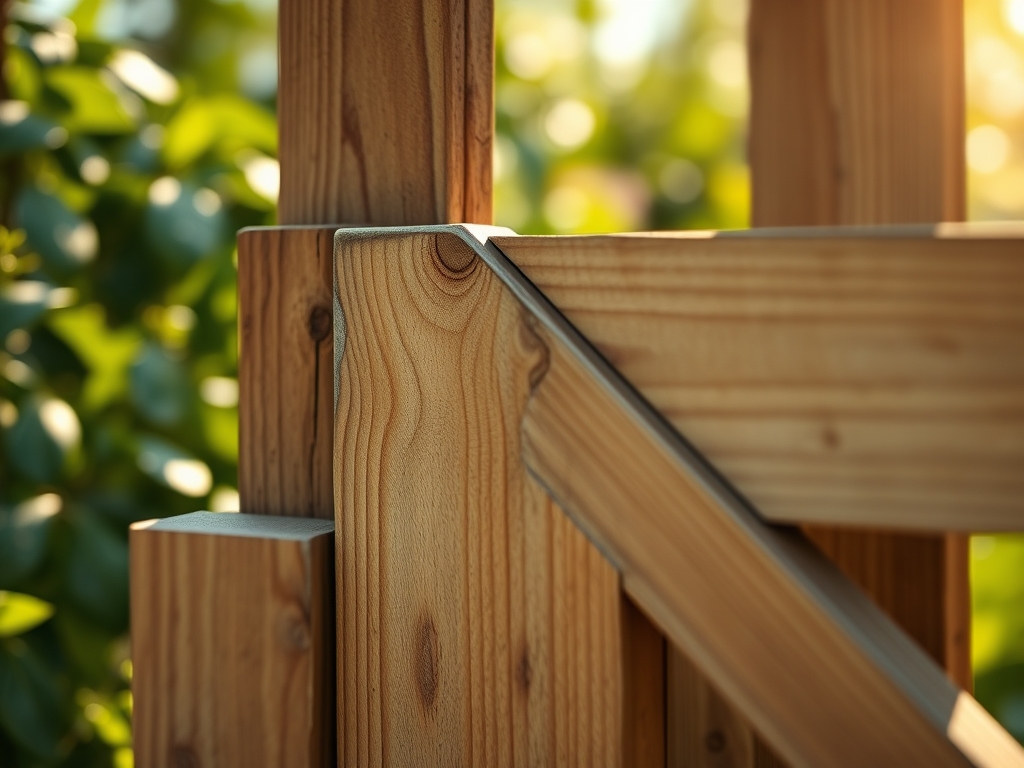
Align the gate posts using a spirit level. Ensure they are perfectly plumb. For heavy-duty gates, use 6×6 pressure-treated timber or galvanized steel. Secure the hinges using 3-inch stainless steel lag bolts. The gap between the post and the gate should be approximately 1/2 inch to allow for the natural expansion and contraction of wood fibers.
Pro-Tip: Coat the hardware in a zinc-rich primer. This prevents the oxidation of metal, which can leach heavy metals into the soil. Excessive metal ions interfere with cation exchange, preventing plants from absorbing essential micronutrients like iron and magnesium.
Establishing the Swing
Hang the gate and check for "swing-clear" clearance. The bottom of the gate must sit at least 2 to 3 inches above the grade to allow for airflow and to prevent the scraping of the soil surface. A scraping gate compacts the soil, destroying the macropores necessary for oxygen to reach the roots of groundcover plants.
Pro-Tip: Install a "gate wheel" or a diagonal tension cable for gates wider than 4 feet. This counters the force of gravity and prevents the "sag" that results from auxin suppression on the shaded side of wooden posts, which can cause uneven cellular expansion and warping over time.
The Clinic:
Physiological disorders in the garden often manifest after structural changes. Monitor the area for these symptoms:
- Nitrogen Chlorosis: Yellowing of older leaves near the gate posts. This suggests the concrete footings are leaching lime, raising the pH and locking out nitrogen. Fix-It: Apply elemental sulfur to lower the pH.
- Mechanical Desiccation: Leaves near the gate path appear scorched or brittle. This is caused by wind tunnels created by the gate structure. Fix-It: Increase irrigation by 0.5 inches per week for affected plants.
- Soil Compaction: Stunted growth and water pooling near the entrance. Fix-It: Use a hori-hori knife to aerate the soil in a 3-foot radius around the gate.
Maintenance:
A heavy-duty gate requires seasonal calibration. Check the torque on all bolts every six months. Use bypass pruners to maintain a 12-inch clearance between the gate and any woody shrubs. This prevents mechanical abrasion of the plant cuticle, which serves as the first line of defense against pathogens.
Irrigation management is vital. Ensure the gate area receives 1.5 inches of water per week at the drip line of surrounding plants. Use a soil moisture meter to verify that the concrete footings are not absorbing all available moisture from the surrounding substrate. If the meter reads below 30% volumetric water content, increase the duration of your irrigation cycle.
The Yield:
While a gate does not produce a harvest, it protects the yield of the entire garden. By excluding large herbivores, you ensure that the photoperiod sensitive crops reach full maturity. For flowers, a secure gate prevents the physical breaking of stems, preserving the vascular system's ability to transport carbohydrates to the developing blooms. To maintain "day-one" freshness for the entire garden, the gate must operate silently and smoothly, preventing vibrations that can trigger thigmonastic responses in sensitive species.
FAQ:
How deep should gate posts be buried?
Posts must be buried at least one-third of their total length. In regions with deep freezes, the base must sit 6 inches below the frost line to prevent heaving. This typically requires a depth of 36 to 48 inches.
What is the best wood for a garden gate?
Use Western Red Cedar or Black Locust for natural rot resistance. These species contain high concentrations of tannins and oils that resist fungal decay without the need for heavy chemical treatments that might alter the soil pH.
How do I prevent my garden gate from sagging?
Install a diagonal cross-brace running from the bottom hinge to the top outer corner. This creates a triangle, the strongest geometric shape, which transfers the weight of the gate back to the load-bearing hinge post.
Can I install a gate near a large tree?
Avoid digging within the Drip Line of established trees. Severing major lateral roots can reduce the tree's ability to maintain turgor pressure and may lead to structural instability or the introduction of soil-borne pathogens.