6 Steps to Prepare a Secure Outdoor Statue Site
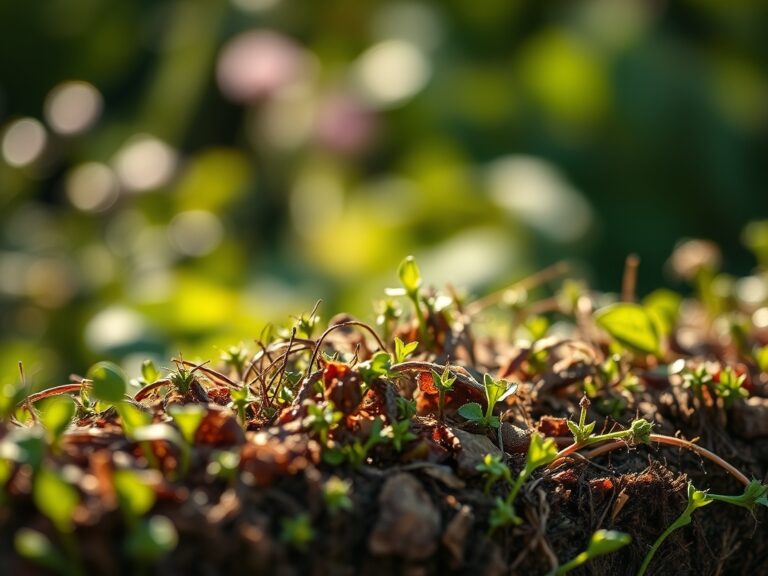
The smell of damp, anaerobic clay often signals a site that will fail to support a heavy load; the lack of pore space prevents drainage and invites structural subsidence. To avoid the slow tilt of a stone figure into the muck, you must understand the turgor of the surrounding flora and the load-bearing capacity of the soil. Learning how to prepare a site for a garden statue requires more than a shovel. It demands an analysis of soil mechanics, moisture migration, and the botanical health of the immediate rhizosphere. A statue placed without a stable foundation will eventually compress the soil, crushing the delicate mycelial networks and roots that maintain the earth's structural integrity.
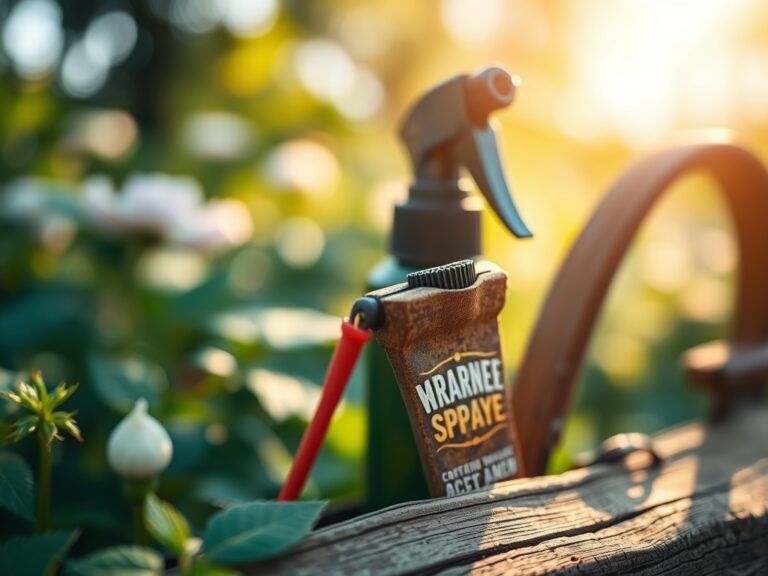
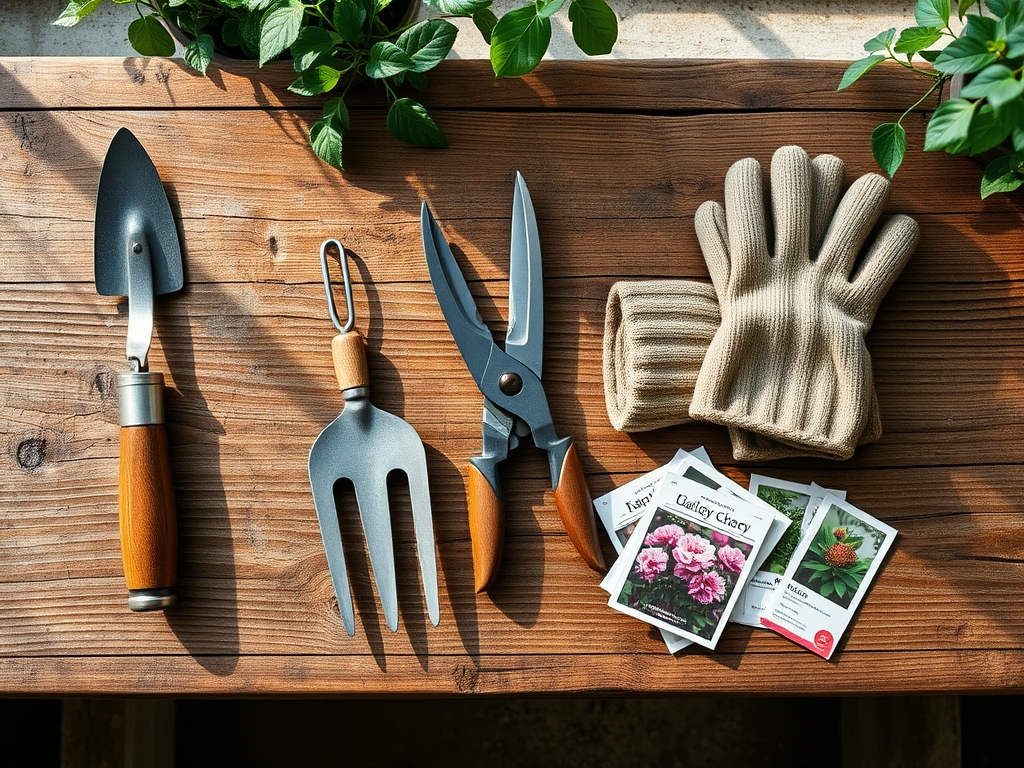
Materials:
Before disturbing the earth, assess the substrate. The ideal environment is a **friable loam** with a balanced **Cation Exchange Capacity (CEC)**, typically ranging from **15 to 25 meq/100g**. This indicates the soil’s ability to hold nutrients and resist drastic pH shifts. For the surrounding vegetation, aim for a **pH of 6.2 to 6.8**.
You will need crushed limestone (3/4-inch minus) for the sub-base, which provides excellent compaction and drainage. If you are planting around the base, incorporate a slow-release fertilizer with an NPK ratio of 5-10-5 to encourage root development without overstimulating nitrogen-heavy foliar growth. Avoid high-nitrogen blends like 20-10-10 near the statue; excessive vegetative growth can trap moisture against the stone, leading to lichen colonization and premature weathering.
Timing:
The installation window is dictated by the frost line and the biological clock of your local flora. In Hardiness Zones 4 through 7, site preparation should occur at least three weeks after the last spring frost. This allows the soil to reach a consistent temperature of 55 degrees Fahrenheit (13 degrees Celsius), ensuring that any displaced soil microbes can recolonize the area effectively.
Avoid heavy construction during the transition from vegetative to reproductive stages in nearby perennials. During the "bolting" or flowering phase, plants divert energy from root repair to seed production. If you disturb the root zone during this high-energy expenditure period, you risk senescence, the biological aging and death of plant tissues. Aim for early spring or late autumn when the metabolic rate of the soil is lower.
Phases:

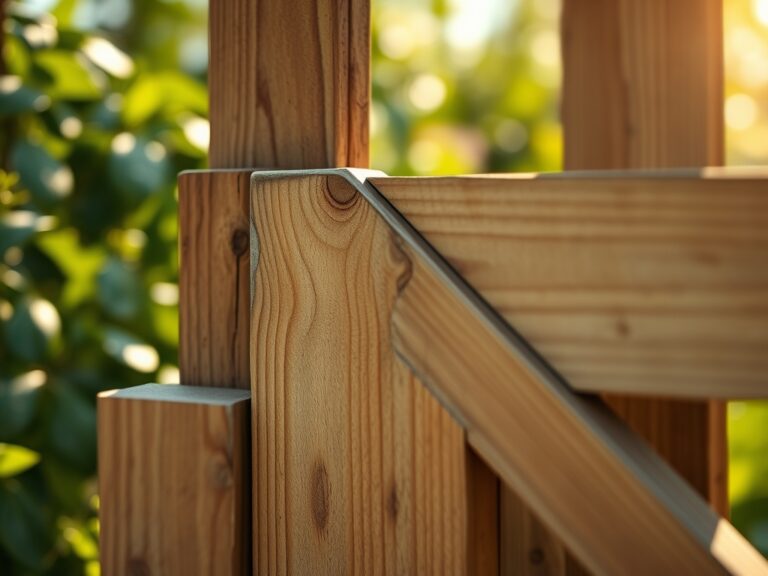
Sowing the Foundation
Excavate the site to a depth of 8 to 12 inches, depending on the statue's weight. The footprint of the hole should be 4 inches wider than the base of the object on all sides. Line the bottom with a geotextile fabric to prevent the mixing of the native soil and the aggregate base. Fill with 6 inches of crushed stone and compact it using a hand tamper until the surface is level and immovable.
Pro-Tip: Proper compaction prevents soil subsidence, which occurs when air pockets collapse under weight. By removing these voids, you maintain a consistent bulk density, ensuring the statue does not shift and sever the nearby mycorrhizal symbiosis that connects your plants' root systems.
Transplanting Peripheral Flora
Once the base is set, install any surrounding plants. Dig holes twice as wide as the root ball but no deeper. Ensure the root flare is visible at the soil surface. Backfill with the native soil amended with 10 percent organic compost to improve water retention without compromising the structural integrity of the statue's base.
Pro-Tip: When positioning plants, account for phototropism. Plants will naturally grow toward the light source. If you place a tall statue to the south of a sun-loving plant, the plant will lean away from the statue to maximize light interception, eventually destabilizing the soil near your foundation.
Establishing the Microclimate
After the statue is placed, apply a 2-inch layer of organic mulch around the perimeter. Keep the mulch 3 inches away from the statue base to prevent moisture wicking. Water the area thoroughly to settle the soil and eliminate remaining air pockets around the new transplants.
Pro-Tip: Maintaining consistent moisture levels prevents auxin suppression. Auxins are hormones that regulate plant growth; when a plant is stressed by erratic water levels near a new hardscape feature, auxin flow is disrupted, leading to stunted growth and poor establishment.
The Clinic:
Statue installation often alters the local drainage and light patterns, leading to physiological disorders in nearby plants.
Symptom: Yellowing of older leaves while veins remain green.
Solution: This is Magnesium deficiency. The heavy aggregate used for the statue base may have leached lime, raising the pH and locking out Magnesium. Apply Epsom salts (Magnesium Sulfate) at a rate of 1 tablespoon per foot of plant height.
Symptom: Wilting despite moist soil.
Solution: Root suffocation caused by soil compaction during installation. The lack of oxygen in the rhizosphere prevents water uptake. Use a soil probe to aerate the area around the statue base to a depth of 6 inches.
Symptom: Pale green or yellow foliage across the entire plant.
Solution: Nitrogen chlorosis. The carbon-heavy mulch used for finishing may be "robbing" nitrogen from the soil as it breaks down. Apply a liquid fish emulsion with a 5-1-1 NPK ratio for a rapid nitrogen boost.
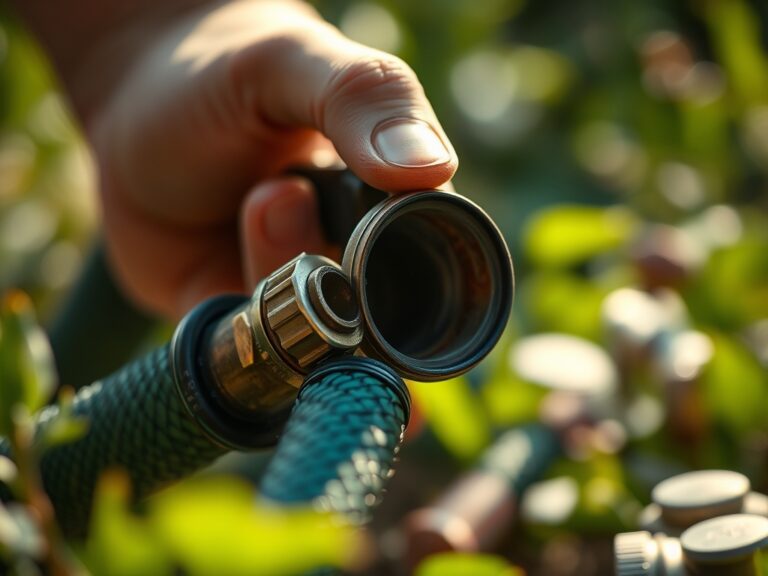
Maintenance:
A secure site requires ongoing monitoring. Use a soil moisture meter to ensure the area receives exactly 1.5 inches of water per week at the drip line. Over-watering can cause the soil to lose its load-bearing capacity, leading to "leaning" statues.
Use a hori-hori knife to remove weeds by the root, preventing them from undermining the gravel base. Every spring, check the level of the statue. If it has shifted by more than 0.5 degrees, use a pry bar to lift the low side and tuck in additional crushed limestone. Prune overhanging branches with bypass pruners to prevent "drip lines" from eroding the soil or staining the statue with tannins.
The Yield:
If your statue site is surrounded by cut flowers like Paeonia or Lavandula, harvest when the first two florets have opened. Use a sharp, sterilized blade to cut at a 45-degree angle. For "day-one" freshness, immediately plunge the stems into 110-degree Fahrenheit water and move them to a cool, dark location for two hours. This "hardening off" process maximizes turgor pressure and extends the vase life of the botanical display.
FAQ:
How deep should the base be for a heavy statue?
Excavate at least 8 to 12 inches. Fill with 6 inches of compacted 3/4-inch minus gravel. This depth prevents frost heave and ensures the weight is distributed across a stable, non-shifting substrate.
Can I put a statue directly on the grass?
No. Direct contact causes anaerobic conditions, killing the turf and causing the statue to sink. The lack of drainage leads to structural instability and potential damage to the statue's base through constant moisture contact.
What is the best soil for surrounding plants?
Use a friable loam with a pH of 6.5. Ensure the Cation Exchange Capacity is high enough to retain nutrients. Avoid heavy clay, which retains too much water and can destabilize the statue's foundation over time.
How do I prevent the statue from leaning over time?
Ensure the sub-base is mechanically compacted. Use a geotextile fabric between the soil and the gravel to prevent "fines" from migrating, which maintains the structural integrity and prevents the base from settling unevenly.