6 Steps to Install a Stone Garden Water Feature
The scent of damp, disturbed earth signals the beginning of a structural shift in the landscape. When the soil reaches a specific moisture level where it crumbles under slight pressure rather than smearing, the turgor of nearby foliage remains high and the rhizosphere is active. This is the optimal moment to execute the steps for installing a garden fountain. A stone water feature is not merely an aesthetic addition; it is a thermal regulator for the immediate microclimate. Water has a high specific heat capacity, meaning it absorbs and releases heat slowly, which can buffer sensitive plants against sudden temperature fluctuations. Integrating a fountain requires precise excavation and an understanding of soil compaction to ensure the feature remains level as the ground settles. Success depends on the intersection of hydraulic engineering and horticultural science. You must account for the weight of the stone, the volume of the reservoir, and the proximity to root systems that may be impacted by soil displacement. This guide provides the technical framework to install a permanent, functional water element while maintaining the biological integrity of the surrounding garden.
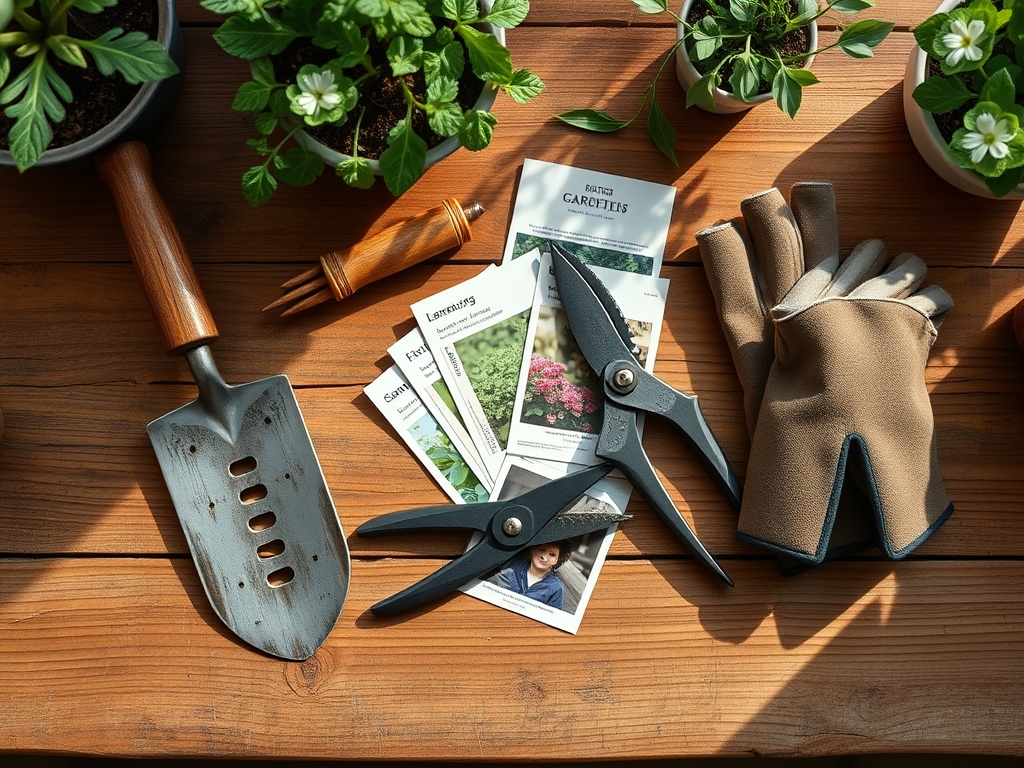
Materials:
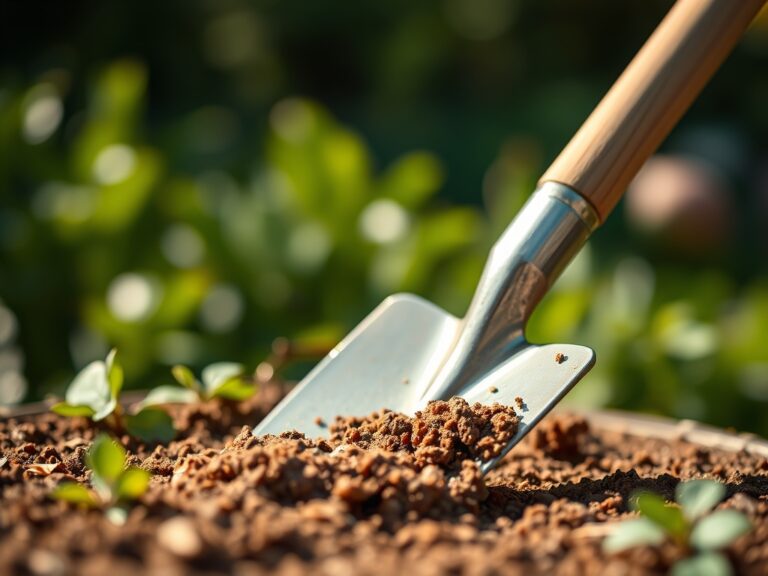
The foundation of any stone feature begins with the substrate. You must assess the soil Cation Exchange Capacity (CEC) and pH before disturbing the site. For a garden dominated by acid-loving species, ensure the stone selected is non-calcareous to prevent leaching that could raise the pH above **6.5**. The ideal surrounding soil is a **friable loam** with a composition of **40 percent sand, 40 percent silt, and 20 percent clay**.
If the installation disturbs the root zones of nearby heavy feeders, supplement the area with a slow-release fertilizer featuring an NPK ratio of 10-10-10 to support cellular repair. For flowering perennials near the splash zone, a ratio of 5-10-5 promotes root development over excessive vegetative growth. You will also require a heavy-duty pond liner or pre-formed basin, a submersible pump rated for at least 300 gallons per hour (GPH), and three-quarter inch PVC or flexible tubing. Use a base of crushed limestone or leveled sand at a depth of 4 inches to provide a stable, well-draining foundation that prevents frost heave.
Timing:
Installation should occur during the dormant season or early spring when the "Biological Clock" of the garden is in a vegetative lag. In Hardiness Zones 5 through 7, the window opens once the ground thaws but before the first flush of spring growth. This timing avoids disrupting the transition from vegetative to reproductive stages in nearby plants. Specifically, aim for a period when soil temperatures are consistently between 45 and 55 degrees Fahrenheit.
Executing the steps for installing a garden fountain during peak summer is discouraged because the high transpiration rates of surrounding plants make them susceptible to transplant shock if their roots are disturbed. By installing during the cooler months, you ensure that any necessary root pruning occurs when auxin levels are low, allowing the plant to focus energy on wound compartmentalization rather than foliage production.
Phases:

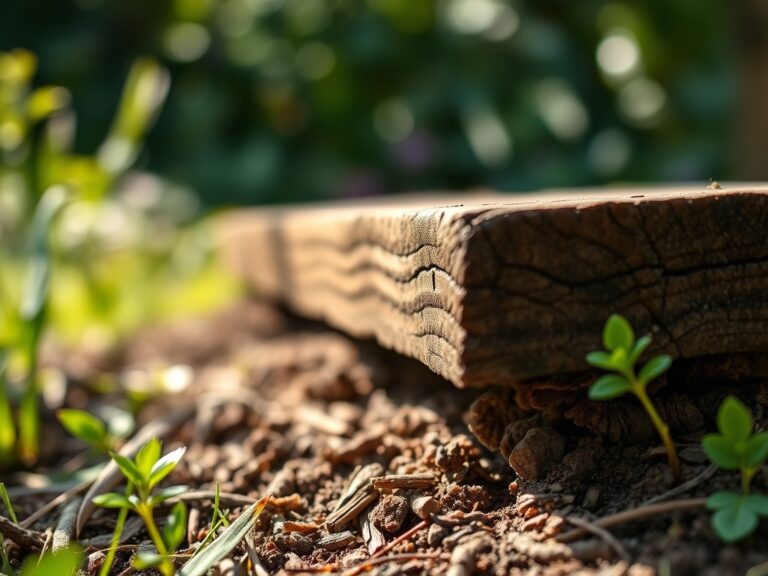
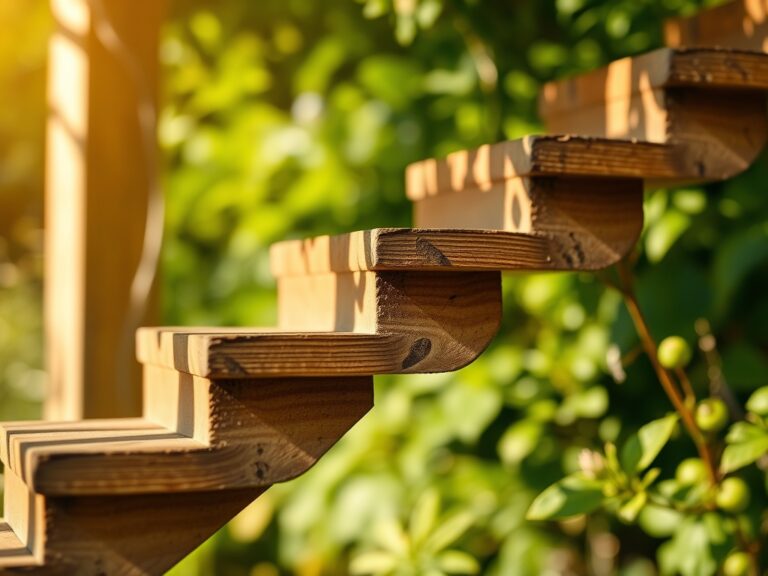
Sowing the Foundation
Excavate a pit 2 inches wider and 4 inches deeper than your reservoir. The walls must be vertical to prevent soil slumping. Level the bottom using a spirit level; even a 1 percent slope can cause uneven water distribution and pump cavitation. Fill the base with 3 inches of compacted sand.
Pro-Tip: Proper compaction prevents air pockets in the substrate. This is vital because localized anaerobic conditions can trigger root rot (Phytophthora) in nearby plants if water seeps into the surrounding rhizosphere and displaces oxygen.
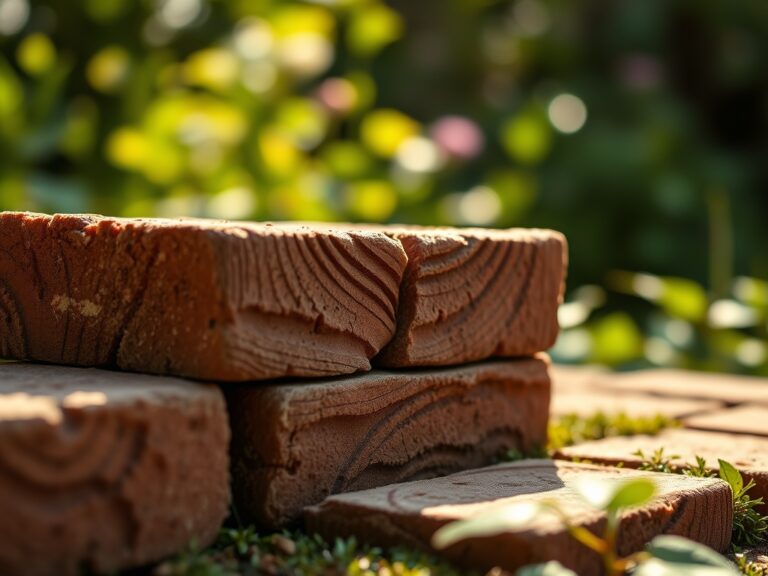
Transplanting the Stone
Lower the reservoir into the pit and backfill with the excavated friable loam. Place the pump in the center and route the power cord through a protective conduit. Stack your stones, starting with the largest "anchor" stone. Ensure the stones are scrubbed clean of organic debris to prevent the introduction of pathogens into the water system.
Pro-Tip: Use a stone adhesive for vertical stacks to prevent shifting. This stability is crucial for phototropism management; if the fountain leans and redirects water flow onto nearby foliage, the constant moisture can lead to fungal pathogens and interfere with the plant's ability to track light.
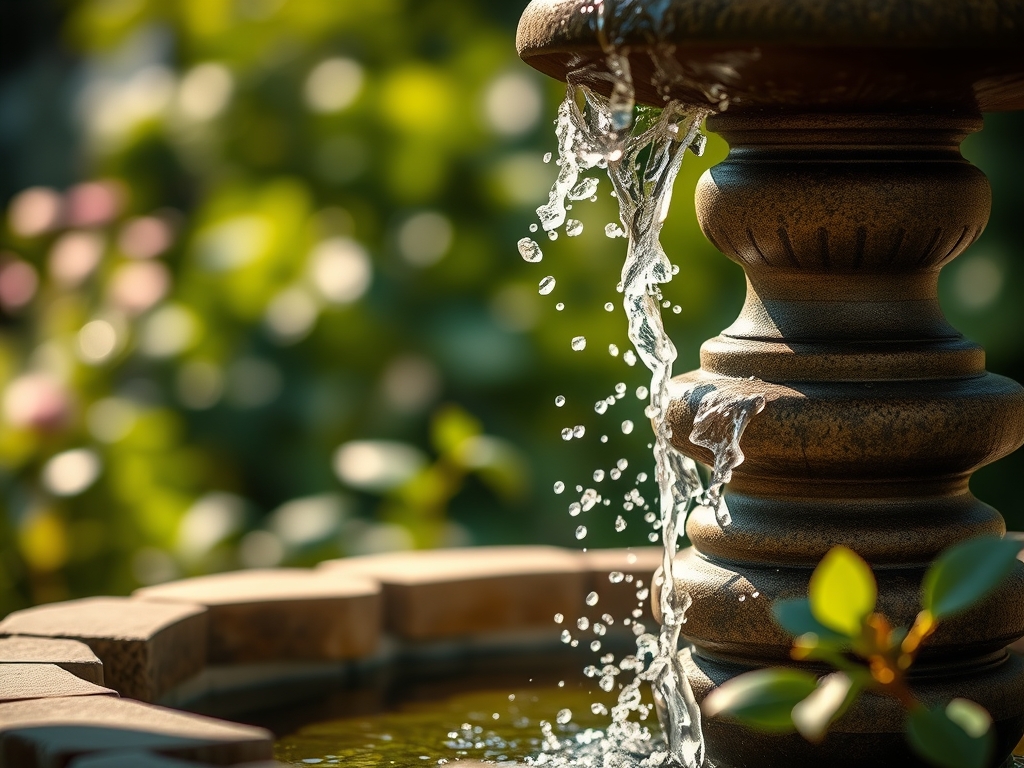
Establishing the Flow
Fill the basin with water and activate the pump to test the flow rate. Adjust the stones to create the desired spillway. Once the flow is stabilized, mulch the surrounding area with 2 to 3 inches of organic matter to retain soil moisture and regulate temperature around the new hardware.
Pro-Tip: The sound of moving water can mask ambient noise, but the biological benefit is oxygenation. High dissolved oxygen levels in the water feature prevent the growth of anaerobic bacteria, which can produce toxic byproducts like hydrogen sulfide that may harm nearby soil health.
The Clinic:
Physiological disorders often manifest in the plants surrounding a new water feature due to changes in soil moisture and compaction.
- Symptom: Nitrogen Chlorosis. Older leaves turn pale yellow while veins remain green. This often occurs when high-carbon mulch used around the fountain "ties up" available nitrogen.
- Fix-It: Apply a liquid kelp or fish emulsion with an NPK of 4-1-1 to provide immediate bioavailable nitrogen.
- Symptom: Edema. Small, corky bumps appear on the underside of leaves. This is caused by the plant taking up water faster than it can transpire, common in high-humidity splash zones.
- Solution: Improve airflow around the fountain by thinning dense foliage with bypass pruners.
- Symptom: Iron Deficiency. New growth is yellow with green veins. This indicates the soil pH has likely risen above 7.0 due to stone leaching.
- Fix-It: Amend the soil with elemental sulfur or chelated iron to restore a pH of 6.0 to 6.5.
Maintenance:
A stone fountain requires technical oversight to remain a biological asset. Check the water level weekly; evaporation can concentrate mineral salts, which may harm birds or beneficial insects. Ensure the surrounding plants receive 1.5 inches of water per week at the drip line, adjusting for the supplemental humidity provided by the fountain.
Use a soil moisture meter to verify that the area adjacent to the reservoir is not becoming waterlogged. Every autumn, use a hori-hori knife to clear any encroaching roots that may be seeking the reservoir's moisture. If the pump intake becomes clogged with algae, do not use harsh chemicals. Instead, use a mechanical brush or a barley straw extract to maintain water clarity without disrupting the local ecosystem's chemical balance.
The Yield:
While a fountain does not produce a harvest in the traditional sense, it acts as a catalyst for the "yield" of the surrounding garden. Increased humidity can improve the pollination rates of certain fruiting plants by keeping pollen grains viable for longer periods. If you have planted water-loving herbs like mint or watercress in the splash zone, harvest them by cutting the top one-third of the stem using sharp snips. To maintain "day-one" freshness, submerge the cut ends in cool water immediately and store them at 40 degrees Fahrenheit. This prevents senescence and preserves the essential oils within the leaf tissues.
FAQ:
How deep should the fountain reservoir be?
The reservoir should be at least 12 to 18 inches deep. This depth prevents the pump from overheating and provides enough volume to account for evaporation during high-heat periods without requiring daily refills.
Will a stone fountain attract mosquitoes?
Moving water prevents mosquito larvae from surviving. As long as the pump maintains a consistent flow and surface agitation, the fountain will not become a breeding ground for insects. Ensure the pump runs at least 12 hours a day.
Can I install a fountain over tree roots?
Avoid cutting roots larger than 2 inches in diameter. Excavating major structural roots can lead to tree instability and nutrient deficiencies. Use a "floating" reservoir design or move the feature outside the tree's critical root zone.
How do I winterize a stone water feature?
In zones with freezing temperatures, drain the reservoir and remove the pump. Store the pump in a bucket of water in a frost-free area to keep the seals moist. Cover the stone feature to prevent water from freezing in crevices.