6 Steps to Prepare a Level Outdoor Garden Deck Site
The smell of damp earth and the iron scent of wet stones mark the beginning of any serious structural installation. When the turgor pressure of the surrounding vegetation is high, the soil is at its most malleable and communicative. Learning how to prepare a site for a garden deck requires more than just a level; it requires an understanding of the underlying geology and the biological health of the rhizosphere. A stable deck begins with a site that has been stripped of organic matter to prevent future subsidence. Failure to address the soil compaction and drainage at this stage will lead to fungal rot and structural shifts as the seasons change. You are not just building a platform; you are managing a micro-ecosystem where wood meets earth.
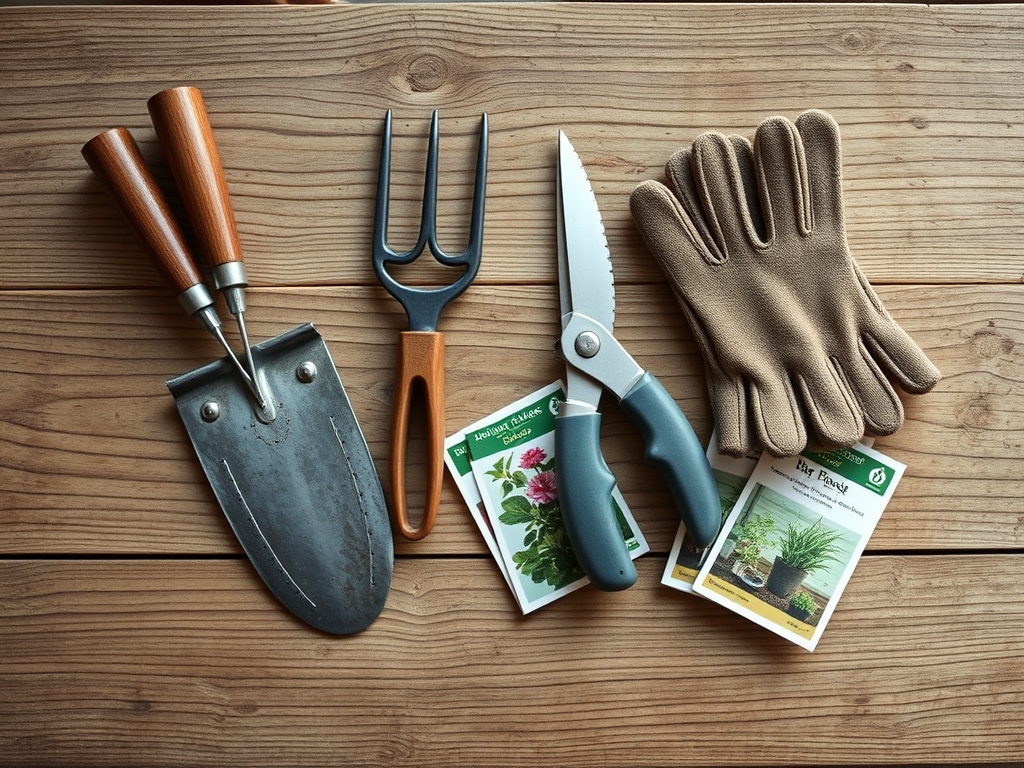
Materials:
Before the first shovel hits the ground, you must assess the substrate. The ideal soil for a surrounding garden is a **friable loam** with a **pH between 6.0 and 7.0**. For the area directly under the deck, you want low Cation Exchange Capacity (CEC) to ensure the soil is inert and does not retain moisture that could lead to wood rot.
- Sub-base Material: Crushed stone or 3/4-inch minus gravel. This provides high structural integrity and rapid drainage.
- Geotextile Fabric: Woven polypropylene to suppress weed growth and separate the soil from the aggregate.
- Nutrient Buffering: If planting near the deck, utilize a 10-10-10 NPK ratio for general establishment. For root development in woody perennials, shift to a 5-10-5 ratio to prioritize phosphorus over nitrogen.
- Soil Amendment: If the site is heavy clay, incorporate gypsum to improve flocculation and drainage.
Timing:
Preparation must occur when the soil is not saturated. Working in wet soil destroys the soil structure by collapsing the pore spaces necessary for gas exchange. In Hardiness Zones 5 through 7, the window for site preparation typically opens in late spring after the last frost date, once the soil temperature reaches a consistent 55 degrees Fahrenheit.
The "Biological Clock" of your garden is essential. If you prepare the site during the peak vegetative stage of local weeds (late spring), you can effectively terminate them before they reach the reproductive stage and set seed. Aim to complete the excavation before the summer solstice to ensure that any surrounding transplanting occurs before the intense heat causes high transpiration rates and moisture stress.
Phases:

Sowing and Clearing
Clear all vegetation from the footprint plus an additional 12-inch perimeter. Use a sod cutter to remove the top 3 to 4 inches of organic material. This removes the seed bank and the majority of the active microbial life that would otherwise cause the ground to settle as it decomposes.
Pro-Tip: Removing the O-horizon (organic layer) prevents anaerobic decomposition. When organic matter is trapped under a deck without oxygen, it creates methane and hydrogen sulfide, which can acidify the soil and damage the deck's support posts.
Transplanting and Grading
Relocate any valuable perennials to a temporary nursery bed. Ensure the site has a 2 percent slope away from any permanent structures to prevent hydrostatic pressure against the foundation. Use a transit level to confirm the grade is consistent across the entire span.
Pro-Tip: When moving plants, maintain the root ball integrity to preserve mycorrhizal symbiosis. These fungi extend the root system's reach; losing them during a move can lead to transplant shock and reduced nutrient uptake.
Establishing the Base
Lay the geotextile fabric and secure it with landscape staples. Cover with 3 inches of compactable gravel. Tamp the area using a plate compactor until the surface is firm and does not deflect under foot pressure.
Pro-Tip: Compacting the base suppresses auxin production in buried weed seeds. By physically compressing the soil and blocking light, you prevent the hormonal triggers that lead to germination and upward growth.
The Clinic:
When preparing a site, the health of the surrounding flora often reveals the hidden chemistry of the soil. Watch for these physiological disorders.
- Symptom: Interveinal chlorosis (yellowing leaves with green veins).
- Solution: This is often Iron or Magnesium deficiency. Check the pH; if it is above 7.5, iron becomes insoluble. Apply chelated iron or lower pH with elemental sulfur.
- Symptom: Stunted growth and purple tint on underside of leaves.
- Solution: Phosphorus deficiency. Common in cold, wet soils. Increase soil temperature or apply a high-phosphorus starter fertilizer.
- Symptom: Marginal leaf burn (browning at the edges).
- Solution: Potassium deficiency or salt accumulation. Flush the soil with 2 inches of water to leach salts and apply potassium sulfate.
Fix-It: For general Nitrogen chlorosis (uniform paling of the entire leaf), apply a quick-release nitrate-based fertilizer at a rate of 1 pound of nitrogen per 1,000 square feet.
Maintenance:
Once the site is prepared and the deck is installed, the surrounding landscape requires precision care. Use a soil moisture meter to ensure the area under the deck eaves remains hydrated; these areas often fall into a "rain shadow."
Provide 1.5 inches of water per week at the drip line of all surrounding plants. Use a hori-hori knife to remove any opportunistic weeds that breach the gravel border. Every spring, inspect the deck footings for heaving. If the soil has shifted, use a bypass pruner to clear any roots that have encroached within 6 inches of the structural posts to prevent moisture wicking.
The Yield:
If your garden deck includes integrated planters, timing the harvest is a matter of cellular biology. Harvest leafy greens and herbs in the early morning when turgor pressure is at its peak. This ensures the cells are fully hydrated and crisp.
For flowers, cut when the buds are in the "tight" stage. Use a sharp, sterilized blade to avoid crushing the vascular tissue. Immediately submerge the stems in 110-degree Fahrenheit water to clear air bubbles from the xylem, ensuring "day-one" freshness for several days.
FAQ:
How deep should I excavate for a garden deck?
Excavate 4 to 6 inches deep. This allows for the removal of the organic sod layer and provides space for a 3-inch gravel base plus a weed barrier, ensuring a stable, well-drained foundation for the frame.
Can I leave grass under my deck?
No. Grass left under a deck will undergo senescence due to lack of light. The resulting decomposition creates uneven ground and moisture traps. Always remove sod and install a geotextile weed barrier with gravel.
What is the best way to prevent weeds under a deck?
Install a heavy-duty woven geotextile fabric covered by 3 inches of gravel. This blocks the photoperiod triggers required for weed seed germination and provides a physical barrier that prevents most root systems from establishing.
How do I ensure proper drainage under the deck?
Grade the subsoil to a 2 percent slope away from the house foundation. Use 3/4-inch crushed stone rather than pea gravel, as crushed stone locks together while maintaining large pore spaces for rapid water infiltration.