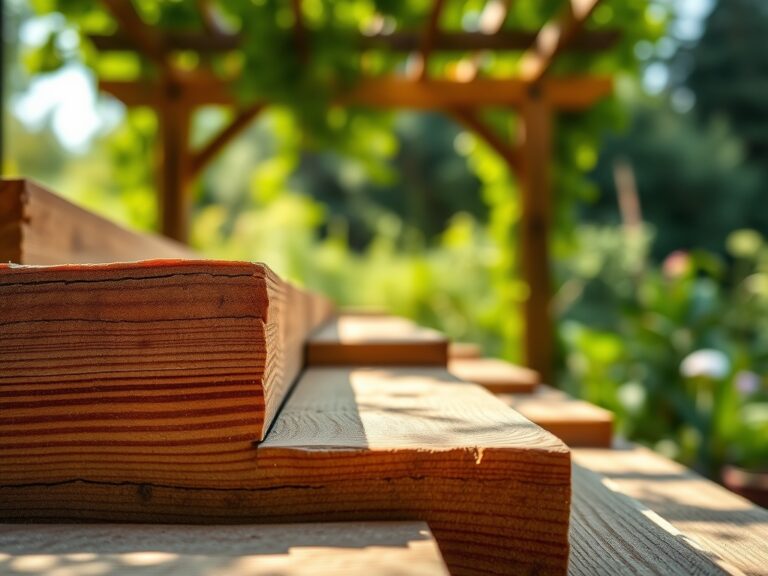
8 Best Decorative Bricks for Modern Outdoor Design
The scent of damp, mineral-rich earth signals the beginning of any serious structural installation. When the turgor pressure of the surrounding flora is at its peak, the soil is stable enough to support the weight of masonry. Selecting the best bricks for outdoor design requires more than an aesthetic eye; it demands an understanding of how fired clay or concrete interacts with the local rhizosphere. A poorly chosen material will succumb to the freeze-thaw cycle, heaving upward and crushing the delicate root systems of adjacent perennials. You are not just laying a path. You are defining the boundaries of a living ecosystem. The structural integrity of your hardscape dictates the drainage patterns and thermal mass of the entire garden. Every brick selected must withstand soil acidity and moisture retention while providing a neutral backdrop for the botanical specimens that frame it. This guide focuses on the intersection of masonry and horticulture, ensuring your design supports plant health and structural longevity through precise material selection and installation timing.
Materials:
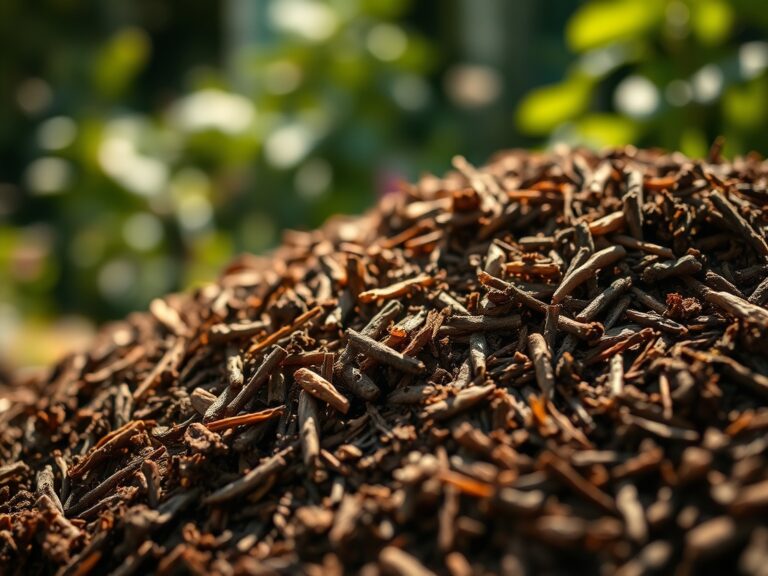
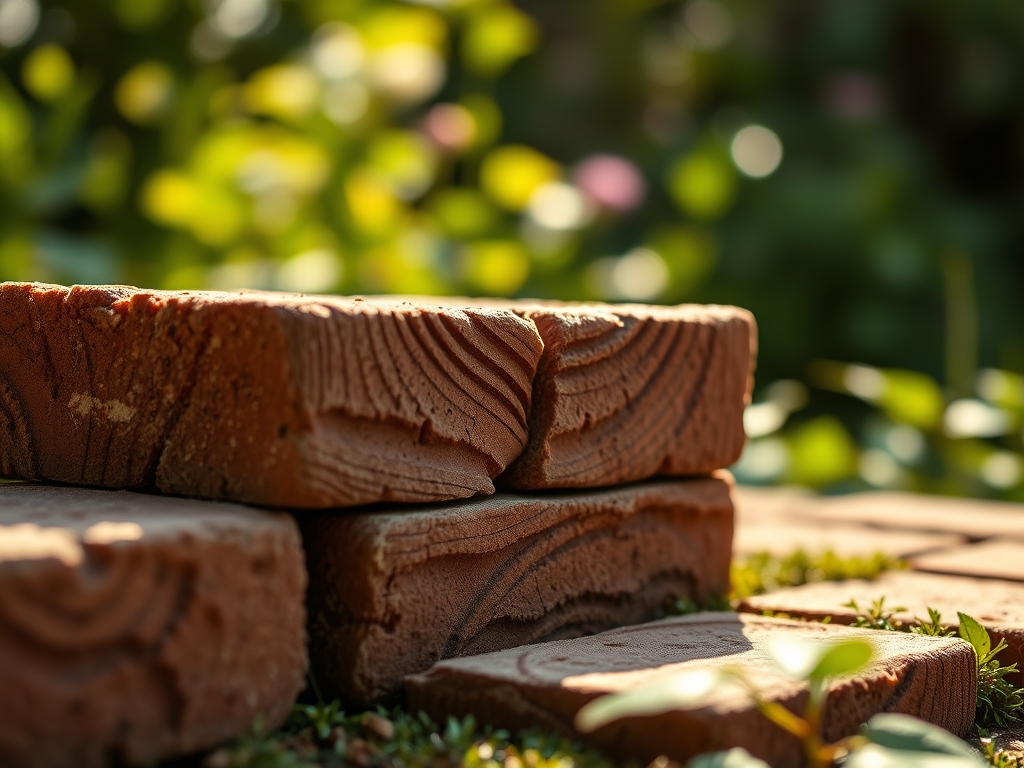
The success of a brick installation depends on the substrate. The ideal base is a **friable loam** with a **pH between 6.0 and 7.0**, which prevents the leaching of alkaline salts into the surrounding soil. If your soil is heavy clay, the Cation Exchange Capacity (CEC) will be high, meaning it retains nutrients but also holds excessive water that can cause brick “spalling.”
For the surrounding plantings, maintain a balanced NPK ratio of 10-10-10 for general establishment. However, if you are planting near limestone-based pavers, monitor for iron chlorosis, as the lime can raise the pH and lock out micronutrients. Use a base of crushed 3/4-inch minus gravel topped with 1 inch of coarse bedding sand. This ensures rapid drainage, protecting the root zone from anaerobic conditions.
Timing:
Timing your installation is critical to avoid damaging the biological clock of your garden. Hardscape construction should occur during the dormant season, typically between Hardiness Zones 4 and 8, once the ground has thawed but before the spring flush. In Zone 7, this window usually opens in late February.
Avoid construction during the reproductive stage of nearby plants (flowering and fruiting), as the soil compaction from heavy foot traffic can cause root senescence. The transition from the vegetative stage to the reproductive stage requires maximum oxygen availability in the soil. Disrupting the soil structure during this period can lead to stunted growth or premature leaf drop. Aim for a soil temperature of at least 45 degrees Fahrenheit before beginning excavation to ensure the earth is workable and not a slurry of ice and mud.
Phases:

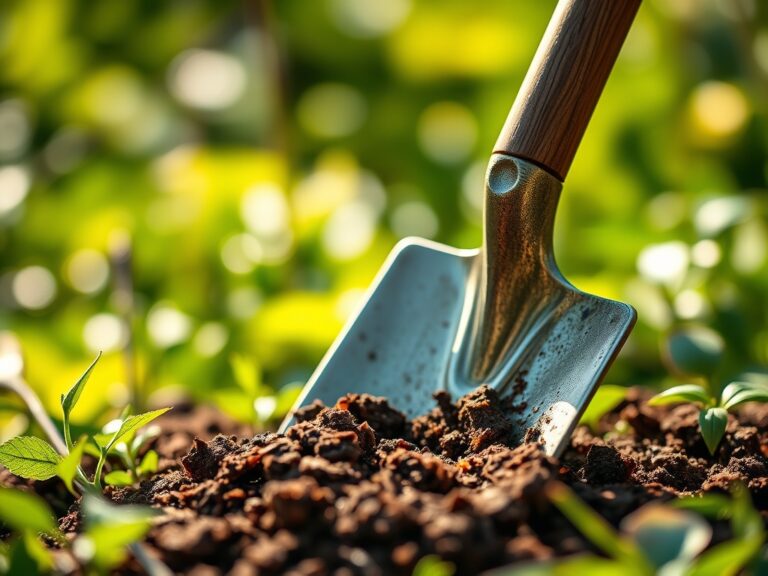
Sowing the Foundation
Excavate to a depth of 8 inches for walkways and 12 inches for patios. This depth allows for a robust drainage layer that prevents frost heave. When working near established trees, use an air spade to avoid severing structural roots.
Pro-Tip: Maintain the integrity of the mycorrhizal symbiosis by inoculating the surrounding soil with fungal spores post-excavation. This helps the plants recover from the shock of soil disturbance by extending their root reach for water and phosphorus.
Transplanting and Edging
When placing bricks as garden edging, ensure they are set deep enough to prevent grass rhizomes from creeping into the beds. A 4-inch depth is standard for preventing lateral root spread.
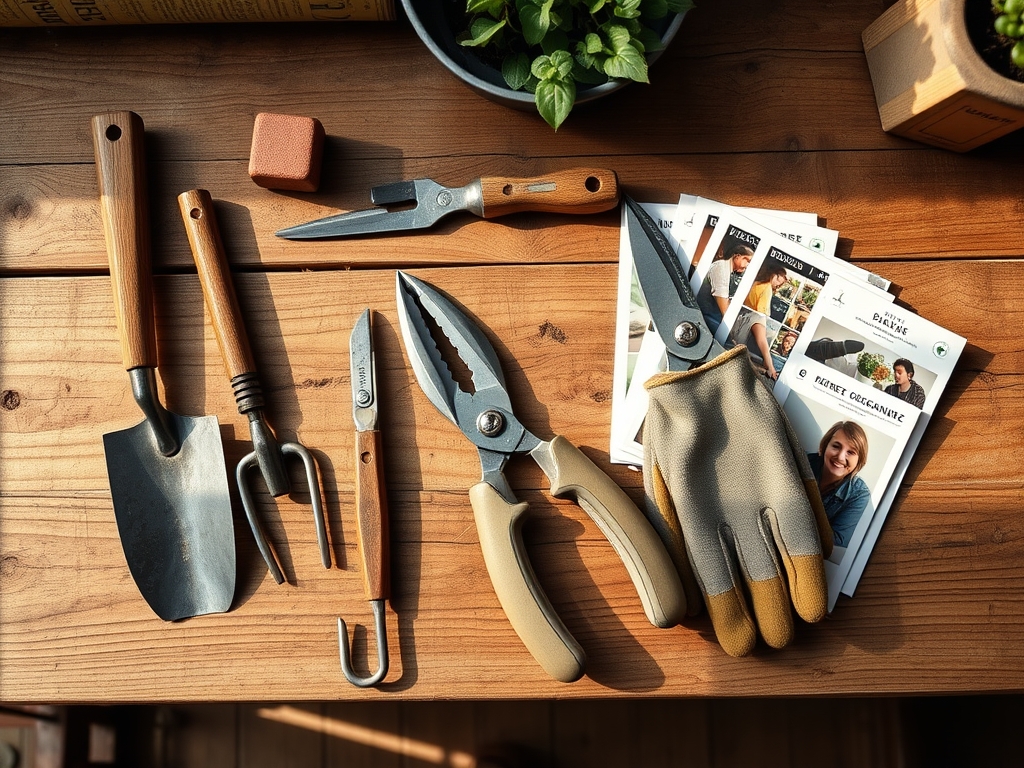
Pro-Tip: Use a hori-hori knife to clean the edges of the trench. This tool allows for precise cuts that minimize damage to the vascular tissue of nearby plants, preventing the entry of pathogens through jagged root wounds.
Establishing the Hardscape
Once the bricks are set, sweep polymeric sand into the joints. This prevents weed seeds from germinating in the gaps. Water the area with a fine mist to activate the binding agents without washing away the sand.
Pro-Tip: Avoid excessive overhead watering immediately after installation. High moisture levels in the joints can trigger auxin suppression in nearby groundcovers, as the plants may focus energy on surviving anaerobic pockets rather than lateral expansion.
The Clinic:
Physiological disorders in the garden often manifest after hardscape installation due to changes in soil hydrology and chemistry.
- Symptom: Interveinal chlorosis (yellow leaves with green veins) in acid-loving plants near the bricks.
- Solution: This is likely an iron deficiency caused by high pH runoff from concrete-based bricks. Apply chelated iron and elemental sulfur to lower the pH to 5.5.
- Symptom: Marginal leaf burn on new transplants.
- Solution: Excess salts from the brick manufacturing process may be leaching into the soil. Flush the area with 2 inches of water twice a week to leach the salts below the root zone.
- Symptom: Wilting despite moist soil.
- Solution: Soil compaction from construction has reduced pore space, leading to root asphyxiation. Use a core aerator around the perimeter of the brickwork to reintroduce oxygen to the rhizosphere.
Fix-It for Nitrogen Chlorosis: If plants appear stunted and pale green, the carbon-heavy organic matter used in the base may be "tying up" nitrogen. Apply a high-nitrogen fertilizer with an NPK of 21-0-0 (Ammonium Sulfate) to provide immediate relief.
Maintenance:
Precision maintenance ensures the longevity of both the masonry and the flora. Deliver 1.5 inches of water per week at the drip line of plants bordering the bricks. Use a soil moisture meter to verify that water is penetrating at least 6 inches deep; shallow watering encourages weak, surface-level roots that are susceptible to heat stress from the bricks' thermal mass.
Prune overhanging branches using bypass pruners to ensure sunlight reaches the brick surface, preventing the growth of moss and algae which can cause slippery surfaces and structural decay. Every three years, inspect the joints for erosion. If the sand has settled more than 1/4 inch, replenish it to maintain the structural interlock of the units.
The Yield:
While bricks are not edible, the "yield" of a well-designed outdoor space is measured in the health of the surrounding harvest. For those growing herbs like thyme or rosemary between pavers, harvest during the morning hours when essential oil concentration is highest.
Use a sharp blade to take cuttings, ensuring you leave at least four inches of growth to allow for photosynthesis and recovery. For day-one freshness, place the stems immediately into a clean container of water at 40 degrees Fahrenheit. This slows the metabolic rate and prevents the rapid senescence of the delicate foliage.
FAQ:
Which brick is best for high-traffic garden paths?
Full-range clay pavers are superior for high-traffic areas. They possess a high compressive strength, often exceeding 8,000 PSI. Their low absorption rate prevents water from entering the brick, reducing the risk of cracking during winter freeze-thaw cycles.
How do I prevent weeds from growing between my bricks?
Use polymeric sand in the joints. This material hardens when activated by water, creating a barrier that prevents wind-blown seeds from reaching the soil. Maintain a clean surface with a stiff broom to remove organic debris that could host seedlings.
Can I lay bricks directly on soil?
No. Laying bricks on raw soil leads to uneven settling and rapid colonization by weeds. You must use a compacted base of 6 inches of gravel and 1 inch of sand to provide drainage and a level foundation.
Will bricks change my soil pH?
Concrete-based bricks and pavers can leach lime, which raises the soil pH. This can lead to nutrient lockout in acid-loving plants. Monitor your soil pH annually and apply elemental sulfur if the levels rise above 7.2.