8 Tips to Use a Level for Accurate Design and Grading
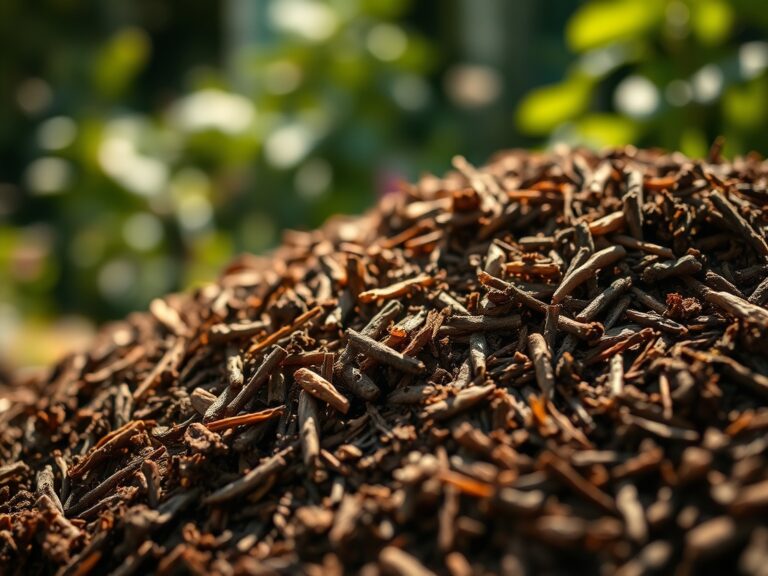
The smell of damp earth is more than an olfactory experience; it is the scent of geosmin, a byproduct of Actinobacteria activity within a healthy rhizosphere. When the soil reaches a state of friable loam, its turgor pressure within the plant cells remains high, ensuring the plant stands erect and physiological processes proceed at peak efficiency. Achieving this state requires more than just biological inputs. It demands structural precision. Using a level for outdoor design ensures that irrigation water moves via gravity at a controlled rate, preventing anaerobic conditions in low spots and drought stress on high mounds. Precise grading dictates the success of every perennial and woody shrub in the landscape. Without a level surface, even the most expensive specimens succumb to root rot or desiccation.
Materials:
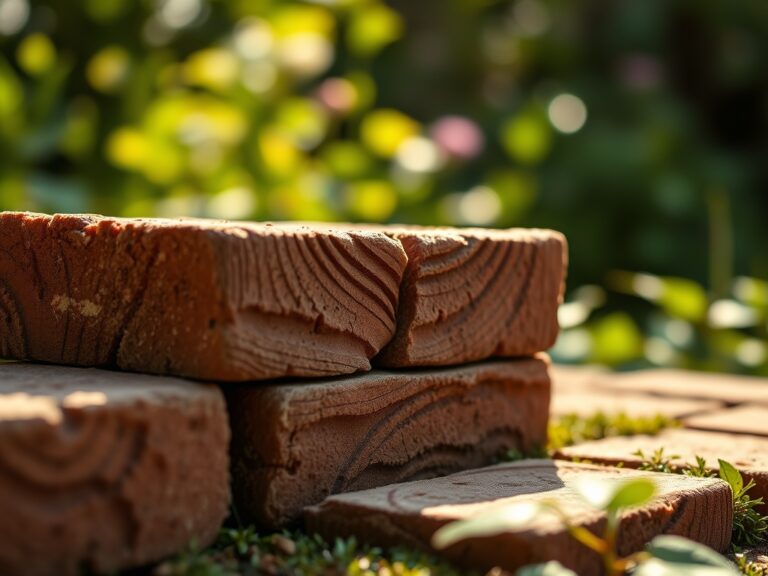
Before establishing the grade, you must assess the substrate composition. Ideal garden soil is a friable loam with a **pH between 6.0 and 7.0**. This range optimizes the Cation Exchange Capacity (CEC), allowing the soil to hold and release essential nutrients like ammonium and potassium. For new installations, incorporate a balanced **NPK ratio of 10-10-10** at a rate of **2 pounds per 100 square feet**. If you are preparing a bed for heavy feeders like brassicas, shift to a **high-nitrogen 20-10-10** blend to support rapid vegetative growth. The physical texture should be granular. If the soil forms a hard ribbon when squeezed, the clay content is too high; if it fails to hold any shape, it is excessively sandy and lacks the surface area required for nutrient retention.
Timing:
Successful outdoor design is governed by the USDA Hardiness Zones and the local frost-date window. In Zones 5 through 7, the primary grading and leveling window opens in early spring once the soil is no longer saturated from snowmelt. Working wet soil destroys its structure, leading to compaction that limits oxygen diffusion to the roots. The biological clock of the plant dictates that structural work be completed before the transition from the vegetative stage to the reproductive stage. Once a plant enters its reproductive phase, its energy is diverted from root establishment to flower and seed production. Aim to have your level grade established at least three weeks before the last frost date to allow for soil settling before the first transplanting session begins.
Phases:

Sowing
When sowing seeds, the level of the soil surface determines the uniformity of germination. Use a 4-foot spirit level or a laser level to ensure the seedbed is flat. Seeds sown on a slope are prone to "washout" during heavy rain, which aggregates them in low spots and leads to overcrowding. Maintain a consistent depth of two times the seed diameter.
Pro-Tip: Uniform depth ensures consistent phytochrome activation. Phytochromes are light-sensing proteins that trigger germination; if seeds are buried at uneven depths due to poor leveling, the emergence will be staggered, allowing earlier seedlings to shade out later ones via apical dominance.
Transplanting
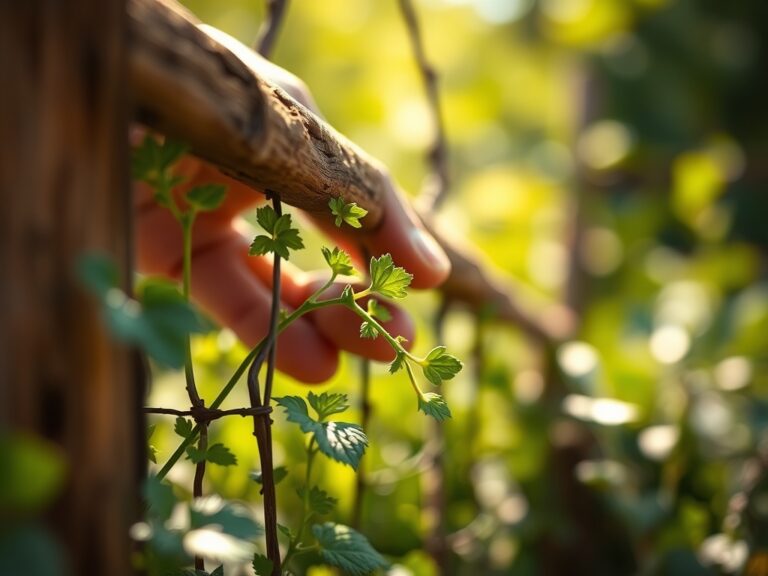
When moving a plant from a nursery pot to the ground, use your level to ensure the root flare sits exactly at the soil surface. Dig a hole two times wider than the root ball but no deeper. A level grade ensures that the water basin around the plant distributes moisture evenly to the entire root circumference.
Pro-Tip: Maintaining the root flare at the surface prevents hypoxia. If the grade is uneven and soil accumulates against the trunk, it creates a moist environment that encourages adventitious roots or fungal pathogens, eventually leading to vascular senescence.
Establishing
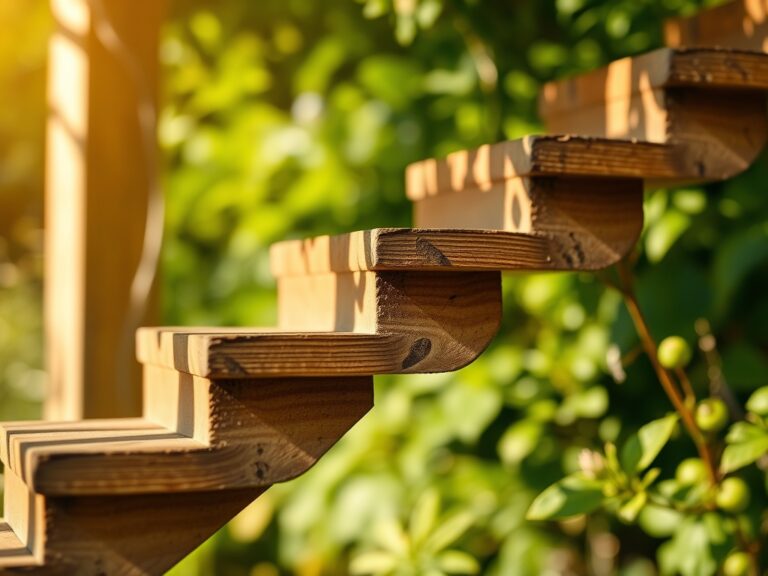
The establishment phase requires monitoring for soil settling. Use a string level stretched between stakes to check for depressions. A 1% to 2% slope away from structures is necessary to prevent water pooling. During the first 14 to 21 days, the plant focuses on mycorrhizal symbiosis, where fungi extend the root system's reach for phosphorus.
Pro-Tip: Proper leveling prevents the "bowl effect" where water sits at the base of the plant. This is critical because auxin suppression occurs in waterlogged soils; the lack of oxygen stops the production of growth hormones, causing the plant to stop growing entirely.
The Clinic:
Physiological disorders often stem from poor site preparation.
- Symptom: Interveinal chlorosis in new leaves. Solution: This is often a sign of Iron deficiency. Check the pH with a meter; if it is above 7.5, iron becomes insoluble. Lower the pH using elemental sulfur.
- Symptom: Blossom end rot in fruit. Solution: This indicates Calcium deficiency caused by erratic moisture levels. Use your level to ensure even drainage so the plant can consistently uptake calcium through transpiration.
- Symptom: Stunted growth and purple tint on undersides of leaves. Solution: Phosphorus deficiency. This often occurs in cold, wet soils. Improve the grade to allow the soil to warm faster in the spring.
Fix-It for Nitrogen Chlorosis: If older leaves turn pale yellow, apply a quick-release 46-0-0 urea fertilizer at a rate of 0.5 pounds per 1,000 square feet followed by immediate irrigation to prevent volatilization.
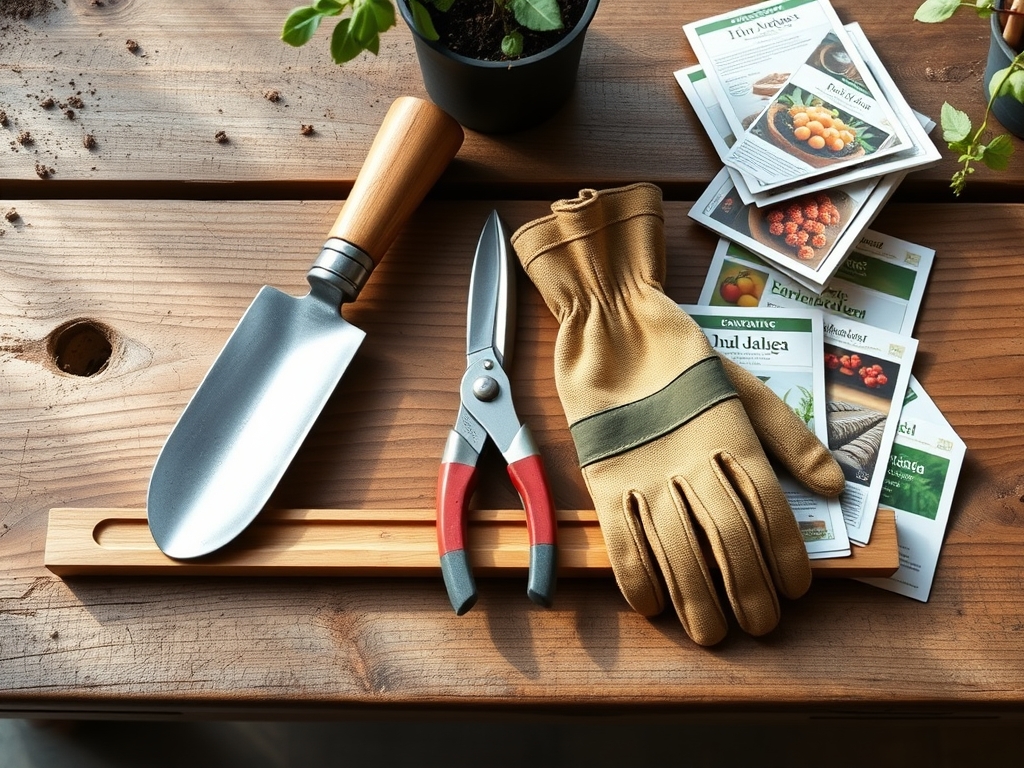
Maintenance:
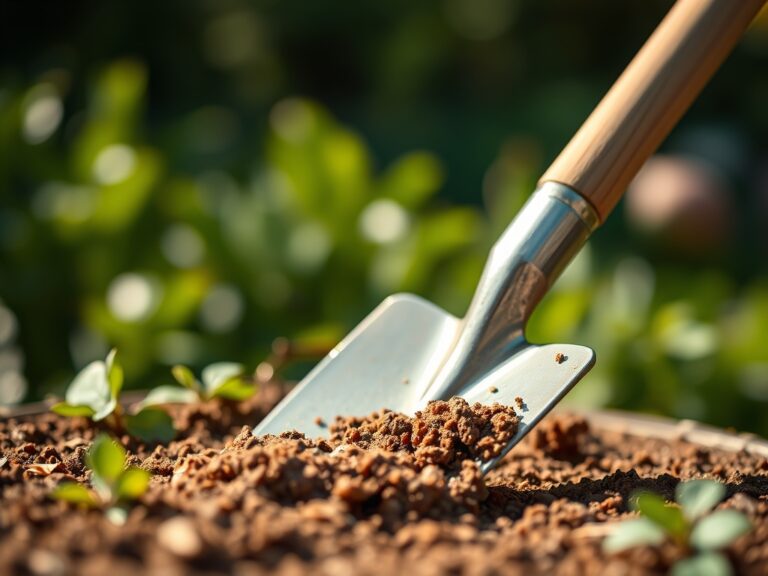
Precision maintenance requires the right tools and data. Use a soil moisture meter to ensure the root zone stays within the "available water" range. Most woody perennials require 1.5 inches of water per week delivered at the drip line. When pruning, use sharp bypass pruners to make clean cuts that the plant can compartmentalize quickly. For weeding and planting bulbs, a hori-hori knife is the superior tool for measuring depth and slicing through compacted soil without disturbing the surrounding grade. Check your level every spring, as frost heave can shift the soil surface by several inches in colder climates.
The Yield:
For edible crops, harvest timing is determined by sugar content and cellular turgidity. Harvest leafy greens in the early morning when turgor pressure is highest. This prevents wilting and extends the shelf life. For pome fruits, use a refractometer to measure Brix levels; a reading of 12% or higher usually indicates peak ripeness. Post-harvest, move the produce to a cool environment immediately to slow the rate of respiration and prevent the breakdown of cellular structures.
FAQ:
How do I check the grade over a long distance?
Use a string level and two stakes. Tie the string at the same height on both stakes. A 1-inch drop for every 10 feet provides a 1% slope, which is ideal for standard garden drainage.
Can I use a digital level for landscaping?
Yes. Digital levels provide a precise percentage of slope. For most garden beds, aim for a 0% to 2% slope. Anything steeper than 5% requires terracing to prevent soil erosion and nutrient runoff.
Why does my level garden still have puddles?
Puddles indicate soil compaction or high clay content regardless of the level. Use a broadfork to aerate the soil without turning it. This preserves the soil horizons while improving the infiltration rate of the substrate.
What is the best tool for leveling small beds?
A 4-foot aluminum spirit level is the industry standard. It is lightweight and resistant to corrosion. Place it on a straight 2×4 board to extend its reach across the entire width of the planting bed.