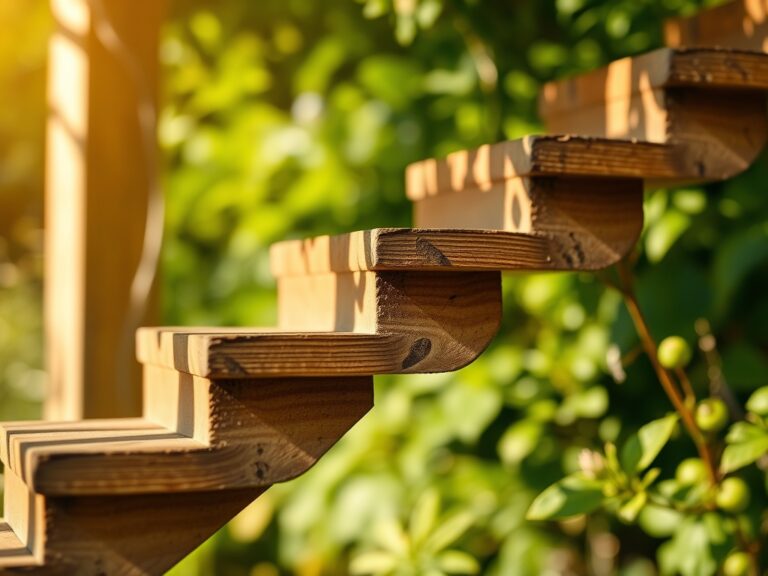
7 Steps to Build a Durable Outdoor Garden Patio
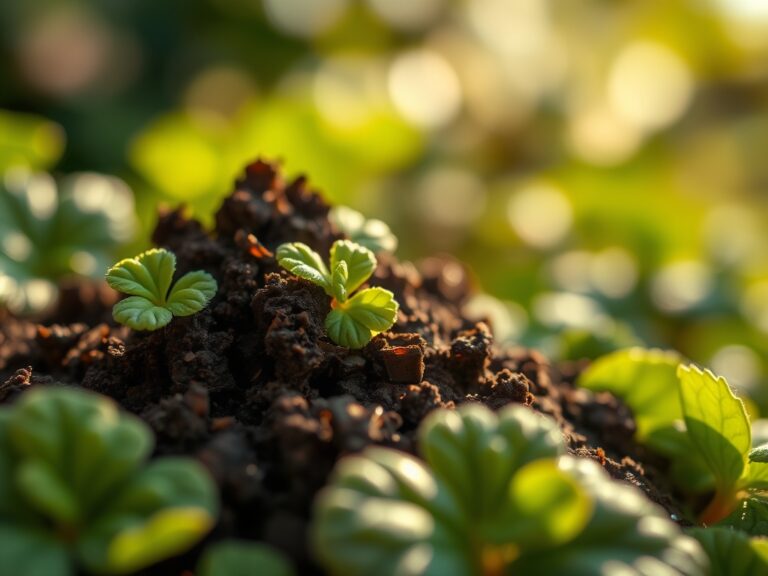
The smell of damp earth and the turgor of a healthy leaf define the success of any landscape integration. When you break ground, you are not just laying stone; you are managing the intersection of structural engineering and horticultural health. Mastering the steps for building a garden patio requires an understanding of soil compaction and drainage to ensure the surrounding root zones remain aerobic. A patio that ignores the rhizosphere will eventually cause localized plant senescence due to oxygen deprivation.
Success begins with a site analysis that accounts for the hydraulic conductivity of your specific soil profile. You must calculate the slope to ensure a minimum 2 percent grade away from any structures or sensitive planting beds. This prevents water logging, which can lead to root rot and fungal pathogens in adjacent flora. Proper planning ensures that the hardscape serves as a functional heat sink during the day and a thermal buffer at night; this microclimate adjustment can extend the growing season for nearby specimens.
Materials:
A durable patio requires a foundation that does not compromise the chemical integrity of the surrounding soil. If you are planting borders, the soil must be a friable loam with a Cation Exchange Capacity (CEC) between 15 and 25. This allows for optimal nutrient retention and exchange at the root hair interface.
Maintain a soil pH of 6.2 to 6.8 for most temperate garden plants. If the pH drops below 5.5, aluminum toxicity becomes a risk; if it rises above 7.5, iron and manganese become chemically unavailable. For the initial establishment of patio-side greenery, use a balanced NPK ratio of 10-10-10 to provide immediate bioavailability of nitrogen for vegetative growth, phosphorus for root development, and potassium for cellular osmotic regulation. The substrate should consist of 40 percent sand, 40 percent silt, and 20 percent clay to ensure adequate pore space for gas exchange.
Timing:
The biological clock of your garden dictates the construction window. In Hardiness Zones 5 through 7, the ideal time for hardscaping is late autumn or early spring when plants are in a state of dormancy or just beginning to break it. Avoid heavy construction during the peak of the summer heat; high transpiration rates make plants vulnerable to the mechanical stress of nearby excavation.
Observe the transition from vegetative to reproductive stages in your perennial borders. Construction should ideally occur when the photoperiod is shortening and auxin levels are shifting toward root storage rather than apical dominance. This timing minimizes the risk of transplant shock if you must move specimens to accommodate the new patio footprint. Ensure all heavy masonry work is completed at least four weeks before the first hard frost to allow mortar or polymeric sand to cure without the interference of ice crystal expansion.
Phases:
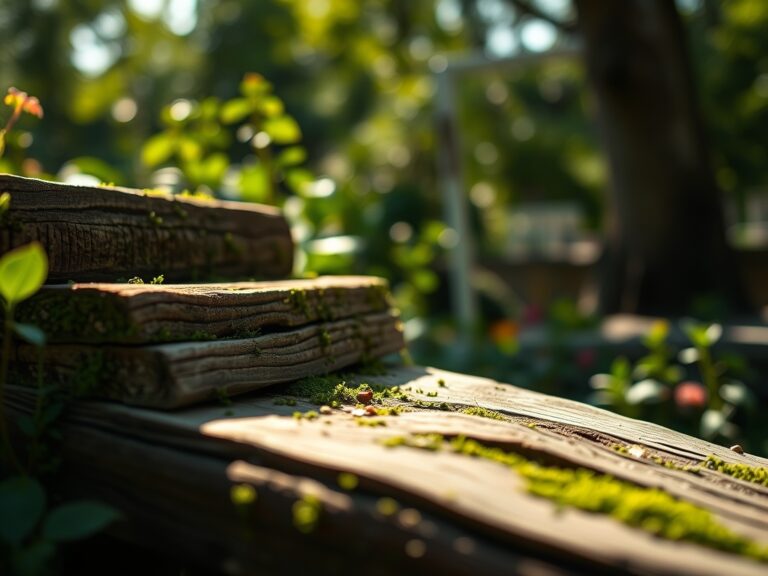
Sowing and Site Prep
Excavate the area to a depth of 8 to 10 inches depending on your local frost heave potential. The subgrade must be compacted to 95 percent Proctor density to prevent settling. If you are sowing grass or groundcover adjacent to the edge, ensure the seed-to-soil contact is firm.
Pro-Tip: Maintain the integrity of the mycorrhizal symbiosis in the surrounding soil by avoiding excessive tilling. These fungal networks extend the reach of root systems and are essential for phosphorus uptake; disrupting them can lead to localized nutrient deficiencies.
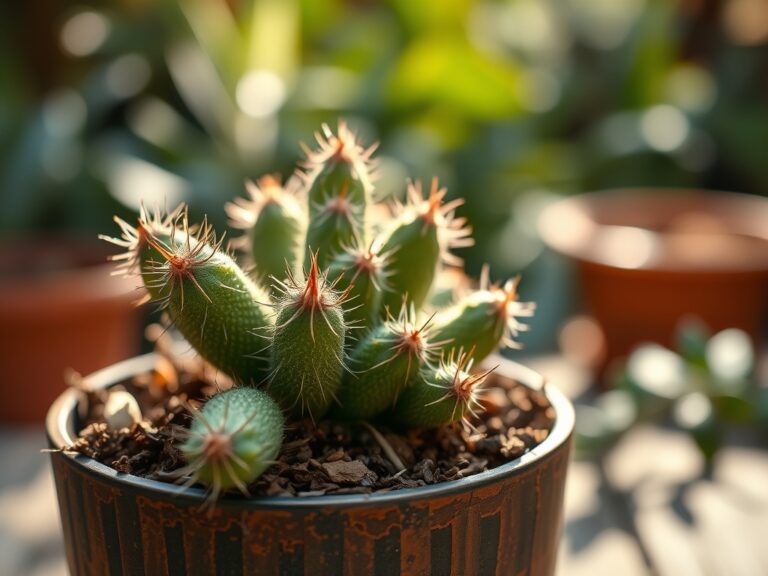
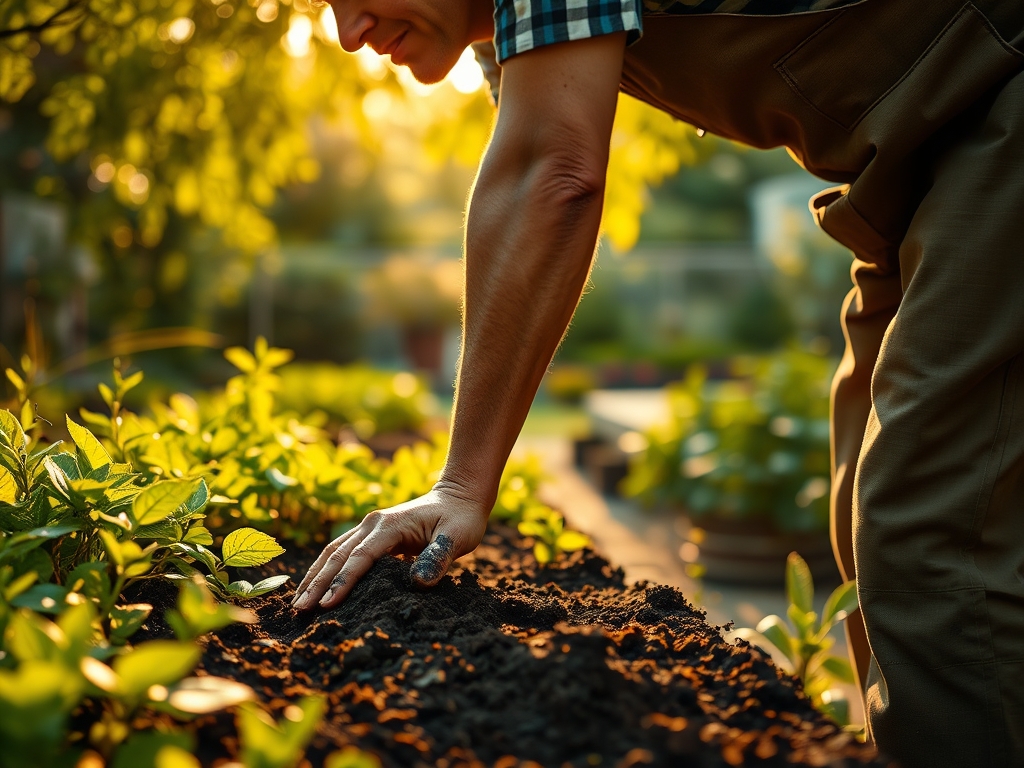
Transplanting and Border Integration
When moving plants to the patio edge, dig a hole twice as wide as the root ball but no deeper. This encourages lateral root expansion into the uncompacted native soil. Ensure the root flare remains visible at the soil surface to prevent trunk rot.
Pro-Tip: Utilize the concept of auxin suppression by pruning the tips of newly transplanted shrubs. This redirects the plant's energy from vertical growth to root establishment; the reduction in apical dominance triggers the release of cytokinins which promote lateral root branching.
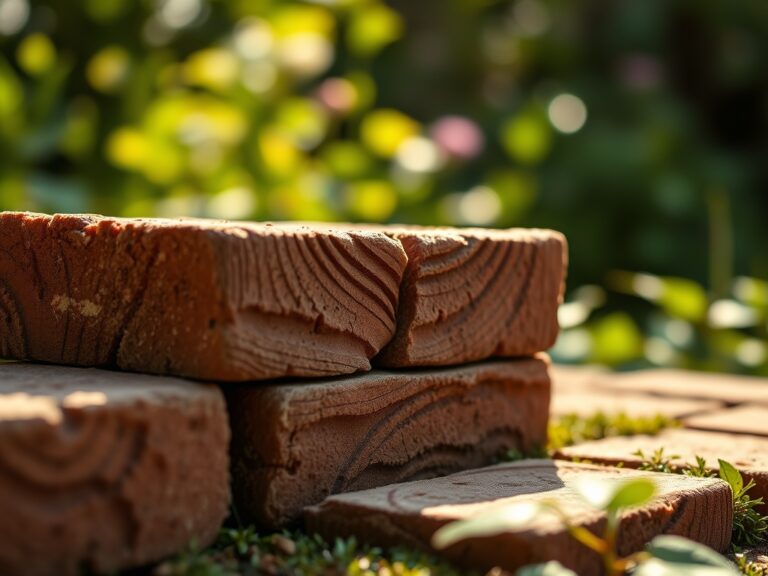
Establishing the Hardscape
Lay a base of 6 inches of crushed stone followed by 1 inch of bedding sand. Position your pavers with tight joints to minimize weed encroachment. Once set, fill the joints with polymeric sand to create a semi-permeable barrier that allows for slight thermal expansion.
Pro-Tip: Be mindful of phototropism when placing large decorative elements or pergolas over the patio. If these structures block significant sunlight, the surrounding plants will exhibit "stretching" or etiolation as they grow toward the light source; this weakens the cellular structure of the stems.
The Clinic:
Physiological disorders often manifest when the patio construction alters the local environment.
-
Symptom: Interveinal chlorosis (yellowing between green veins) on new leaves.
-
Solution: This is likely an Iron (Fe) deficiency caused by high pH runoff from concrete or mortar. Apply chelated iron and use sulfur to lower the soil pH to 6.5.
-
Symptom: Leaf scorch and marginal necrosis.
-
Solution: Heat stress from the patio's thermal mass. Increase irrigation frequency and apply a 3-inch layer of organic mulch to cool the root zone.
-
Symptom: Stunted growth and purplish leaf undersides.
-
Solution: Phosphorus (P) deficiency. This occurs in cold, wet soils common after heavy spring rains on new sites. Apply a high-phosphorus fertilizer with an NPK of 5-20-10.
Fix-It: For general Nitrogen chlorosis (overall paling of older leaves), apply a quick-release nitrogen source like ammonium sulfate to rapidly restore chlorophyll production and turgor.
Maintenance:
Precision is the hallmark of a professional garden. Use a soil moisture meter to ensure the perimeter plantings receive exactly 1.5 inches of water per week at the drip line. This prevents the "teacup effect" where water pools in the excavated patio hole and drowns nearby roots.
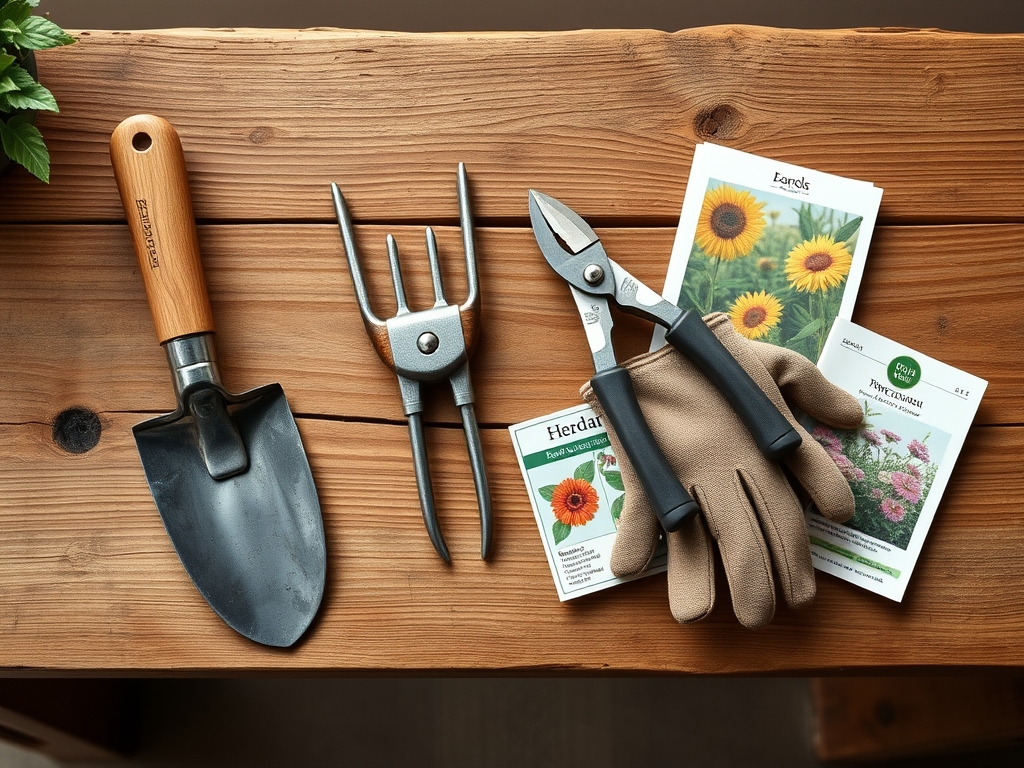
Keep your bypass pruners sharp to ensure clean cuts that heal quickly; ragged edges are entry points for pathogens. Use a hori-hori knife for weeding the transition zone between the pavers and the garden bed to ensure you remove the entire taproot of invasive species. Annually check the level of the pavers; if shifting occurs, it may indicate a drainage failure or the pressure of an expanding root system from a nearby tree.
The Yield:
If your patio includes integrated planters for herbs or edible flowers, harvest timing is critical for volatile oil retention. Harvest most herbs just before they transition to the reproductive (flowering) stage. This is when the concentration of essential oils is at its peak.
Cut flowers should be harvested in the early morning when turgor pressure is highest. Immediately plunge the stems into 110 degree Fahrenheit water to remove air bubbles from the xylem. This "hardening off" process ensures day-one freshness and extends the vase life of the specimen. For woody stems, use a clean diagonal cut to maximize the surface area for water uptake.
FAQ:
How deep should the base be for a garden patio?
For most residential applications, excavate 8 to 10 inches. This allows for 6 inches of compacted gravel, 1 inch of sand, and the thickness of the paver. Proper depth prevents shifting during freeze-thaw cycles in colder climates.
Can I build a patio over tree roots?
Building over major structural roots is discouraged as it causes soil compaction and limits oxygen exchange. If necessary, use a permeable paver system and hand-excavate to avoid damaging roots larger than 2 inches in diameter.
What is the best NPK ratio for patio-side plants?
A balanced 10-10-10 or 12-12-12 fertilizer is ideal for establishment. It provides nitrogen for foliage, phosphorus for root development, and potassium for overall stress tolerance and cellular strength against the heat reflected from the patio surface.
How do I prevent weeds from growing between pavers?
Use polymeric sand in the joints. This material hardens when misted with water; it creates a durable bond that resists erosion and prevents weed seeds from reaching the soil substrate while still allowing for minor structural movement.