9 Steps to Prepare for a New Outdoor Accent Light
The smell of damp earth after a heavy rain signals more than just moisture; it indicates the activation of microbial life within the rhizosphere. When you grasp a handful of soil, you should feel the turgor of healthy, hydrated plant cells resisting your touch. This structural integrity is the foundation of any landscape modification. Understanding how to prepare a garden for a light requires a technical assessment of soil stability and root architecture before a single trench is dug. Every incision into the earth disrupts the delicate balance of gas exchange and water movement. A master gardener views the installation of an outdoor accent light not as an electrical task, but as a surgical intervention within a living system. You must account for the compaction of the substrate and the potential for root desiccation during the process. Proper preparation ensures that the illumination enhances the botanical structure without compromising the physiological health of the surrounding flora. By focusing on soil density and moisture retention, you create a stable environment where both the hardware and the horticulture can thrive in a symbiotic relationship.
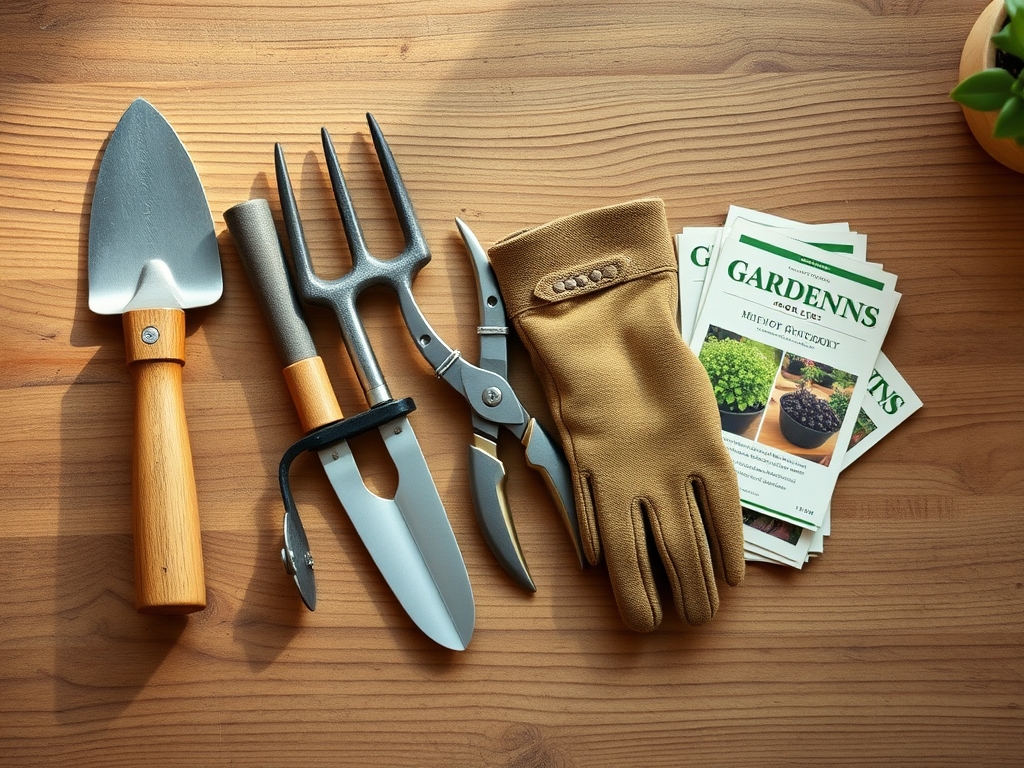
Materials:
The ideal substrate for stabilizing light fixtures and supporting plant health is a **friable loam**. This texture allows for adequate drainage while maintaining enough surface area for **Cation Exchange Capacity (CEC)**. You should aim for a soil pH between **6.0 and 7.0** to ensure maximum nutrient availability. Before installation, amend the area with a balanced **10-10-10 NPK ratio** fertilizer to support immediate root recovery. If you are working in heavy clay, incorporate organic matter to lower the bulk density below **1.6 g/cm3**. For sandy soils, focus on increasing the organic fraction to improve the water-holding capacity. You will also need high-quality landscape fabric to prevent weed encroachment around the fixture and a 20-pound bag of crushed limestone or pea gravel for the base of the light housing. This inorganic layer prevents soil heave during freeze-thaw cycles and ensures the fixture remains level.
Timing:
The window for garden preparation is dictated by your local Hardiness Zone and the biological clock of your specific cultivars. In Zones 5 through 7, the optimal time for ground disturbance is early spring, immediately after the last frost date when the soil temperature reaches a consistent 50 degrees Fahrenheit. This timing aligns with the transition from the dormant phase to the vegetative stage. During this period, plants exhibit high levels of auxin production, which facilitates rapid root regeneration following any accidental pruning during the light installation. Avoid major soil work during the reproductive stage (flowering) or late autumn senescence. Disturbing the root zone during senescence can interfere with the translocation of carbohydrates to the root system, which is vital for winter survival. Monitor the photoperiod; as days lengthen, the metabolic rate of the garden increases, providing a shorter recovery window for any physical stress caused by the installation process.
Phases:

Sowing and Site Preparation
Begin by clearing a 12-inch radius around the intended light location. Remove all competitive weeds and groundcover. Use a hori-hori knife to cut a clean perimeter, minimizing the tearing of lateral roots from nearby shrubs. Excavate the soil to a depth of 8 inches, keeping the topsoil and subsoil in separate piles to maintain the original soil horizons during backfilling.
Pro-Tip: Maintaining soil horizons preserves the existing mycorrhizal symbiosis. These fungal networks are depth-specific; burying topsoil fungi too deep can lead to their death, reducing the plant's ability to uptake phosphorus.
Transplanting and Relocation
If a plant sits directly in the path of the wiring, it must be relocated. Dig a root ball that is at least twice the width of the plant's canopy. Keep the root ball moist and out of direct sunlight to prevent the loss of turgor pressure. Replant at the same depth as the original site to avoid stem rot or root suffocation.
Pro-Tip: When transplanting, avoid excessive nitrogen. High nitrogen levels can cause a surge in vegetative growth that the compromised root system cannot support, leading to desiccation stress.
Establishing and Backfilling
Once the light and conduit are in place, backfill the trench with the reserved soil. Tamp the soil down in 3-inch increments to eliminate large air pockets while avoiding extreme compaction. Water the area immediately to settle the particles around the roots and the fixture base.
Pro-Tip: Firm contact between soil and roots is essential for capillary action. Air pockets act as barriers to water movement, effectively "droughting" the roots even in moist soil.
The Clinic:
Physiological disorders often appear after the mechanical stress of installation. Monitor your plants for these specific symptoms:
Symptom: Interveinal chlorosis (yellowing between green veins) on new leaves.
Solution: This indicates Iron deficiency, often caused by a pH spike from disturbed limestone or concrete. Apply chelated iron to the soil.
Symptom: Wilting despite adequate soil moisture.
Solution: This is likely Root Pruning Stress. The plant cannot uptake water fast enough to meet transpiration demands. Provide temporary shade to reduce the transpiration rate.
Symptom: Marginal leaf burn or necrosis.
Solution: This suggests Potassium deficiency or salt accumulation. Flush the soil with 2 inches of water to leach excess salts and apply a 0-0-50 sulfate of potash supplement.
Fix-It for Nitrogen Chlorosis: If older leaves turn a uniform pale yellow, the plant is scavenging nitrogen for new growth. Apply a quick-release calcium nitrate fertilizer to restore the N-P-K balance without altering soil pH significantly.
Maintenance:
Post-installation care requires precision. Use a soil moisture meter to ensure the disturbed area maintains a consistent moisture level. Deliver exactly 1.5 inches of water per week at the drip line of affected plants. Do not spray the light fixture directly; use a soaker hose to deliver water to the soil surface. Use bypass pruners to remove any branches that grow within 6 inches of the light source to prevent heat damage to the foliage. Check the stability of the light after the first heavy rain. If the soil has settled, add more friable loam to maintain a level grade. Inspect the area for soil crusting, which can reach a thickness of 0.25 inches and prevent oxygen from reaching the roots. Lightly cultivate the top inch of soil with a hand rake to break this crust and maintain gas exchange.
The Yield:
For gardens featuring edible ornamentals or cut flowers, the addition of light can alter the harvest window. Artificial light can extend the photoperiod, potentially delaying the flowering of short-day plants or accelerating long-day plants. Harvest flowers in the early morning when turgor pressure is at its peak. Use a sharp, sterilized blade to make a diagonal cut. For "day-one" freshness, immediately submerge the stems in 110-degree Fahrenheit water to remove air bubbles from the xylem. This technique, known as pulsing, ensures the vascular system remains open for maximum water uptake.
FAQ:
How deep should I dig the trench for the light wire?
Dig the trench at least 6 to 8 inches deep. This depth protects the cable from aerators and hori-hori knives while staying above the primary root mass of most turfgrasses and small perennials.
Will the light heat affect my plants?
LED fixtures produce minimal heat, but halogen bulbs can cause thermal necrosis. Maintain a 6-inch clearance between the bulb and any foliage to prevent leaf scorch and localized dehydration of the plant tissues.
Do I need to add fertilizer after installing a light?
Yes, apply a low-nitrogen starter fertilizer. A ratio like 5-10-10 encourages root development over lush foliage. This helps the plant recover from any root disturbance caused by digging the trench or placing the fixture.
Can I install a light near a large tree?
Avoid digging within the Critical Root Zone (CRZ), which is a circle with a radius of 1 foot for every inch of trunk diameter. Cutting large structural roots can lead to instability and fungal infections in the heartwood.