9 Tips to Use a Border Spade for Precise Edging
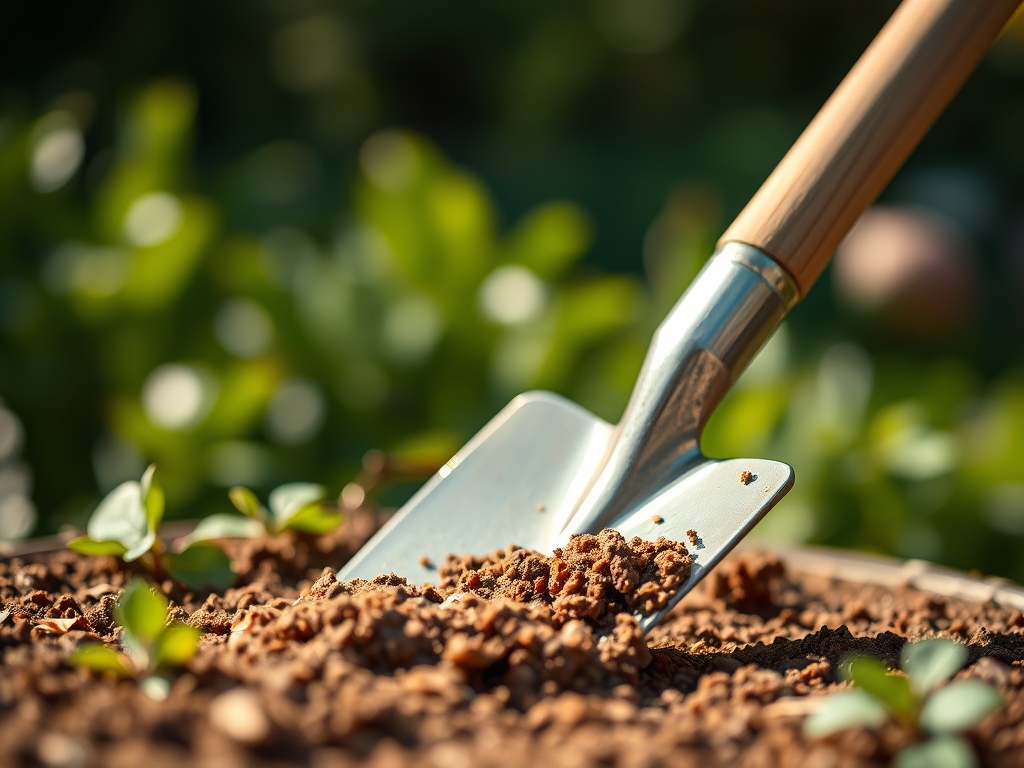
The scent of damp, disturbed earth signals the beginning of structural refinement in the garden. When the soil reaches a consistent temperature of 55 degrees Fahrenheit, it achieves the perfect friability for manipulation. Using a spade for outdoor design requires more than brute force; it demands an understanding of soil physics and the structural integrity of the root zone. A border spade, with its smaller blade and flatter profile compared to a digging spade, allows for surgical precision when defining the transition between turfgrass and ornamental beds. This tool minimizes the disruption of the rhizosphere, ensuring that the delicate network of fungal hyphae and root hairs remains largely intact while you establish a clean, vertical edge. By managing the physical boundary of the soil, you control the lateral spread of aggressive rhizomatous species and maintain the distinct aesthetic lines required for high-level landscape architecture. The goal is a sharp, ninety-degree cut that exposes the soil profile and prevents the encroachment of stoloniferous grasses into your nutrient-dense planting zones.
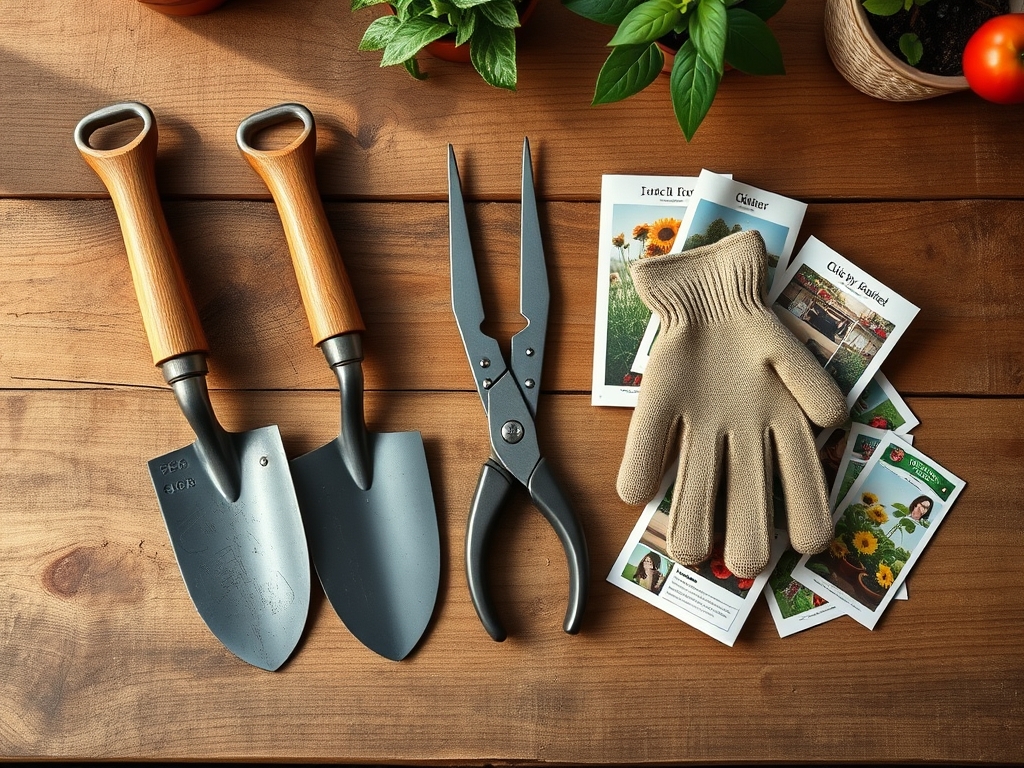
Materials:
Precise edging begins with the substrate. The ideal medium is a **friable loam** with a **Cation Exchange Capacity (CEC) between 15 and 25 meq/100g**. This ensures the soil holds enough structural tension to maintain a vertical cut without collapsing. Before you begin using a spade for outdoor design, test your soil pH. Aim for a range of **6.2 to 6.8** to optimize nutrient availability.
For the vegetation being edged, maintain specific NPK ratios to ensure recovery from root pruning. Use a 10-10-10 balanced fertilizer for general turf recovery, or a high-phosphorus 5-10-5 starter fertilizer if you are installing new plugs along the edge. The soil should feel like coarse breadcrumbs when squeezed; if it forms a hard, sticky ball, the clay content is too high and the spade will tear the soil rather than slicing it. If it crumbles instantly, the sand content is excessive, and the edge will lose its definition within one rain cycle.
Timing:
Timing is dictated by the Hardiness Zone and the local frost-date window. In Zones 5 through 7, the primary edging window opens in early spring, approximately two weeks before the last predicted frost. This coincides with the plant's transition from dormancy to the vegetative stage. During this period, turgor pressure is increasing in the roots, making them easier to slice cleanly.
Avoid edging during the reproductive stage (flowering) of your border plants, as the biological clock redirects energy away from root repair and toward seed production. The best time for structural soil work is when the plant is in a high-growth vegetative state, typically when soil moisture is at 60 percent of field capacity. Working in bone-dry soil leads to compaction, while working in saturated soil destroys the macropores necessary for oxygen exchange in the root zone.
Phases:
Sowing and Preparation
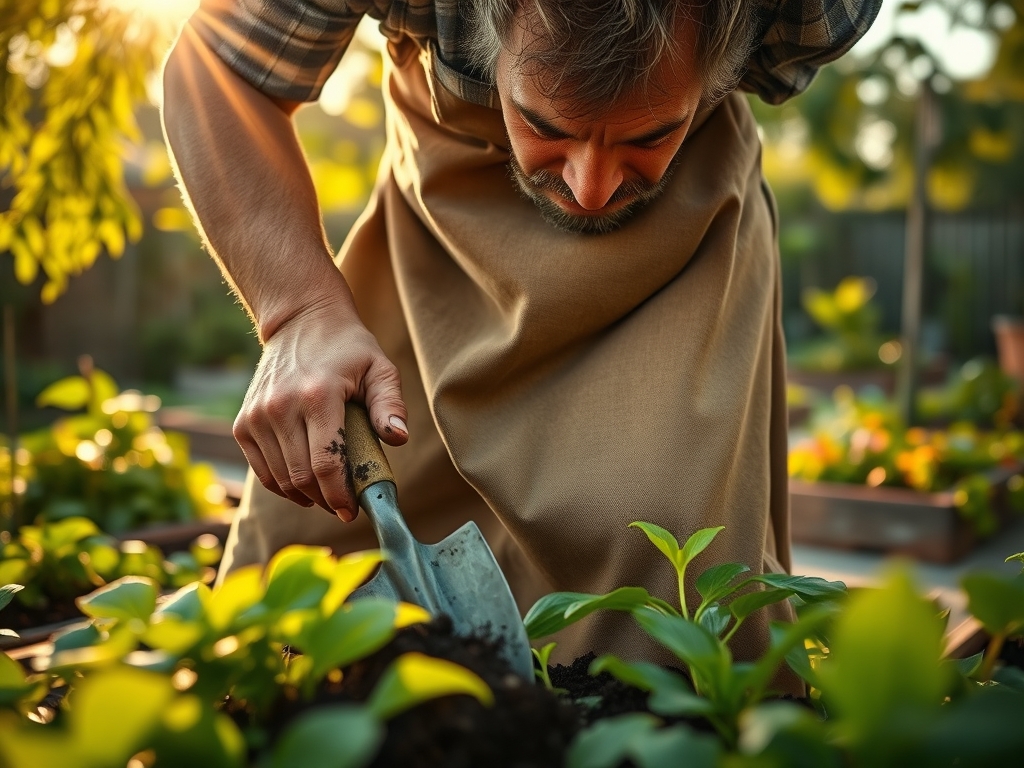
Before the spade touches the earth, mark your line using a garden hose or a string line. For curved beds, use a flexible hose to create organic flow. Ensure the grass is mowed to a height of 2.5 inches to expose the soil surface. Clear any mulch back at least 4 inches from the intended cut line to prevent organic matter from contaminating the vertical slice.
Pro-Tip: Slicing the soil at a slight inward angle promotes auxin suppression in the severed grass roots. By cutting the stolons cleanly, you interrupt the hormonal flow that encourages lateral expansion, effectively slowing the grass's return into the bed.
Transplanting and Defining
Drive the border spade vertically to a depth of 4 to 6 inches. This depth is critical because it bypasses the primary rhizosphere of most turfgrasses, which resides in the top 3 inches of soil. Use a rocking motion to create a "V" shaped trench. Remove the severed turf and place it in a wheelbarrow; do not shake the soil back into the trench, as this reintroduces weed seeds.
Pro-Tip: Maintaining a clean vertical wall encourages mycorrhizal symbiosis within the bed. By removing the competition of turf roots, you allow beneficial fungi to colonize the ornamental root systems more effectively, increasing their uptake of phosphorus and micronutrients.
Establishing the Edge
Once the trench is cut, use a hori-hori knife to clean up any stray roots or jagged soil clumps. The final trench should be a clean drop-off. Fill the bottom of the trench with a thin layer of coarse horticultural sand if your soil has high clay content. This provides a drainage channel that prevents water from pooling at the edge and causing root rot in your border plants.
Pro-Tip: A sharp edge creates a micro-climate of high gas exchange. This increased aeration at the bed's perimeter prevents anaerobic conditions, ensuring that the transition zone remains a healthy environment for beneficial aerobic bacteria.
The Clinic:
Physiological disorders often manifest at the edges of a landscape where human interference is highest.
- Symptom: Edge Collapse. The vertical wall of the trench crumbles within days.
- Solution: This indicates low organic matter (OM) or excessive sand. Incorporate compost to increase soil "glue" (glomalin) and improve structural stability.
- Symptom: Nitrogen Chlorosis. Yellowing leaves on plants near the new edge.
- Solution: Root pruning during edging can temporarily reduce nutrient uptake. Apply a quick-release liquid nitrogen (N) supplement at a rate of 0.5 lbs per 1,000 square feet to bridge the gap during root regeneration.
- Symptom: Root Desiccation. Exposed roots at the edge turn brown and brittle.
- Solution: Ensure the trench is not too deep. Apply a 2-inch layer of organic mulch up to, but not over, the vertical edge to retain moisture in the exposed soil profile.
Maintenance:
Precision edging is not a "one and done" task. Use a soil moisture meter weekly to ensure the edge zone maintains at least 15 percent volumetric water content. Plants at the edge of a bed are more susceptible to drying out due to the increased surface area of the exposed soil wall. Provide 1.5 inches of water per week delivered at the drip line.
Keep your tools in professional condition. A dull spade will crush cells rather than slicing them, leading to senescence in the surrounding turf. Sharpen your spade with a mill file after every 50 linear feet of edging. Use bypass pruners to nip any woody roots larger than 0.5 inches in diameter that the spade cannot cleanly cut.
The Yield:
While edging is primarily structural, it impacts the yield of flowering borders and edible edges. By eliminating root competition, you increase the photosynthetic efficiency of your border plants. For flowers like Lavandula or Salvia, this results in a higher concentration of essential oils and more robust blooms. Harvest these during the morning hours when turgor pressure is at its peak. Use sharp shears to cut stems at a 45-degree angle and immediately plunge them into 40-degree Fahrenheit water to maintain "day-one" freshness and prevent vascular air embolisms.
FAQ:
How deep should I dig an edge for a garden bed?
Aim for a depth of 4 to 6 inches. This depth effectively severs the rhizomes and stolons of most common turfgrasses while maintaining the structural integrity of the soil wall without causing significant collapse.
What is the best tool for creating a curved garden edge?
A border spade with a slightly rounded blade is superior for curves. Its smaller footprint allows for incremental adjustments in direction, creating a smoother arc than a full-sized digging spade or a flat-edged power edger.
When is the best time of year to edge my landscape?
Perform primary edging in early spring when soil moisture is at field capacity. A secondary "tidy-up" in late summer helps manage the flush of growth before the plants enter the senescence phase of their life cycle.
Does edging damage the roots of my existing trees?
If you encounter roots larger than 1 inch in diameter, do not force the spade. Use bypass pruners for a clean cut or move the edge outward. Clean cuts heal faster and resist pathogens better than crushed roots.