6 Steps to Build a Sturdy Outdoor Garden Pergola
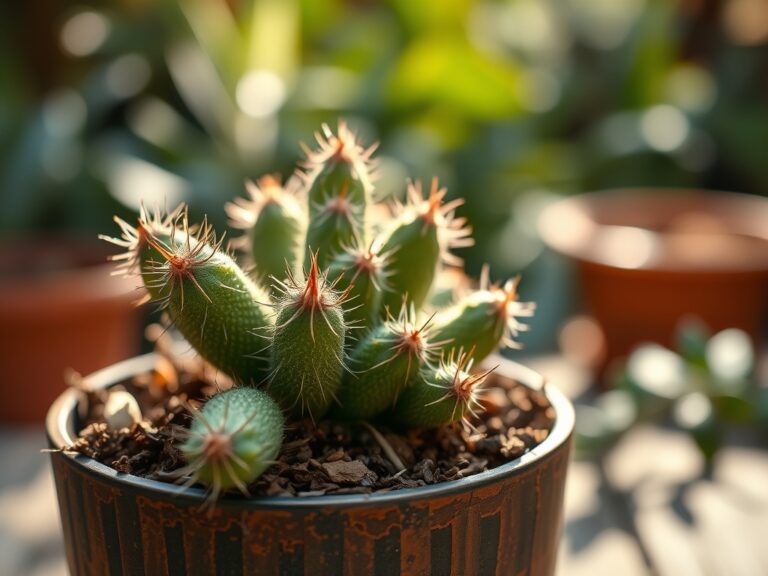
Damp earth releases a sharp, geosmin-rich scent when disturbed by a spade. This olfactory signal indicates active microbial life within the rhizosphere. Healthy leaf turgor depends on a stable structural environment that protects plants from wind shear and excessive solar radiation. Mastering the steps for building a garden pergola provides this necessary infrastructure. A well-engineered pergola acts as a biological support system for climbing taxa while regulating the microclimate of the soil surface below.
Materials:
Construction begins with the substrate. The ideal foundation for a pergola supporting heavy vines is **friable loam**. This soil texture allows for a high Cation Exchange Capacity (CEC), ensuring that minerals like potassium and magnesium remain available to the root zone. Before setting posts, test the soil pH; most woody climbers thrive in a range of **6.0 to 7.0**.
For the biological health of the plants integrated into the structure, maintain an NPK ratio of 10-10-10 for general vegetative support. If the pergola is intended for flowering species like Wisteria or Clematis, shift to a 5-10-5 ratio during the budding phase to prioritize phosphorus for floral development over nitrogen-heavy leaf production. Use pressure-treated lumber or naturally rot-resistant cedar to prevent fungal pathogens from migrating from the wood into the plant vascular system.
Timing:
The biological clock for construction is dictated by Hardiness Zones. In Zones 5 through 7, construction should occur during the dormant season or early spring before the "bud break" stage. This timing ensures that the soil is not overly saturated, which prevents compaction. Soil compaction reduces pore space, suffocating the aerobic bacteria necessary for nutrient cycling.
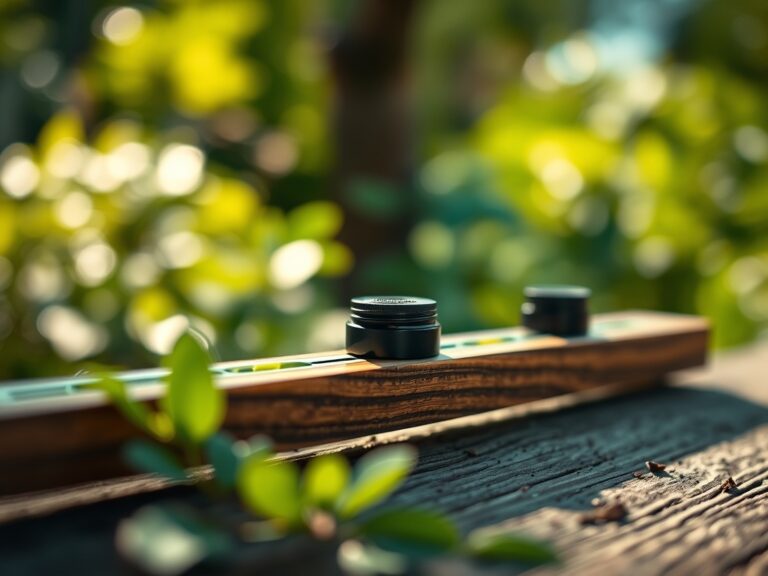
Monitor the frost-date windows in your specific latitude. Ground should be worked when soil temperatures reach a consistent 45 degrees Fahrenheit. This temperature marks the transition from dormancy to the vegetative stage for many perennial climbers. Installing the structure before this window prevents mechanical damage to emerging shoots and allows root systems to establish without the stress of high evapotranspiration rates common in mid-summer.
Phases:

Sowing and Foundation
Excavate post holes to a depth of at least 36 inches, or below the local frost line. This prevents "heaving," where the freeze-thaw cycle pushes the structure out of the ground. Use a level to ensure verticality.
Pro-Tip: When backfilling post holes, integrate mycorrhizal fungi inoculants into the surrounding soil. This encourages mycorrhizal symbiosis, a biological relationship where fungi extend the reach of plant roots to better absorb phosphorus and water.
Transplanting and Structural Integration
Once the frame is secure, introduce your climbing species at the base of the posts. Dig a hole twice the width of the root ball. Ensure the crown of the plant sits exactly at the soil line to prevent crown rot.
Pro-Tip: Use soft ties to guide young stems toward the vertical supports. This utilizes phototropism, the biological tendency of plants to grow toward light. By providing a clear path upward, you maximize the plant's photosynthetic efficiency.
Establishing and Training
As the plant reaches the overhead joists, selective pruning is required. Remove the terminal buds of secondary branches to encourage lateral growth across the top of the pergola.
Pro-Tip: This technique relies on auxin suppression. By removing the apical meristem (the tip), you stop the flow of the hormone auxin which normally inhibits side growth. This results in a fuller, denser canopy that provides better shade and structural stability.
The Clinic:
Physiological disorders often manifest as physical symptoms on the foliage.
- Symptom: Interveinal chlorosis (yellowing between green veins).
Solution: This indicates a Magnesium deficiency. Apply Epsom salts (magnesium sulfate) at a rate of 1 tablespoon per gallon of water to restore chlorophyll production. - Symptom: Stunted growth and dark purple undersides of leaves.
Solution: This is a sign of Phosphorus deficiency. Incorporate bone meal into the top 2 inches of the soil to improve energy transfer within the plant. - Symptom: Marginal leaf burn (browning edges).
Solution: This suggests Potassium deficiency or salt accumulation. Flush the root zone with 2 inches of fresh water and adjust the NPK balance. - Symptom: General yellowing of older leaves (Nitrogen chlorosis).
Fix-It: Apply a high-nitrogen organic fertilizer like blood meal. Nitrogen is a mobile nutrient; the plant moves it from old leaves to new growth when soil levels are low.
Maintenance:
Consistency is the primary requirement for structural and botanical longevity. Provide 1.5 inches of water per week at the drip line. Avoid wetting the foliage to prevent the spread of powdery mildew. Use a soil moisture meter to verify that the root zone is damp at a 6-inch depth before adding more water.
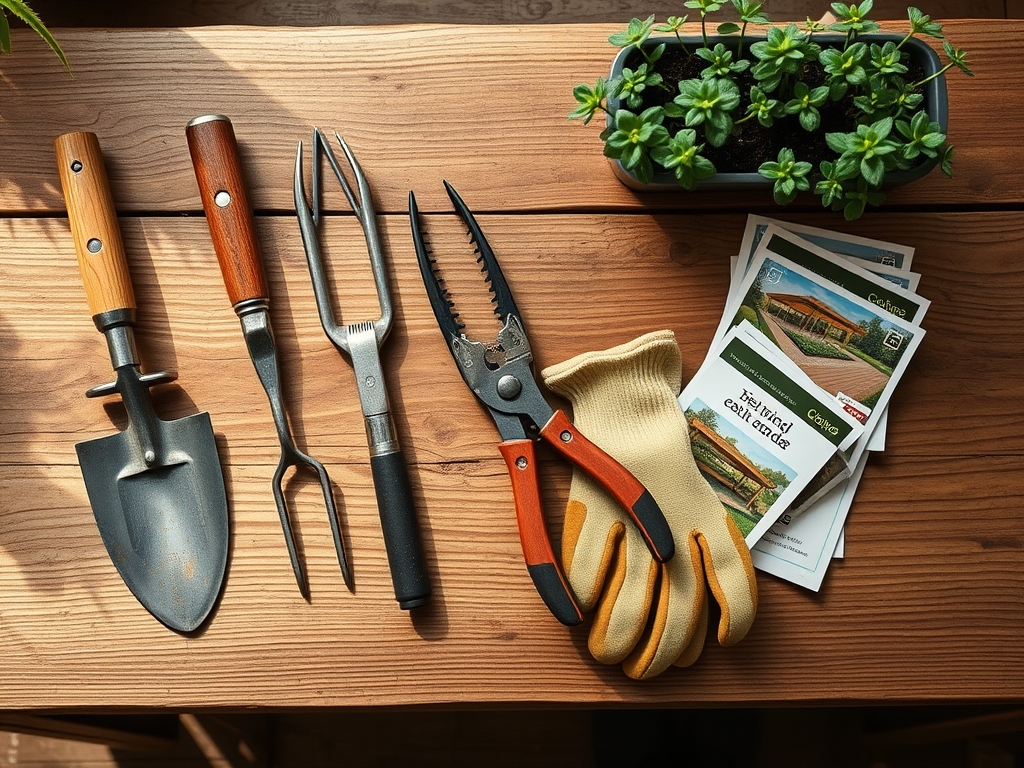
Keep a hori-hori knife sharp for weeding around the base of the pergola posts; this prevents competition for nutrients. Use bypass pruners for clean cuts on woody vines. A clean, slanted cut at a 45-degree angle allows water to run off the wound, reducing the risk of fungal infection. Annually check the structural fasteners for oxidation and tighten as needed to account for wood expansion and contraction.
The Yield:
If your pergola supports fruiting vines like Vitis vinifera (grapes), harvest timing is critical. Use a refractometer to measure the Brix level (sugar content). For most table grapes, a Brix reading of 16 to 18 is ideal.
Harvest during the cool morning hours to maintain high cellular turgor. Use sharp shears to cut the cluster stem; avoid pulling, which can damage the vine's vascular tissue. For "day-one" freshness, move the harvest immediately to a cool, humid environment to slow the rate of senescence (the biological aging process).
FAQ:
How deep should pergola posts be buried?
Posts must be buried at least 36 inches deep or below the local frost line. This depth ensures structural stability against wind loads and prevents the ground from shifting the wood during winter freeze-thaw cycles.
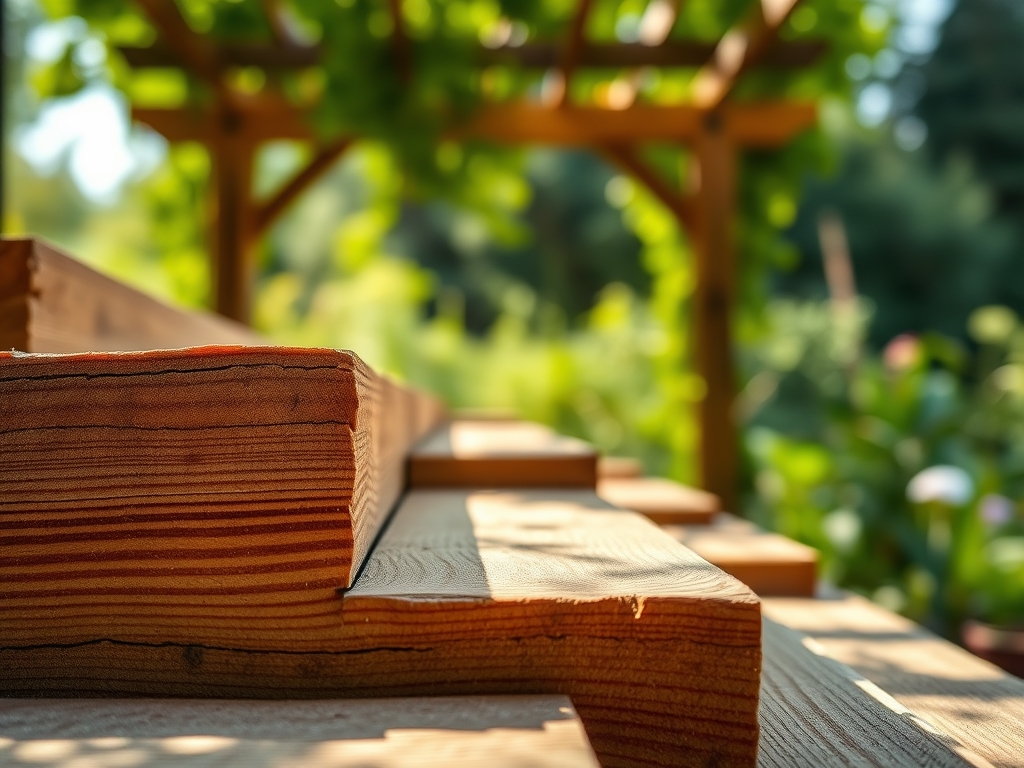
What is the best wood for a garden pergola?
Western Red Cedar and Redwood are the superior botanical choices. These species contain natural tannins and oils that resist rot and insect infestation, ensuring the structure survives the high-moisture environment of a lush garden.
How do I stop my climbing plants from dying?
Maintain a soil pH between 6.0 and 7.0 and ensure consistent moisture. Use a soil moisture meter to avoid overwatering, which causes root hypoxia. Provide adequate NPK nutrients based on the specific growth stage of the vine.
Can I build a pergola over existing plants?
Yes, but you must avoid damaging the rhizosphere. Hand-dig post holes to feel for major structural roots. If you encounter a root larger than 2 inches in diameter, shift the post location to prevent significant physiological stress to the plant.