8 Tips to Use a Copper Cloth for Removing Tool Rust
The scent of damp earth and the iron tang of wet steel signal the shift from spring preparation to active cultivation. When the turgor pressure in a seedling is at its peak, the tools used to maintain that growth must be surgically clean. Ferrous oxidation on carbon steel blades introduces friction and harborages for pathogens that can disrupt the vascular system of a plant. Using a copper cloth for removing light tool rust is a non-abrasive method to restore the integrity of your shears and spades. Copper is softer than steel on the Mohs scale; it shears away the brittle iron oxide without gouging the resilient metal beneath. Maintaining a smooth surface on your bypass pruners ensures clean cuts that callouse quickly, preventing the entry of opportunistic fungi into the plant's xylem.
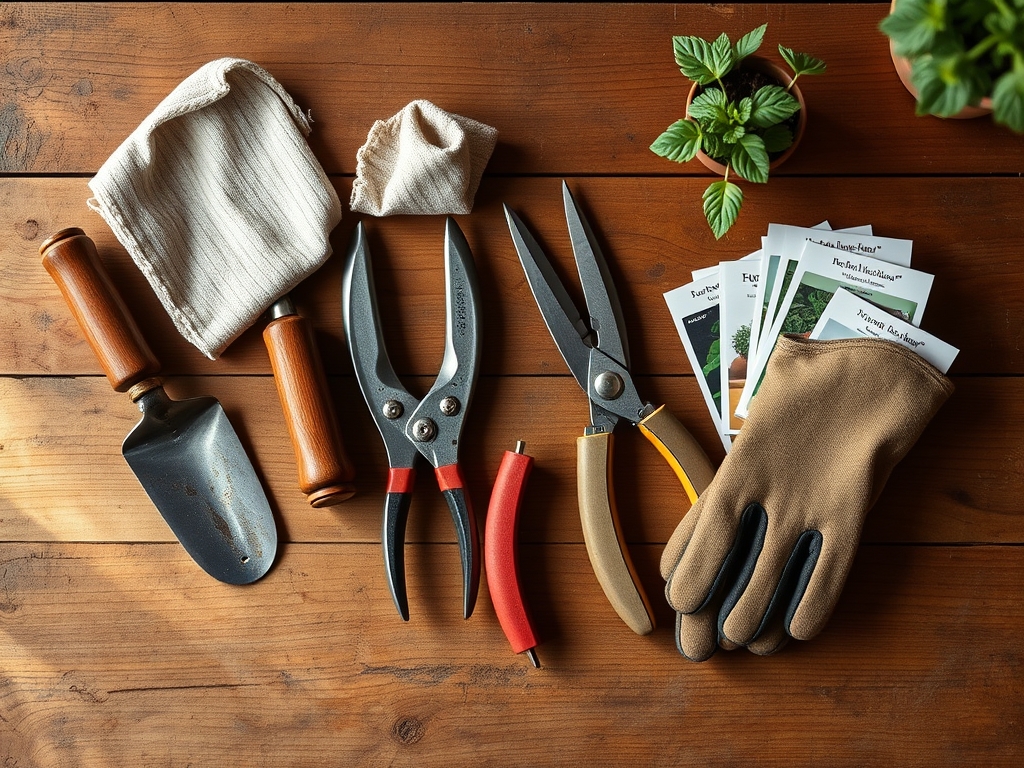
Materials:
To support the health of the garden where these tools labor, the substrate must be a **friable loam** with a **Cation Exchange Capacity (CEC) between 15 and 25**. Ideal soil pH for most temperate ornamentals and vegetables falls between **6.2 and 6.8**. When prepping the garden beds after tool maintenance, incorporate organic matter to achieve an **NPK ratio of 5-10-5** for root establishment or **10-10-10** for general vegetative growth. High nitrogen levels (the first number in the NPK sequence) promote chlorophyll production, while phosphorus (the middle number) is essential for ATP energy transfer during the plant’s metabolic processes. Ensure the soil texture allows for 25 percent air space to prevent root hypoxia.
Timing:
Tool maintenance and planting schedules are dictated by the frost-date windows in your specific Hardiness Zone. In Zones 5 through 7, the transition from the vegetative stage to the reproductive stage often occurs as the photoperiod shifts in mid-summer. You must remove rust and calibrate your tools before the spring thaw, typically when soil temperatures reach a consistent 50 degrees Fahrenheit. This biological clock governs the metabolic rate of soil microbes. If you prune during the senescence phase in late autumn, your tools must be sterile to prevent the spread of dormant spores. Using a copper cloth for removing light tool rust during these transition periods ensures your equipment is ready for the high-intensity labor of the growing season.
Phases:
Sowing
Begin by preparing the seedbed to a depth of 6 inches. Ensure the soil is moist but not saturated to avoid damping-off. Use a clean hori-hori knife to create furrows at the depth specified for the seed size, usually two to three times the seed diameter.
Pro-Tip: Proper sowing depth is critical for photoblastism. Some seeds require light to trigger germination; burying them too deep prevents the red-light spectrum from reaching the embryo and initiating the hormonal shift required for growth.
Transplanting
Move seedlings when they have developed at least two sets of true leaves. Dig a hole twice the width of the root ball to encourage lateral root expansion into the surrounding rhizosphere. Maintain the existing soil line to avoid stem rot.
Pro-Tip: When transplanting, minimize root disturbance to protect mycorrhizal symbiosis. These beneficial fungi extend the root system's reach, increasing the uptake of phosphorus and water through a microscopic hyphal network.
Establishing
During the first 14 to 21 days, focus on deep hydration to encourage downward root geotropism. Monitor the soil with a moisture meter to ensure the root zone remains at 60 to 70 percent field capacity.
Pro-Tip: Avoid overhead watering to prevent auxin suppression in the apical meristem. Water delivered directly to the base of the plant reduces leaf wetness, which significantly lowers the probability of fungal infection and maintains high turgor pressure.
The Clinic:
Physiological disorders often mimic disease but result from environmental or nutritional imbalances.
Symptom: Interveinal chlorosis on young leaves.
Solution: This indicates an Iron (Fe) deficiency, often caused by a soil pH above 7.0.
Fix-It: Lower the pH using elemental sulfur to increase the bioavailability of micronutrients in the soil solution.
Symptom: Necrosis at the leaf margins and weak stems.
Solution: This points to a Potassium (K) deficiency, which compromises the plant's ability to regulate stomatal opening and closing.
Fix-It: Apply a high-potash fertilizer or kelp meal to restore osmotic balance and cellular structural integrity.
Symptom: Blossom end rot on fruit.
Solution: This is a Calcium (Ca) transport issue, frequently caused by inconsistent moisture levels rather than a lack of calcium in the soil.
Fix-It: Maintain a steady irrigation schedule of 1.5 inches of water per week to ensure a continuous transpiration stream.
Maintenance:
Precision maintenance extends the life of both the tool and the plant. Apply 1.5 inches of water per week at the drip line of the plant to ensure the deep root architecture is hydrated. Use bypass pruners for live tissue to ensure a clean, scissor-like cut; anvil pruners should be reserved for dead wood as they crush the vascular bundles of living stems. After every use, wipe the blades of your hori-hori knife with a dry cloth. If light oxidation appears, use a copper cloth with a drop of mineral oil to scrub the surface. This prevents the rust from pitting the steel. Store tools in a bucket of dry sand mixed with a small amount of vegetable oil to displace moisture and prevent future corrosion.
The Yield:
Harvesting should occur during the "cool of the day," typically just after dew has evaporated but before the sun reaches its zenith. This timing ensures maximum turgor pressure within the plant tissues, resulting in a crisp texture. For leafy greens, use sharp, sterilized shears to cut the outer leaves, allowing the central growing point to continue production. For fruiting bodies, harvest when the color is uniform and the fruit detaches with a slight twist. Post-harvest, hydro-cool the produce by submerging it in 40-degree Fahrenheit water to remove field heat. This slows the rate of respiration and prevents rapid senescence, preserving the nutrient density and flavor for several days.
FAQ:
How does copper remove rust without damaging steel?
Copper is softer than steel. It creates an abrasive action sufficient to lift brittle iron oxide (rust) without scratching the hardened carbon steel of the tool blade. This preserves the smooth surface necessary for clean horticultural cuts.
When is the best time to clean garden tools?
Clean tools immediately after use to prevent sap and soil moisture from initiating oxidation. A deep cleaning with a copper cloth should be performed at the end of every growing season before winter storage.
Can I use a copper cloth on stainless steel tools?
Yes. Stainless steel is resistant to rust but can develop surface contaminants. A copper cloth provides a gentle mechanical scrub that removes buildup without compromising the protective chromium oxide layer that makes the steel "stainless."
What should I apply to tools after removing rust?
After using a copper cloth, wipe the tool with a clean rag to remove debris. Apply a thin layer of food-grade mineral oil or camellia oil. This creates a hydrophobic barrier that prevents oxygen and moisture from reaching the metal.