9 Best Natural Mulch for Sustainable Outdoor Design
The smell of damp earth after a heavy rain indicates a high concentration of geosmin; this organic compound signals a healthy microbial population within the rhizosphere. When a leaf maintains maximum turgor pressure, it stands rigid against the wind, a direct result of efficient water retention and cellular hydration. Achieving this level of plant health requires more than just irrigation. Selecting the Best mulch for outdoor design is a technical decision that dictates the Cation Exchange Capacity (CEC) of your topsoil and the rate of nutrient cycling. A poorly chosen mulch can lead to nitrogen immobilization or soil acidification, effectively stunting the growth of high-value specimens. In contrast, a scientifically applied organic layer regulates soil temperature fluctuations, suppressing weed germination while providing a steady release of micronutrients. For the professional horticulturist, mulch is not a cosmetic finish; it is a functional biological interface that manages the gas exchange and moisture levels of the soil profile. Proper application ensures that the root zone remains within the optimal thermal range of 65 to 75 degrees Fahrenheit for maximum nutrient uptake.
Materials:
The selection of mulch depends on the target soil pH and the desired NPK contribution during decomposition. The goal is to maintain a **friable loam** texture that allows for oxygen diffusion.
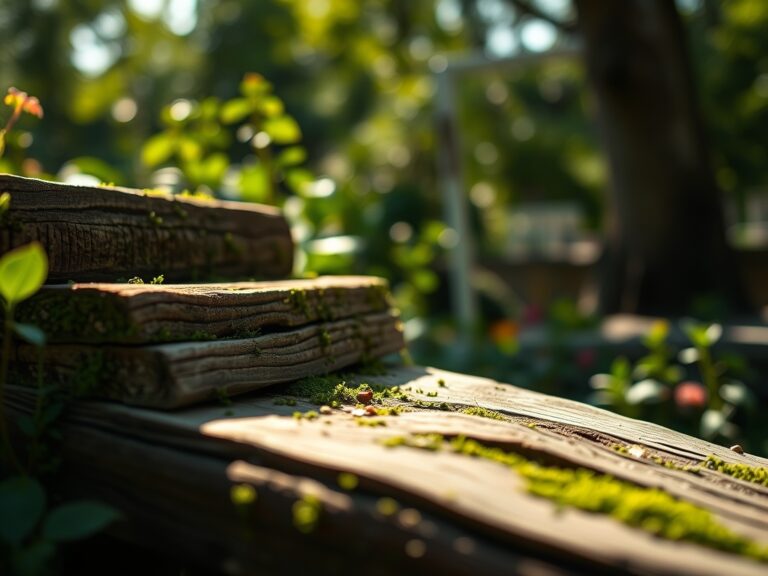
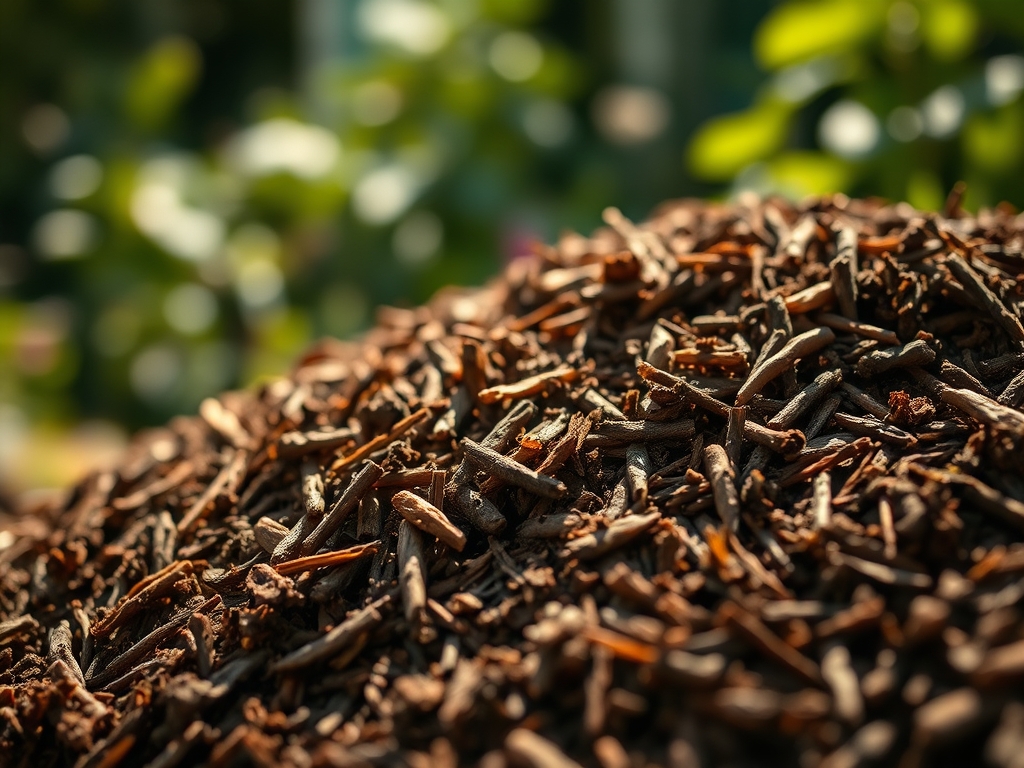
- Arborist Wood Chips: These have a high Carbon-to-Nitrogen (C:N) ratio, often exceeding 200:1. They are ideal for established woody perennials.
- Pine Bark Nuggets: These maintain a pH of 4.0 to 5.0. Use these for acid-loving plants like blueberries or azaleas to lower the alkalinity of the rhizosphere.
- Wheat Straw: High in potassium with an NPK of approximately 0.5-0.15-1.2. It is the standard for vegetable beds requiring rapid decomposition.
- Leaf Mold: This material is rich in calcium and magnesium. It has a high CEC, which improves the soil's ability to hold onto positively charged nutrients.
- Pine Needles (Pine Straw): These do not compact, allowing for superior gas exchange. They are excellent for slopes due to their interlocking physical structure.
- Buckwheat Hulls: Fine-textured and neutral in pH. They provide a dense cover that effectively prevents light from reaching weed seeds.
- Composted Manure: High nutrient density with an NPK of 0.5-0.5-0.5. This must be fully aged to prevent ammonium toxicity.
- Shredded Cedar: Contains natural thujone, which acts as a botanical deterrent for specific arthropods without synthetic chemicals.
- Grass Clippings: High in nitrogen (4-0.5-2). These must be applied in thin layers to prevent anaerobic matting.
Timing:
The application window for mulch is governed by the Hardiness Zones and the local frost-date calendar. In Zones 5 through 7, the primary application occurs in late spring after the soil has warmed to at least 55 degrees Fahrenheit. Applying mulch too early in the spring can trap winter cold in the ground, delaying the "Biological Clock" of the plant. This delay slows the transition from the vegetative stage to the reproductive stage, as root metabolism remains sluggish. In Zones 8 through 10, a secondary application in autumn is critical to insulate roots against sudden desiccation. You must monitor the photoperiod; as days shorten, plants begin the process of senescence. Mulching during this transition helps maintain the steady soil temperatures required for perennial roots to store carbohydrates before dormancy.
Phases:

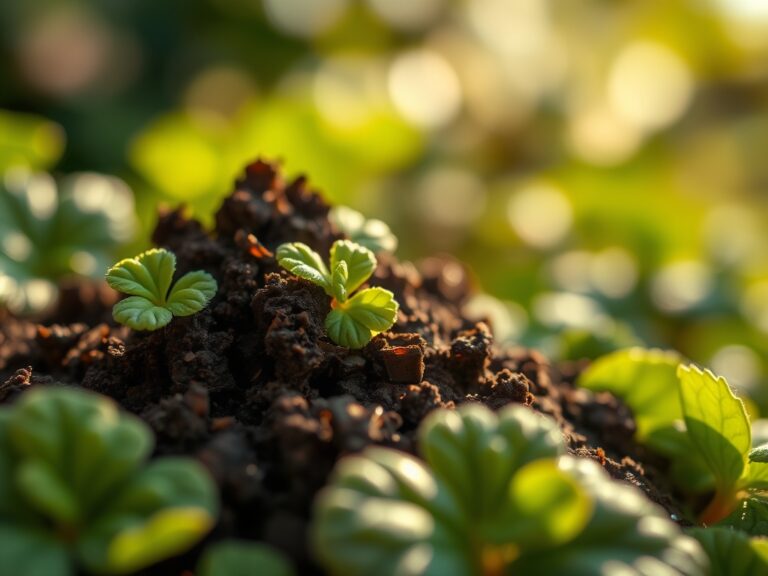
Sowing
When sowing seeds, mulch must be fine-textured or avoided entirely until the first true leaves appear. Heavy mulch can physically obstruct the hypocotyl as it emerges from the soil. Use a thin 0.25-inch layer of screened compost to maintain moisture without blocking light.
Pro-Tip: Proper light exposure is essential for seeds that exhibit positive photoblastism. Excessive mulch depth prevents the red-light wavelengths from triggering the phytochrome system, which is the Biological Why behind germination failure in many wildflower species.
Transplanting
When moving a plant from a container to the field, the mulch should be pulled back 3 inches from the main stem or trunk. This prevents crown rot and discourages adventitious root growth above the soil line.
Pro-Tip: Maintaining a clear space around the stem prevents the suppression of auxin transport. If the stem is buried in mulch, the plant may prioritize lateral bud growth over apical dominance, a Biological Why that results in a stunted, shrubby habit instead of vertical vigor.
Establishing
During the first 60 days of establishment, mulch serves as a moisture capacitor. It reduces the rate of evaporation, ensuring that the young root system does not experience a loss of turgor.
Pro-Tip: Organic mulches encourage mycorrhizal symbiosis. The Biological Why is that fungi thrive in the stable, moist environment under the mulch, extending the reach of the root system and increasing the uptake of phosphorus and micronutrients.
The Clinic:
Physiological disorders often arise from improper mulch management or the resulting soil chemistry shifts.
- Symptom: Nitrogen Chlorosis: Older leaves turn pale yellow while veins remain green.
- Solution: This is often caused by "nitrogen tie-up" when high-carbon mulches like fresh sawdust are tilled into the soil.
- Fix-It: Top-dress with a high-nitrogen fertilizer such as blood meal (12-0-0) to compensate for the microbial consumption of nitrogen.
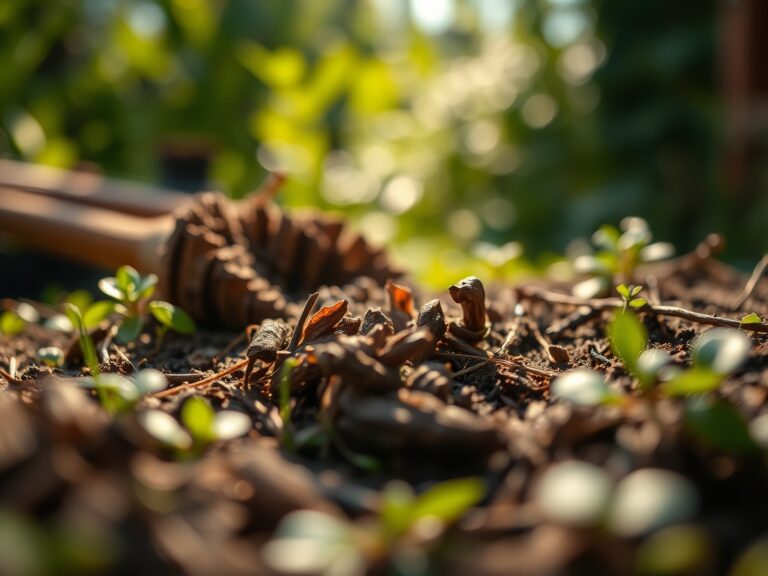
- Symptom: Slime Mold (Fuligo septica): A bright yellow or orange mass appears on top of the mulch.
- Solution: This is a saprophytic organism, not a pathogen. It indicates high moisture and decaying organic matter.
- Fix-It: Use a hori-hori knife to break up the mass and allow it to dry out; reduce irrigation frequency.
- Symptom: Iron Deficiency: New growth is yellow with green veins, common in alkaline soils.
- Solution: Over-mulching with limestone-based gravel or certain hardwoods can raise pH.
- Fix-It: Apply chelated iron and transition to an acidic mulch like pine bark to lower the pH to a range of 5.5 to 6.5.
Maintenance:
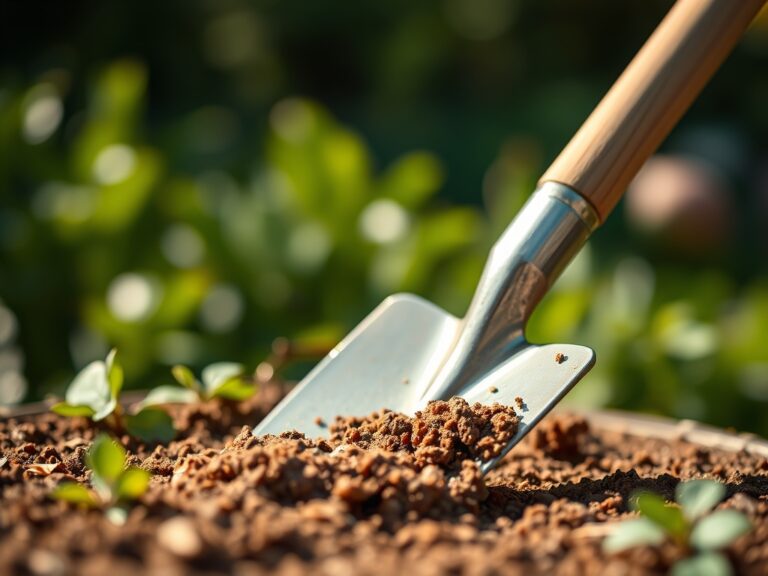
Effective maintenance requires precision. Monitor the root zone with a soil moisture meter to ensure the substrate remains at 60% to 80% field capacity. Most ornamental landscapes require 1.5 inches of water per week delivered at the drip line. Use bypass pruners to remove any suckers that emerge from the mulch layer, as these divert energy from the main terminal. Every spring, use a hori-hori knife to check the depth of the mulch; it should never exceed 3 inches. If the mulch has compacted into a hydrophobic crust, rake it to break the surface tension and restore gas exchange to the rhizosphere.
The Yield:
For those harvesting flowers or edible crops from mulched beds, timing is dictated by sugar and oil concentrations. Harvest herbs in the morning when essential oil levels are at their peak before the sun triggers volatilization. Use sharp shears to ensure clean vascular cuts, preventing tissue crushing. Post-harvest, submerge the stems in 40-degree Fahrenheit water immediately. This rapid cooling halts the metabolic rate and preserves "day-one" freshness by maintaining cellular turgor.
FAQ:
How thick should my mulch layer be?
Maintain a depth of 2 to 3 inches. This thickness is sufficient to suppress weed germination and retain moisture without obstructing oxygen diffusion to the root system or causing anaerobic soil conditions.
Can mulch change my soil pH?
Yes. Pine bark and needles gradually lower pH, making soil more acidic. Conversely, hardwood mulches tend to be neutral or slightly alkaline as they decompose. Always match mulch type to the plant's specific pH requirements.
Does mulch attract wood-destroying insects?
Mulch provides a moist habitat, but it does not typically attract termites unless applied in layers deeper than 4 inches directly against a wooden foundation. Keep mulch 6 inches away from any structural wood or siding.
When should I replace my mulch?
Organic mulch should be replenished when it has decomposed to less than 1 inch in depth. For most materials, this occurs every 12 to 18 months depending on local humidity and microbial activity levels.