9 Steps to Clean a Mechanical Seed Spreader Hopper
The smell of damp earth and the high turgor pressure of a healthy leaf signify a successful growing season; however, these results depend entirely on the precision of your equipment. Residual fertilizer salts and fungal spores left in a mechanical hopper will corrode metal components and contaminate your soil profile. Executing the proper steps for cleaning a seed spreader hopper ensures that your next application of nitrogen or fescue seed is not compromised by chemical clumping or uneven distribution. A single gram of leftover high-nitrogen fertilizer can absorb atmospheric moisture; this creates a caustic slurry that eats through galvanized steel and plastic agitators alike. Failure to maintain this tool leads to erratic flow rates and striping across the turf. Professional turf management requires a sterile, functional hopper to maintain the integrity of the rhizosphere. By stripping away the debris of the previous season, you protect the delicate balance of your soil chemistry and ensure that your mechanical settings remain calibrated to the gram.
Materials:
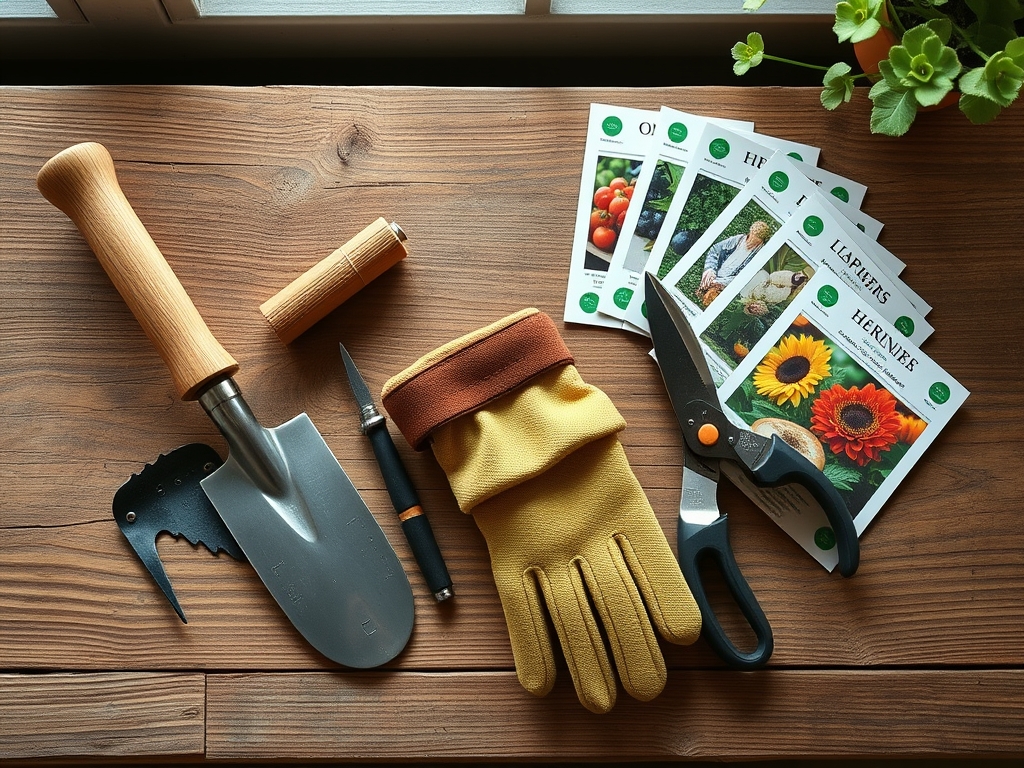
To maintain a friable loam with a **pH of 6.5 to 7.0**, your equipment must be free of contaminants that alter the Cation Exchange Capacity (CEC). You will need a stiff-bristled nylon brush, a pressurized water source, and a silicone-based lubricant. Avoid petroleum-based greases that can leach into the soil and disrupt the hydrophobic balance of the substrate. For neutralizing acidic fertilizer residues, keep a solution of sodium bicarbonate ready. If you are prepping for a high-phosphorus application, such as a **10-20-10 NPK ratio** for root establishment, ensure the hopper is bone dry to prevent the phosphate from caking. The ideal substrate texture for seed contact is a granular, non-clumping medium; any moisture in the hopper will cause the seeds to swell prematurely, triggering a metabolic state that leads to rot before the seed even hits the soil.
Timing:
Maintenance should occur immediately following the final application of the season, typically before the first hard frost in Hardiness Zones 4 through 7. As plants enter senescence and the biological clock shifts from the reproductive stage to dormancy, your focus must move to tool preservation. Cleaning must be performed when the ambient humidity is below 60 percent to ensure rapid evaporation. In warmer Hardiness Zones 8 through 10, where the growing season is extended, clean the hopper every three months to prevent the buildup of hygroscopic salts. If you wait until the spring thaw, the moisture trapped in the hopper during winter will have already initiated oxidation on the axle and flow plate.
Phases:

Sowing the Cleanliness Protocol
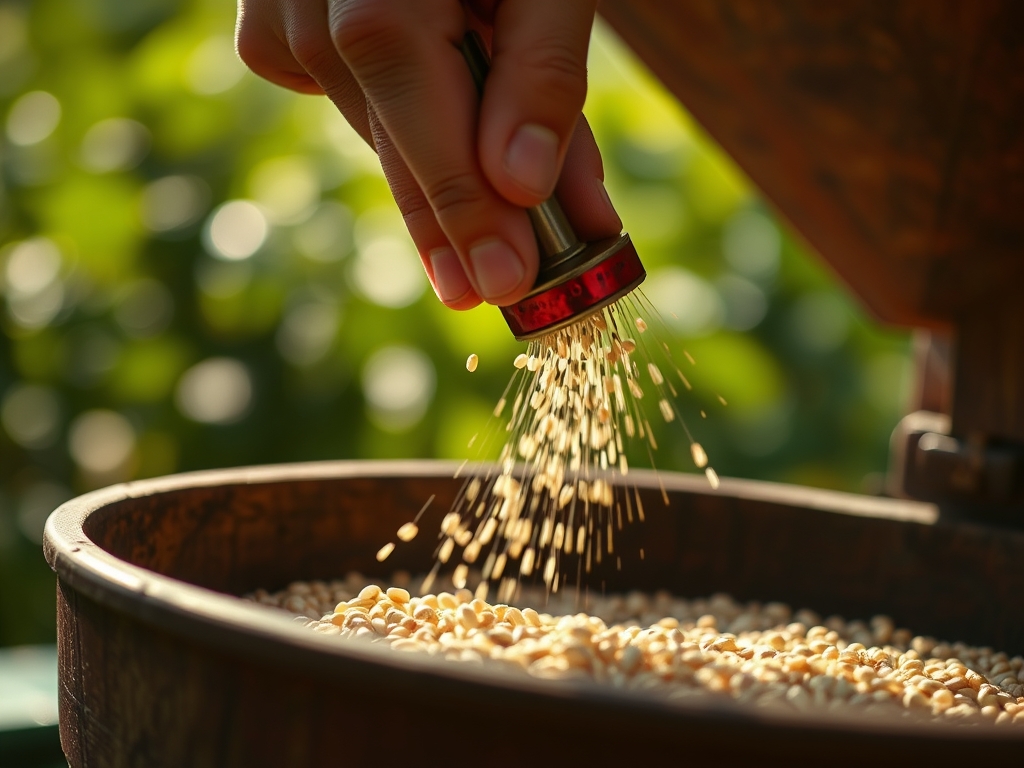
Begin by inverted the spreader to remove all loose particulates. Use a high-pressure air compressor or a stiff brush to clear the gearbox and the agitator pin. Residual dust often contains concentrated salts that can cause localized "burn" spots on the lawn if they drop in a single clump during the next use.
Pro-Tip: Removing old dust prevents the accidental introduction of pathogens into the rhizosphere. Fungal spores can survive on plastic surfaces for months; cleaning ensures you do not inadvertently inoculate your soil with Pythium or Rhizoctonia.
Transplanting Knowledge to the Gearbox
Wash the interior and exterior with a mild detergent. Focus on the "drop holes" where the rate of flow is regulated. If these apertures are narrowed by even 1 millimeter of debris, your application rate will be inaccurate, leading to nutrient deficiencies or toxicities.
Pro-Tip: Clean apertures ensure even distribution, which prevents auxin suppression in young seedlings. Uneven fertilizer distribution can lead to localized nitrogen spikes that stunt root elongation through hormonal imbalances.
Establishing a Protective Barrier
Once the hopper is dry, apply a dry-film lubricant to all moving parts. Unlike oil, dry-film lubricants do not attract dust or seed hulls. Rotate the wheels to ensure the lubricant penetrates the axle housing and the shut-off plate moves without resistance.
Pro-Tip: Friction reduction prevents mechanical heat. Excessive heat during operation can damage the seed coat of sensitive species, negatively impacting phototropism once the seed germinates and attempts to reach the light.
The Clinic:
Symptom: Yellowing of the grass blades in a distinct "stripe" pattern across the lawn.
Solution: This indicates a clogged hopper port. The spreader is delivering an insufficient Nitrogen (N) load to specific areas, causing chlorosis.
Fix-It: Recalibrate the flow plate and remove any hardened fertilizer "stones" from the agitator.
Symptom: The spreader handle is difficult to engage or "sticks" in the open position.
Solution: Fertilizer salts have crystallized in the pivot points.
Fix-It: Dissolve the salts with a 50/50 vinegar and water solution, then rinse and apply a silicone lubricant.
Symptom: Seeds are clumping and failing to exit the hopper.
Solution: High humidity has compromised the seed's integrity or the hopper was not dried after the last wash.
Fix-It: Empty the hopper and wipe it down with a microfiber cloth until no moisture is detected by a soil moisture meter probe.
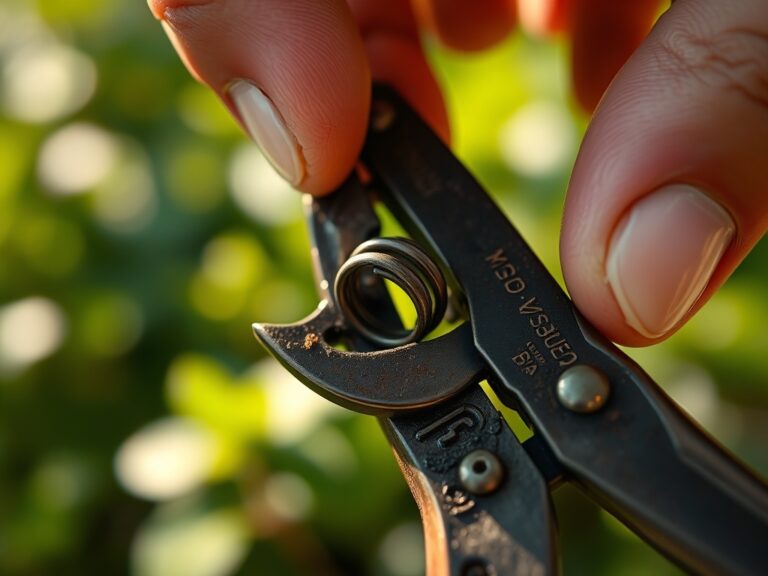
Maintenance:
A precision spreader requires the same level of care as your hori-hori knife or bypass pruners. After every third use, check the calibration of the rate-setting dial using a catch-pan test. Store the spreader in a climate-controlled environment where the temperature remains between 50 and 80 degrees Fahrenheit. This prevents the plastic hopper from becoming brittle or warping. If the spreader is used for salt in the winter, it must be neutralized with a specialized salt-remover immediately; salt is highly corrosive and will destroy the Cation Exchange capacity of the metal components within weeks. Ensure all bolts are tightened to prevent vibration, which can lead to uneven seed drop.
The Yield:
While a spreader does not produce a harvest directly, its calibration determines the quality of your yield. For forage crops or turf, the "harvest" is measured in biomass and root density. To achieve a high-density yield, the spreader must deliver exactly 1.0 to 1.5 pounds of Nitrogen per 1,000 square feet annually. Consistent cleaning ensures that when you harvest your sod or mow your pasture, the plants exhibit maximum turgor and deep green color. Post-harvest, keep your turf at a height of 3.0 inches to shade the soil and maintain microbial activity in the upper two inches of the soil profile.
FAQ:
How often should I clean my spreader?
Clean the hopper after every single use. Fertilizer salts are hygroscopic and will pull moisture from the air, leading to rapid corrosion of metal parts and the hardening of plastic components within 24 to 48 hours.
Can I use a garden hose to clean it?
Yes, but you must dry it immediately. Use a leaf blower or compressed air to remove water from the gearbox and axle. Standing water leads to rust and can cause the agitator to seize during the next application.
What lubricant is safest for the soil?
Use a dry-film graphite or silicone spray. Avoid WD-40 or heavy motor oils; these are petroleum products that can kill beneficial soil microbes and disrupt the water-holding capacity of the soil if they leak into the hopper.
Why is my spreader dropping seed unevenly?
The most common cause is a dirty flow plate. Even a small amount of residue can change the "throw" of the impeller. Ensure the impeller is smooth and free of any nicks or dried chemical buildup to maintain an even spread.