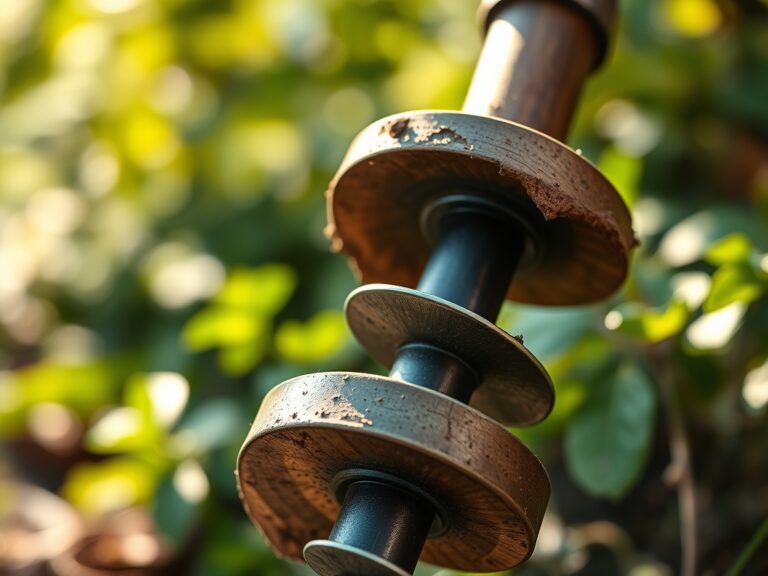
6 Steps to Replace a Manual Hand Pruner Spring
The scent of damp earth and the crisp snap of high turgor pressure in a healthy stem define the peak of the pruning season. When the mechanical tension of your bypass pruners fails, the rhythmic flow of horticultural maintenance grinds to a halt. A lost or fatigued volute spring compromises the efficiency of every cut; it forces the hand to manually reopen the blades and increases repetitive strain. Mastering the steps for replacing a spring in hand pruners ensures your tool remains an extension of your intent. This repair is not merely about convenience; it is about maintaining the precise shearing action required to prevent jagged wounds on woody perennials. Clean cuts facilitate rapid callous formation and protect the vascular cambium from opportunistic pathogens. By restoring the spring tension, you ensure the blades reset instantly, allowing for the high-volume thinning required during the dormant season. Precision in your tools reflects the precision required in the field.
Materials:
While spring replacement is a mechanical task, it is performed within the context of the rhizosphere and the field. The work area should be clean and prepared with a substrate that prevents the loss of small components. A friable loam with a high sand content is a poor choice for a workspace; instead, use a magnetic parts tray on a flat bench.
To maintain the tool long-term, consider the chemical environment it inhabits. Soil with a pH between 6.0 and 7.0 is ideal for most ornamental crops, but the mineral salts in fertilizers (often NPK ratios of 10-10-10 or 20-20-20) can accelerate the oxidation of metal components. High Cation Exchange Capacity (CEC) in the soil means more ions are available to interact with the steel of your pruners if they are not cleaned. Keep a solvent like isopropyl alcohol and a high-viscosity machine oil ready. You will need the specific replacement volute spring matched to your pruner model; typically 50mm to 60mm in length for standard professional shears.
Timing:
The ideal window for tool maintenance aligns with the "Biological Clock" of the garden. In Hardiness Zones 5 through 7, this maintenance should occur during the deep dormant period between the first hard frost in November and the sap flow initiation in late February. Performing repairs now ensures readiness for the transition from the vegetative stage to the reproductive stage in spring.
Pruning during the end of senescence prevents the plant from wasting carbohydrates on limbs destined for removal. If you wait until the photoperiod lengthens and temperatures exceed 50 degrees Fahrenheit, the plant begins pushing auxins to the terminal buds. Replacing your spring before this surge allows for rapid, decisive cuts that minimize the duration of exposed tissue. This timing is critical for species that exhibit high sap pressure, such as Acer or Vitis genera, where late pruning can lead to excessive bleeding and nutrient loss.
Phases:

Sowing the Foundation: Disassembly
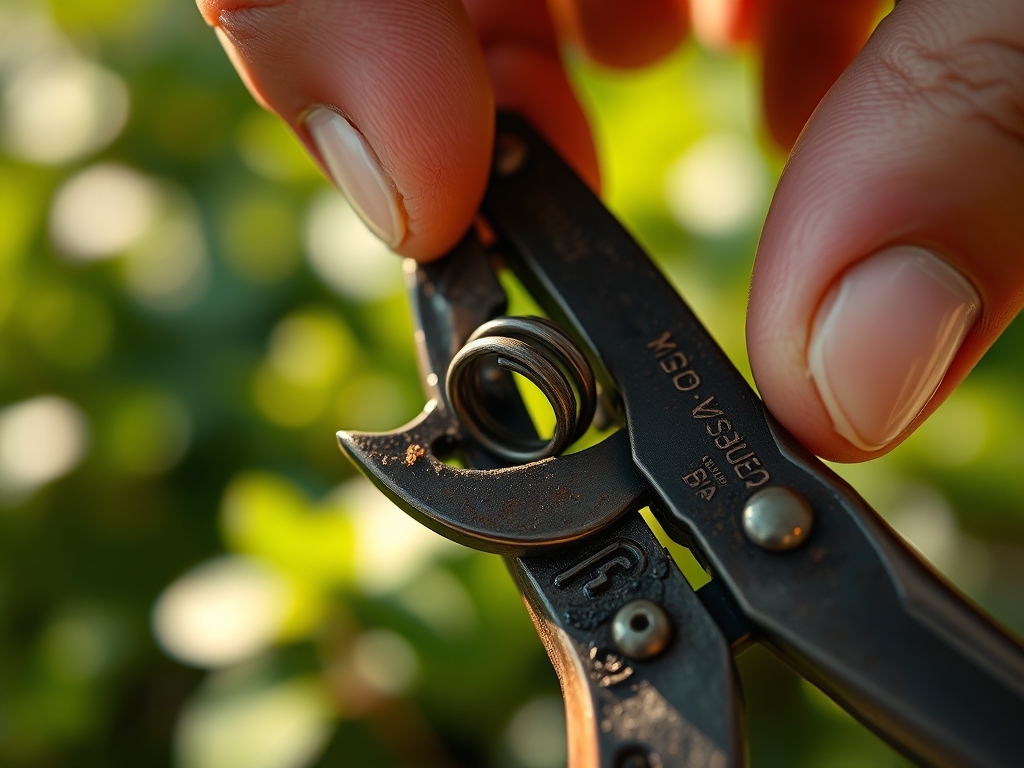
Begin by opening the pruners to their maximum width. If the old spring is still present but lacks tension, compress it slightly with pliers and lift it from the mounting lugs. Use a stiff wire brush to remove calcified sap and organic debris from the spring seats. This debris often harbors fungal spores that can be transferred during the next pruning session.
Pro-Tip: Clean the pivot bolt area to reduce friction. This is vital because auxin suppression depends on clean, apical dominance-altering cuts. If the tool drags, the cut surface is crushed rather than sheared, destroying the cellular structure of the xylem.
Transplanting the Component: Installation
Align the new volute spring with the twin lugs located on the interior of the handles. Insert one end of the spring onto the fixed lug. Using firm thumb pressure, compress the spring until the opposite end clears the second lug. Slide it into place and ensure it is centered. The tension should feel immediate and consistent.
Pro-Tip: Apply a drop of oil to the contact points. This reduces the mechanical heat generated during high-frequency pruning. Excess heat at the blade interface can cause localized protein denaturation in the plant tissue being cut, slowing the healing process.
Establishing the Function: Calibration
Test the handle return speed. The handles should snap back to the open position without hesitation. If the movement feels gritty, the pivot nut may be over-tightened. Adjust the nut in 1/16th turn increments until the blades glide past each other with minimal clearance.
Pro-Tip: Check for "blade cross." Proper spring tension and pivot tightness prevent the blades from spreading. This ensures the cut occurs through the entire diameter of the branch, utilizing the plant's natural phototropism by allowing light to reach the interior of the canopy through clean thinning cuts.
The Clinic:
Physiological disorders in plants are often exacerbated by poor tool maintenance. Observe the following symptoms and apply the necessary fixes to your horticultural practice.
Symptom: Jagged Wound Margins.
This indicates a dull blade or a weak spring that allows the branch to twist during the cut.
Solution: Sharpen the blade to a 23-degree angle and replace the spring to ensure the tool closes with maximum force.
Symptom: Localized Necrosis at Cut Site.
This is often caused by dirty tools transferring pathogens into the vascular system.
Solution: Sterilize the pruners with a 10 percent bleach solution or ethanol between different plants.
Symptom: Nitrogen Chlorosis (Yellowing Leaves).
While not directly caused by tools, a plant struggling with nutrient uptake cannot heal pruning wounds efficiently.
Fix-It: Apply a quick-release nitrogen fertilizer with a high first number (e.g., 21-0-0) to boost vegetative growth and wound closure.
Symptom: Stunted Regrowth.
This occurs when pruning is done at the wrong time or with crushing force.
Solution: Only prune back to a healthy lateral bud or the branch collar to respect the plant's natural compartmentalization process.
Maintenance:
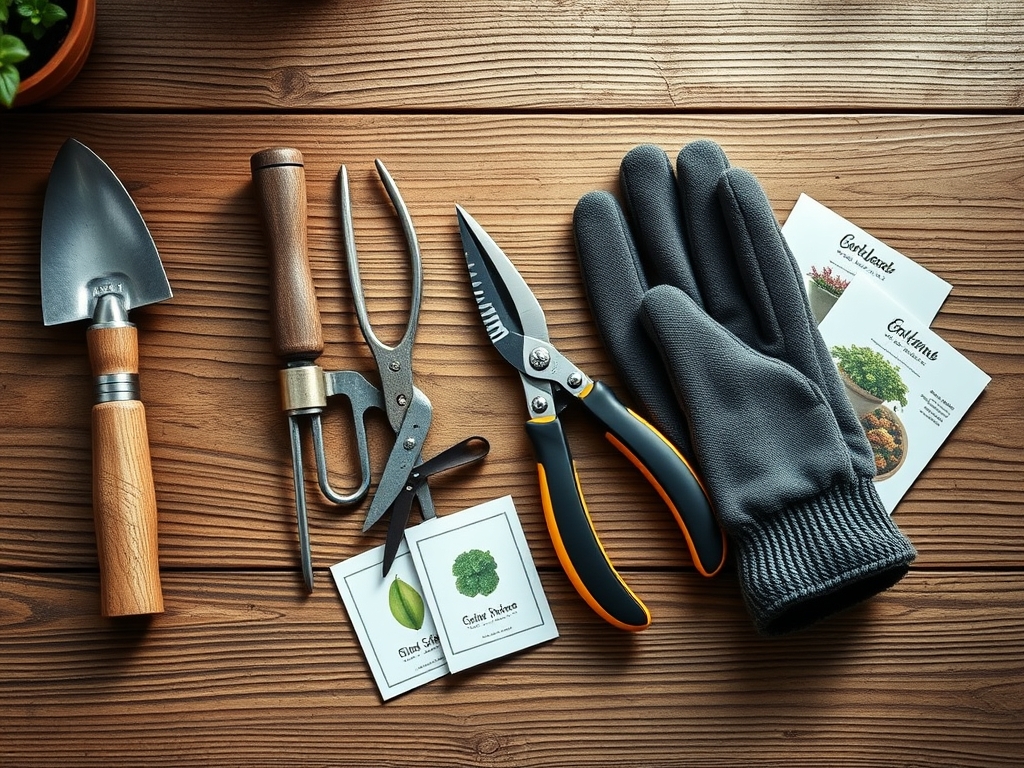
A professional gardener relies on a specific kit: a hori-hori knife for weeding, bypass pruners for precision, and a soil moisture meter to monitor the root zone. To keep your pruners in peak condition, wipe the blades with an oiled cloth after every use. This prevents the oxidation of the high-carbon steel.
Irrigation management is the partner to pruning. Most woody perennials require 1.5 inches of water per week at the drip line to maintain the turgor pressure necessary for clean shearing. If the plant is dehydrated, the fibers become "stringy," making them difficult to cut even with a new spring. Monitor the soil moisture at a depth of 4 to 6 inches to ensure the plant is sufficiently hydrated before a major pruning event.
The Yield:
When harvesting woody herbs or flowering branches, timing is everything. Harvest in the early morning when turgor pressure is at its maximum and the plant is fully hydrated from overnight transpiration recovery. Use your newly repaired pruners to make a clean, slanted cut.
For "day-one" freshness, immediately submerge the cut ends in water at 100 degrees Fahrenheit. This warm water moves more quickly through the xylem than cold water, purging air bubbles (embolisms) that can block hydration. For woody stems, a vertical slit of 1 inch at the base of the stem increases the surface area for water uptake, extending the post-harvest life of the material.
FAQ:
How often should I replace my pruner spring?
Replace the spring every 2 to 3 seasons or when the handles fail to snap open instantly. High-volume users in commercial orchards may need to replace springs annually to prevent hand fatigue and ensure clean cuts.
Can I use a generic spring for my pruners?
It is not recommended. Professional brands like Felco or ARS use specific volute spring tensions and diameters. A generic spring may slip out during use or provide insufficient resistance, leading to poor blade alignment and jagged cuts.
What is the best lubricant for pruner springs?
Use a lithium-based grease or a high-quality machine oil. Avoid WD-40 for long-term lubrication as it acts as a solvent and evaporates quickly. A heavier lubricant stays within the volute coils, preventing rust and reducing mechanical friction.
Why does my pruner spring keep falling out?
This usually indicates the mounting lugs are worn or the spring is the wrong size. If the lugs are intact, the spring may be bent. Ensure the spring is fully compressed and seated deeply onto the handle pins during installation.