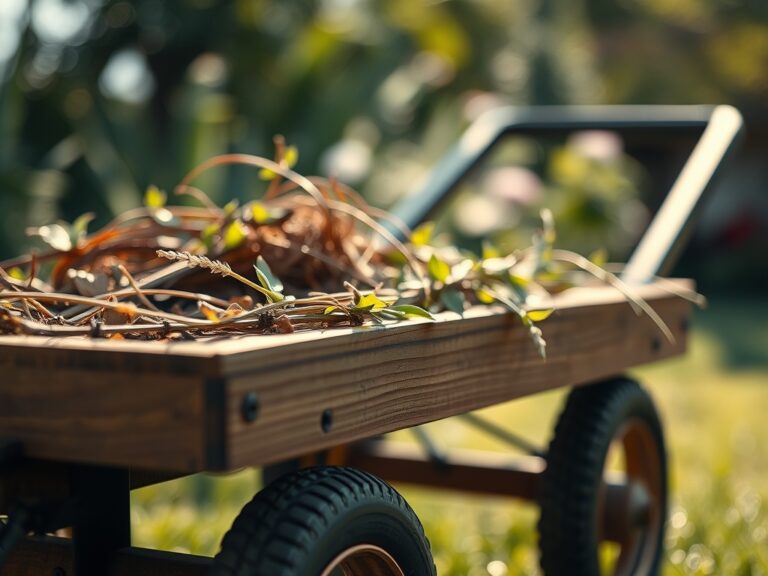
9 Steps to Prepare a Pruning Saw for Large Projects
The scent of freshly sheared xylem and the humid musk of damp earth signal the start of a heavy pruning season. When sap flows and turgor pressure peaks in the vascular cambium, your equipment must be ready to deliver surgical precision. Learning how to prepare a pruning saw for a big project ensures clean compartmentalization of wounds and prevents the spread of pathogens. A dull blade crushes cellular structures instead of slicing them; this leads to necrosis and slow recovery.
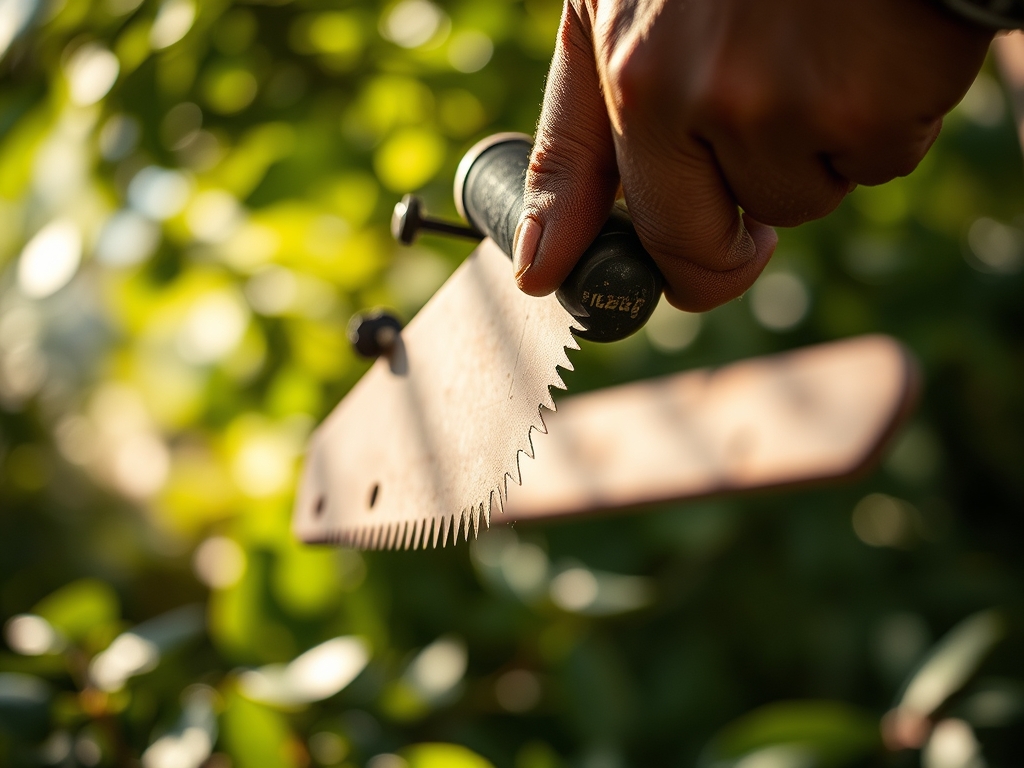
Preparation starts with a mechanical audit of the tool. A standard folding saw or a fixed-blade arborist saw requires a clean surface to minimize friction. Friction generates heat, which can cauterize the very tissue you intend to keep viable. By maintaining a sharp, sterile edge, you protect the tree's ability to seal off the cut through the production of callus tissue. This process, known as Compartmentalization of Decay in Trees (CODIT), depends entirely on the quality of the initial incision.
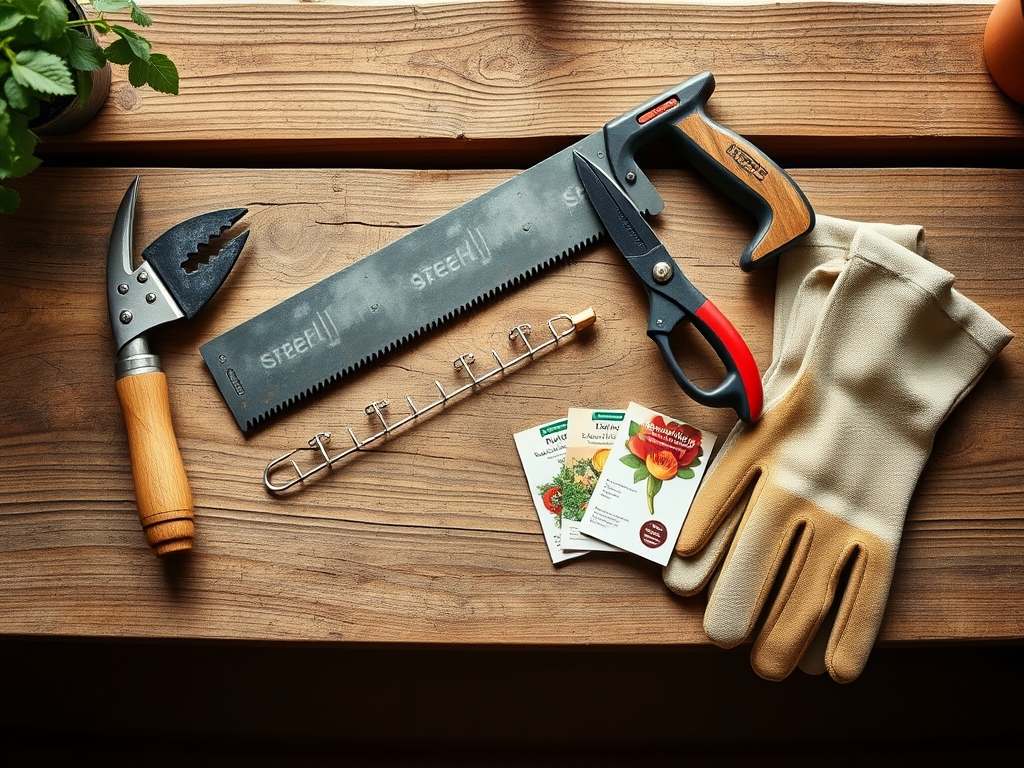
Materials:
While tool maintenance is mechanical, the environment where you work dictates the plant’s recovery. Soil health is the foundation of the specimen’s immune response post-pruning. Aim for a **friable loam** with a **Cation Exchange Capacity (CEC) between 15 and 25**. This texture allows for optimal gas exchange in the rhizosphere.
Maintain a soil pH between 6.0 and 7.0 for most woody perennials. Before a major pruning project, ensure the nutrient profile is balanced to support new growth. A target NPK ratio of 10-10-10 or a specialized 5-10-5 for root development is ideal. High nitrogen levels (above 20%) can force rapid, weak vegetative growth that is susceptible to frost damage and pest colonization. Use a soil moisture meter to confirm the substrate is at field capacity before beginning work.
Timing:
Timing is dictated by the biological clock of the species and your specific USDA Hardiness Zone. In Zones 4 through 7, the window for major structural pruning typically opens in late winter, between January and March, before the first swell of buds. This dormant period minimizes sap loss and prevents the stimulation of premature growth during a mid-winter thaw.
The transition from the vegetative stage to dormancy is marked by senescence, where chlorophyll breaks down and nutrients migrate to the root system for storage. Pruning during this phase reduces the risk of disrupting the plant's energy reserves. For flowering species, the timing depends on whether they bloom on old or new wood. Pruning "spring bloomers" in winter will remove the dormant floral buds, significantly reducing the reproductive yield for the upcoming season.
Phases:

Sowing
While pruning focuses on mature specimens, preparing the saw for a project often involves clearing space for new sowings. Ensure the blade is sterilized with 70% isopropyl alcohol to prevent cross-contamination of soil-borne pathogens. When clearing brush for a new seedbed, make cuts at a 45-degree angle to shed water.
Pro-Tip: Sterilization prevents the transfer of fungal spores that could cause "damping off" in nearby seedlings. This is a biological necessity because young hypocotyls lack the lignin density to resist aggressive fungal hyphae.
Transplanting
When using a saw to root-prune a large specimen for transplanting, the blade must be sharp enough to sever roots without tearing the bark. Tearing damages the apical meristem of the root tips, which slows the establishment of the plant in its new location. Use a hori-hori knife for smaller lateral roots and the pruning saw for anything over 1 inch in diameter.
Pro-Tip: Clean root cuts encourage the release of auxins, plant hormones that stimulate the growth of lateral roots. This process of auxin suppression and redistribution is vital for rapid establishment in the new rhizosphere.
Establishing
Once the pruning is complete and the project moves into the establishment phase, monitor the plant for signs of stress. A well-prepared saw leaves a smooth surface that the plant can cover with wound wood. If the saw was dull, the ragged edges will trap moisture and invite decay.
Pro-Tip: Smooth cuts facilitate mycorrhizal symbiosis by keeping the plant's overall stress levels low. When a plant is not struggling to seal a jagged wound, it can allocate more carbon to the fungal networks in the soil in exchange for phosphorus.
The Clinic:
Physiological disorders often appear after heavy pruning if the tool was not prepared correctly or the timing was off.
- Symptom: Dieback from the pruning cut.
- Solution: This often indicates "stubs" were left too long. Re-cut to the branch bark ridge to allow the callus to form.
- Symptom: Epicormic sprouting (water sprouts).
- Solution: This is a response to over-pruning. Remove no more than 25% of the canopy in a single season to maintain hormonal balance.
- Symptom: Sunscald on previously shaded bark.
- Solution: Use a diluted white interior latex paint on the trunk to reflect light and prevent the cambium from overheating.
Fix-It for Nutrient Deficiencies:
If you notice Nitrogen chlorosis (yellowing of older leaves) after pruning, apply a quick-release fertilizer with a high N value to support the flush of new growth. For Iron chlorosis (interveinal yellowing on new leaves), check the soil pH; if it is above 7.5, the iron is locked and unavailable to the plant.
Maintenance:
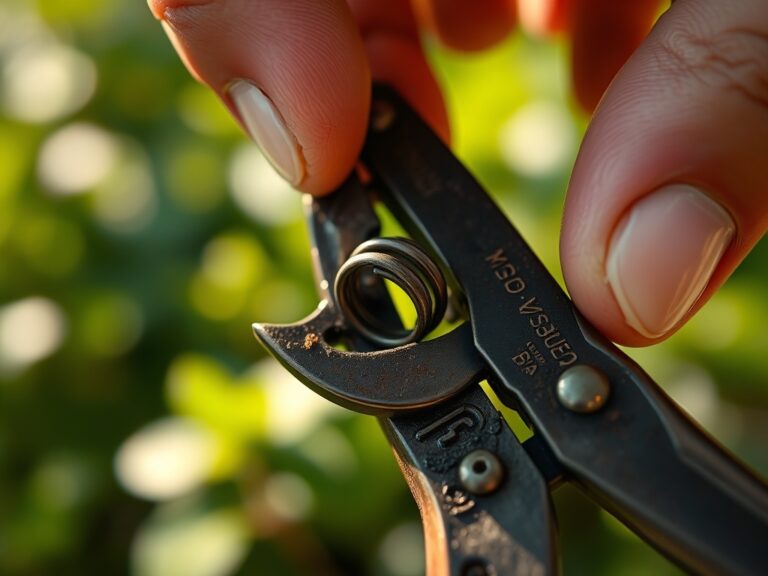
Post-project maintenance is as critical as the preparation. Clean your saw with a wire brush to remove resin and sawdust. Apply a thin coat of mineral oil to the blade to prevent oxidation. In the field, keep your bypass pruners and saw within reach to make corrective cuts as needed.
Irrigation must be precise. Provide 1.5 inches of water per week at the drip line, not the trunk. Use a soil moisture meter to ensure the water penetrates to a depth of 8 to 12 inches. This depth encourages deep rooting and increases the plant's resilience against drought. Avoid overhead watering, which increases the humidity in the canopy and promotes fungal growth on the fresh pruning wounds.
The Yield:
For fruit-bearing trees, the yield is directly tied to the quality of your pruning. Aim to harvest when the fruit reaches peak Brix levels (sugar content). For pome fruits like apples, this occurs when the seeds turn dark brown.
Handle the harvest with care to maintain "day-one" freshness. Place fruit in a cool, dark environment immediately. For floral yields, cut stems at a 45-degree angle and submerge them in water within 60 seconds to prevent air embolisms from blocking the xylem. This maintains turgor pressure and extends the vase life of the bloom.
FAQ:
How do I sharpen a pruning saw?
Use a feather-edge file specifically designed for cross-cut teeth. Stroke the file in one direction, following the factory bevel of each tooth. Ensure the "set" of the teeth remains consistent to prevent the blade from binding during deep cuts.
What is the best way to disinfect a saw?
Wipe the blade with 70% isopropyl alcohol or a 10% bleach solution. Alcohol is preferred as it evaporates quickly and does not corrode the steel. Always disinfect between different plants to stop the transmission of vascular pathogens.
When should I replace my pruning saw blade?
Replace the blade when it shows signs of permanent pitting from rust or when more than three teeth are chipped. If the saw requires excessive force to move through a 2-inch limb, the temper of the steel may be lost.
Can I use a chainsaw for large pruning projects?
Chainsaws are suitable for removing large limbs but lack the precision for fine structural work. For cuts near the branch collar, a manual pruning saw provides a smoother finish, which is essential for the plant's long-term health and recovery.