8 Steps to Prepare a Garden Hose for Permanent Repair
Damp earth releases geosmin as the sun warms the rhizosphere; this aromatic signal marks the start of the high-demand irrigation season. When turgor pressure drops in your prize cultivars, a failing irrigation line is a critical failure. Learning how to prepare a garden hose for a leak repair ensures your hydraulic system maintains the necessary flow rate to support cellular expansion. A precise, surgical approach to hose maintenance prevents localized drought stress and ensures consistent moisture delivery across your garden beds.
Materials:
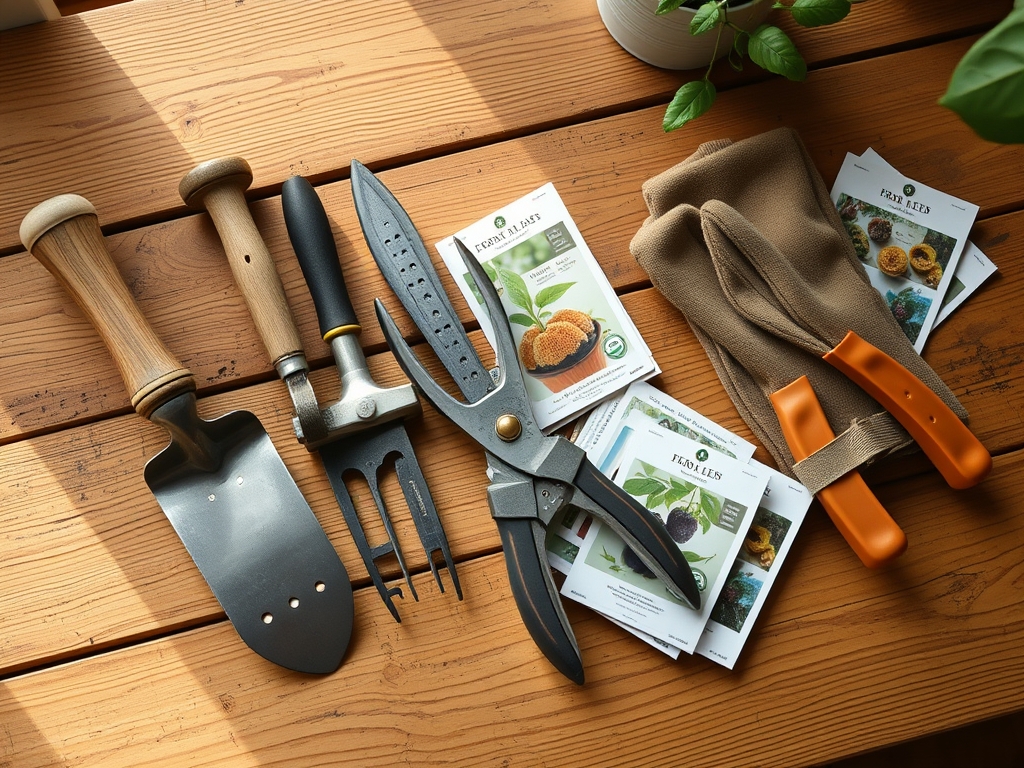
While hose repair is mechanical, the environment where you perform the work must be controlled. Work on a surface of **friable loam** or a clean workbench to avoid introducing pathogens into the hose interior. If you are working near planting beds, ensure the soil pH is stabilized between **6.2 and 6.8** to prevent nutrient lockout if water spills. Maintain an NPK ratio of **10-10-10** in the surrounding soil to support general vegetative health. The substrate should have a high Cation Exchange Capacity (CEC) of at least **15 to 25 meq/100g** to buffer any mineral salts present in the stagnant hose water. You will need a sharp utility knife, a stainless steel hose clamp, and a replacement mender coupling sized to the hose diameter, typically **5/8 inch or 3/4 inch**.
Timing:
Successful garden maintenance follows the biological clock of the plant. In Hardiness Zones 5 through 8, perform hose repairs after the final spring frost but before the plant enters the rapid vegetative growth phase. Attempting repairs during the reproductive stage (flowering) is risky, as any delay in hydration can cause flower abscission. Monitor the photoperiod; as days lengthen, transpiration rates increase. You must complete the repair before the evapotranspiration rate exceeds 0.20 inches of water per day. This ensures that the vascular system of your plants remains fully hydrated during the critical transition from vegetative to reproductive stages.
Phases:

Sowing the Repair Plan
Before cutting, depressurize the system. Close the main valve and open the nozzle to release stored energy. Lay the hose flat on the ground to identify the exact location of the puncture. Mark the site 2 inches on either side of the damage to ensure you remove all fatigued material.
Pro-Tip: Removing the damaged section prevents the spread of micro-fissures. This is similar to apical dominance in plants; by removing a damaged lead, you redirect the "energy" or pressure to a clean, healthy terminus, preventing further structural failure.
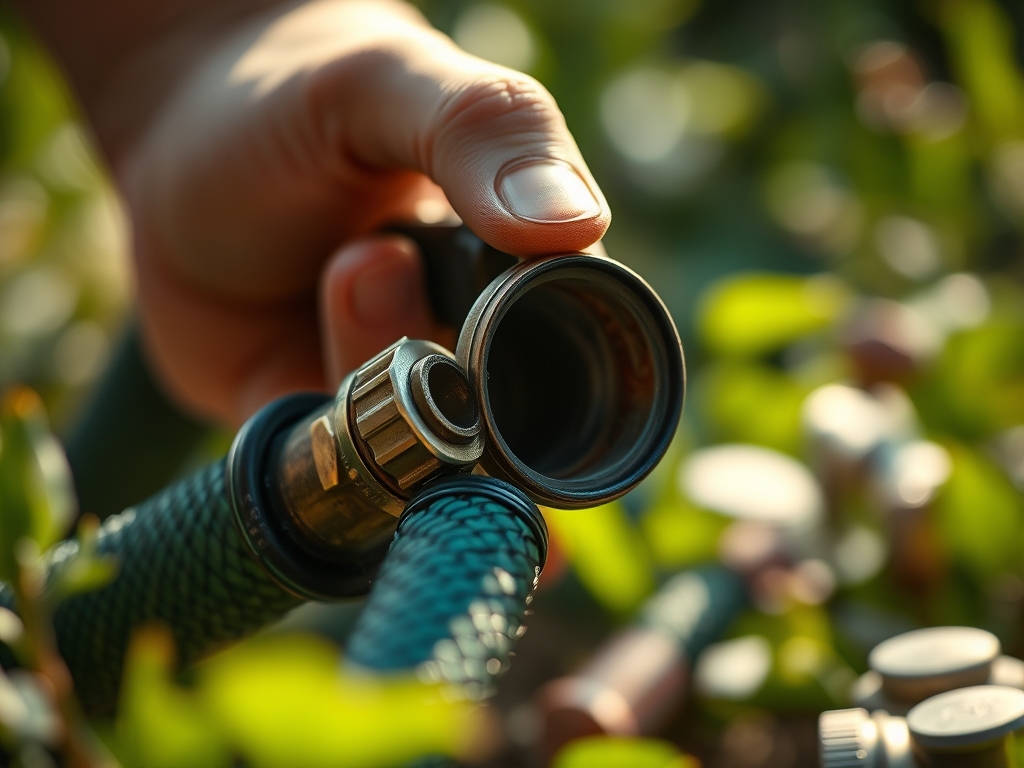
Transplanting the New Fitting
Using a sharp blade, make a perpendicular cut through the hose. A jagged cut will result in an improper seal and subsequent pressure loss. Dip the end of the hose into water heated to 140 degrees Fahrenheit for 30 seconds. This softens the PVC or rubber polymer, allowing the new mender to slide into place without compromising the internal lining.
Pro-Tip: Softening the material utilizes the principle of thermal expansion. Just as heat increases the kinetic energy in plant cells to trigger germination, it temporarily alters the molecular density of the hose to allow for a tighter mechanical bond once it cools and contracts.
Establishing the Seal
Slide the hose clamp over the hose before inserting the mender. Push the mender into the hose until it seats against the shoulder of the fitting. Position the clamp 1/4 inch from the edge of the hose and tighten it securely. Test the repair by slowly increasing the water pressure.
Pro-Tip: A secure seal maintains the hydrostatic pressure necessary for long-distance transport. This mimics the way a plant's xylem uses negative pressure and cohesion to move water from the roots to the canopy; any breach in the "conduit" breaks the tension and halts the flow.
The Clinic:
Physiological disorders in the garden often stem from irrigation inconsistencies caused by leaky hoses.
- Symptom: Blossom End Rot in tomatoes.
Solution: This is often a calcium deficiency caused by erratic watering. Repair the hose to ensure a steady moisture level, allowing the plant to transport calcium via the transpiration stream. - Symptom: Leaf Scorch or Marginal Necrosis.
Solution: This indicates high salt buildup or dehydration. Use a soil moisture meter to verify the repair has restored deep-watering capabilities. - Symptom: Nitrogen Chlorosis (yellowing older leaves).
Fix-It: If the leak caused over-saturation in one spot, nitrogen may have leached out. Apply a water-soluble fertilizer with a 5-1-1 NPK ratio to the affected area to restore vigor. - Symptom: Wilting despite wet soil.
Solution: This suggests root rot from a persistent leak. Aerate the soil with a hori-hori knife to introduce oxygen to the rhizosphere and stop the anaerobic decline.
Maintenance:
A repaired hose must be maintained to prevent future failure. Store the hose on a reel to avoid kinking, which creates stress points in the material. During the peak growing season, ensure your plants receive 1.5 inches of water per week at the drip line. Use a soil moisture meter to check the depth of penetration; water should reach 6 to 8 inches deep to encourage deep root architecture. Use bypass pruners to clear any woody debris or thorns away from the hose path, as these can cause mechanical punctures. Check all connections for mineral scaling; a soak in a mild acidic solution can remove calcium deposits that restrict flow.
The Yield:
When your irrigation system is optimized, the yield is superior. For edible crops, harvest in the early morning when turgor pressure is at its peak. This ensures the cell walls are fully distended, providing the crispest texture. For flowers, cut the stems at a 45-degree angle and immediately submerge them in water at 100 degrees Fahrenheit. This prevents air embolisms in the xylem, ensuring "day-one" freshness for a longer duration. High-pressure delivery from a repaired hose allows for a more efficient "wash-down" of harvested root crops, removing soil without damaging the delicate epidermis.
FAQ:
How do I find a pinhole leak in a garden hose?
Pressurize the hose and submerge the suspected section in a bucket of water. Watch for escaping air bubbles. Alternatively, run a dry cloth along the pressurized hose; the cloth will snag or dampen at the site of the rupture.
Can I use electrical tape to fix a hose leak?
Electrical tape is a temporary measure and typically fails under standard residential water pressure of 40 to 60 PSI. For a permanent fix, you must cut the hose and install a compression mender or a barbed coupling with clamps.
What is the best tool for cutting a garden hose?
A sharp utility knife or a dedicated PVC pipe cutter provides the cleanest edge. A clean, square cut is essential for the internal gasket or barb to seat correctly, preventing leaks at the new junction point.
How do I prevent my hose from leaking at the faucet?
Replace the rubber O-ring or hose washer inside the female coupling. Over time, these gaskets undergo senescence and lose their elasticity. Replacing the washer every season ensures a watertight seal and maintains system pressure.