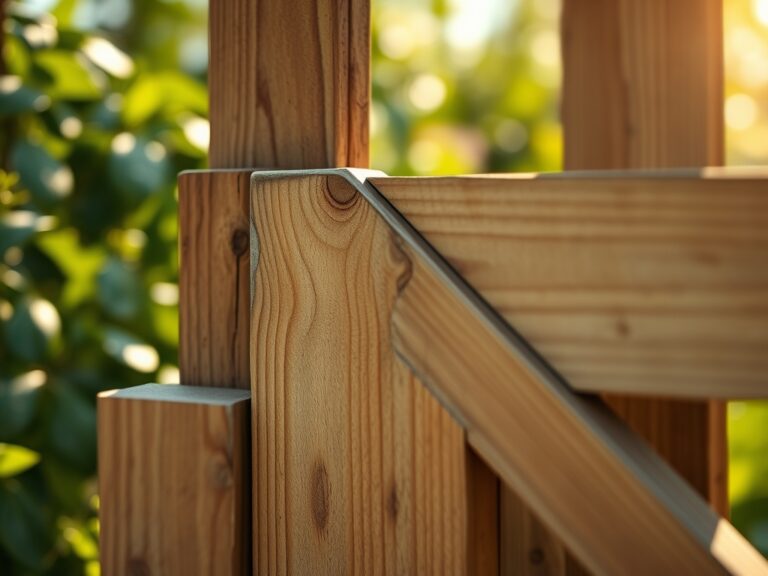
6 Tips to Use a Wire Wheel for Full Tool Restoration
The scent of damp earth and the crisp turgor of a healthy leaf define a successful season, but these results depend entirely on the mechanical integrity of your hardware. A rusted spade or a pitted hoe drags through the rhizosphere, increasing friction and tearing delicate root tissues rather than slicing cleanly. Using a wire wheel on a drill for tool restoration is the most efficient method to strip oxidative layers and return carbon steel to its optimal state. This process ensures that every strike into the soil profile is precise; reducing physical resistance and preventing the jagged edges that harbor anaerobic pathogens. When metal is polished to a high sheen, it sheds soil easily, maintaining the structural efficiency required for deep cultivation and precise planting. Neglecting tool maintenance leads to increased labor and poor soil penetration; a well restored edge is a foundational requirement for any serious horticultural operation.
Materials:
Restoration occurs in the workshop, but the goal is to return the tool to a friable loam substrate. This ideal soil texture consists of roughly **40 percent sand, 40 percent silt, and 20 percent clay**. To maintain this balance, your tools must be free of chemical contaminants. Avoid using harsh synthetic solvents that could alter the soil pH, which should ideally sit between **6.2 and 6.8** for maximum nutrient bioavailability. For post-restoration lubrication, use food-grade mineral oil rather than petroleum-based products to protect the Cation Exchange Capacity (CEC) of your beds. High CEC levels, typically above **15 to 25 meq/100g**, allow the soil to hold essential cations like Potassium (K) and Magnesium (Mg). A clean tool ensures you do not introduce heavy metals into this delicate chemical matrix.
Timing:
Tool restoration should align with the biological clock of your garden, specifically during the transition from senescence to dormancy. In Hardiness Zones 5 through 7, the window between the first hard frost and the winter solstice is the primary period for mechanical maintenance. As plants move from the reproductive stage to total dormancy, the demand for active cultivation drops. Performing restoration when the ground is frozen prevents the interruption of the vegetative cycle. By completing all wire wheel work before the spring equinox, you ensure that tools are ready for the high-intensity transplanting window when soil temperatures reach a consistent 55 degrees Fahrenheit. This timing prevents the rush of the early season and ensures that every cut made during the spring flush is clean, reducing the risk of opportunistic fungal infections.
Phases:
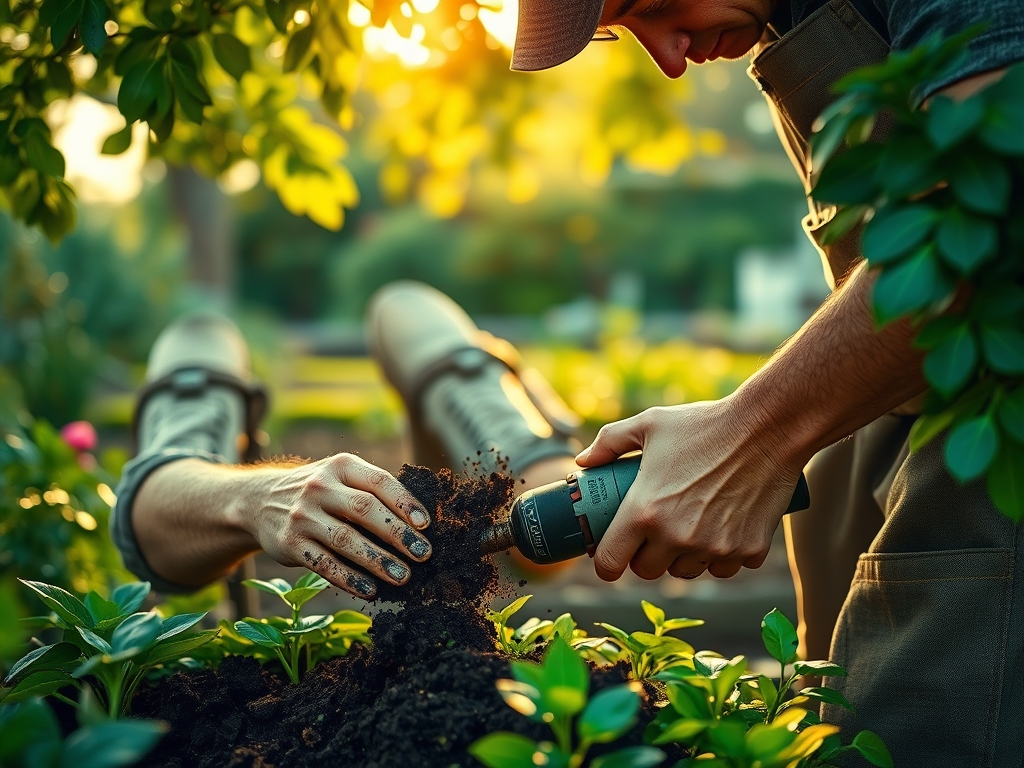
Sowing the Surface
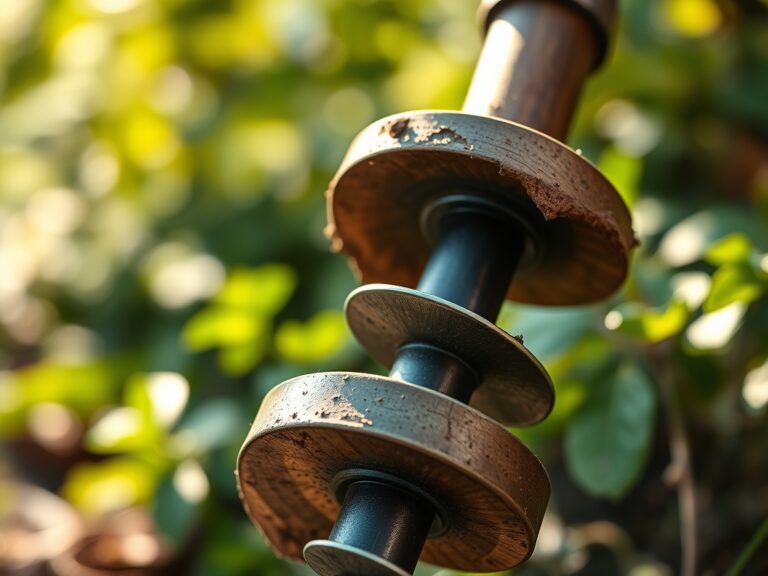
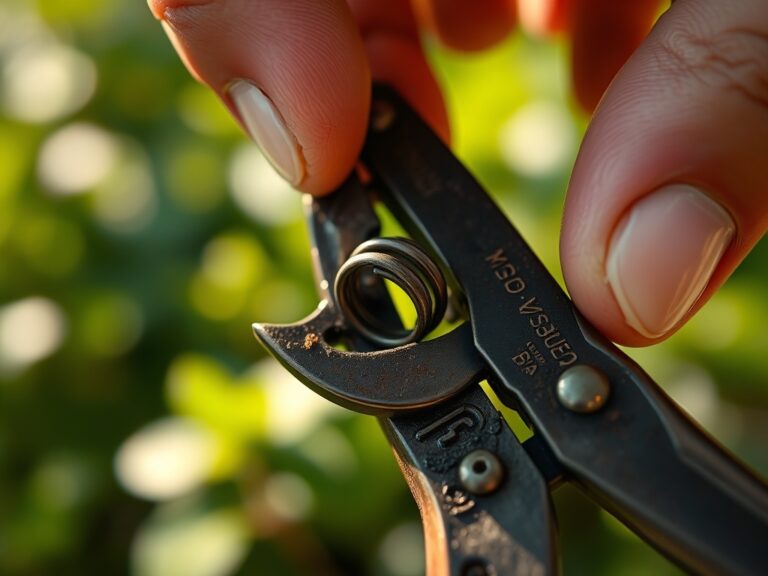
The first phase involves securing the tool in a bench vise to prevent oscillation. Using a wire wheel on a drill for tool restoration requires a steady hand and consistent pressure. Start with a coarse-knotted wire wheel to remove thick scale and hardened sap. Move the drill in the direction of the metal grain to avoid deep cross-hatching.
Pro-Tip: Removing rust prevents the transfer of oxidized iron particles into the seedbed. High iron concentrations can occasionally interfere with the uptake of Manganese, a crucial component for photosynthesis and lignin biosynthesis.
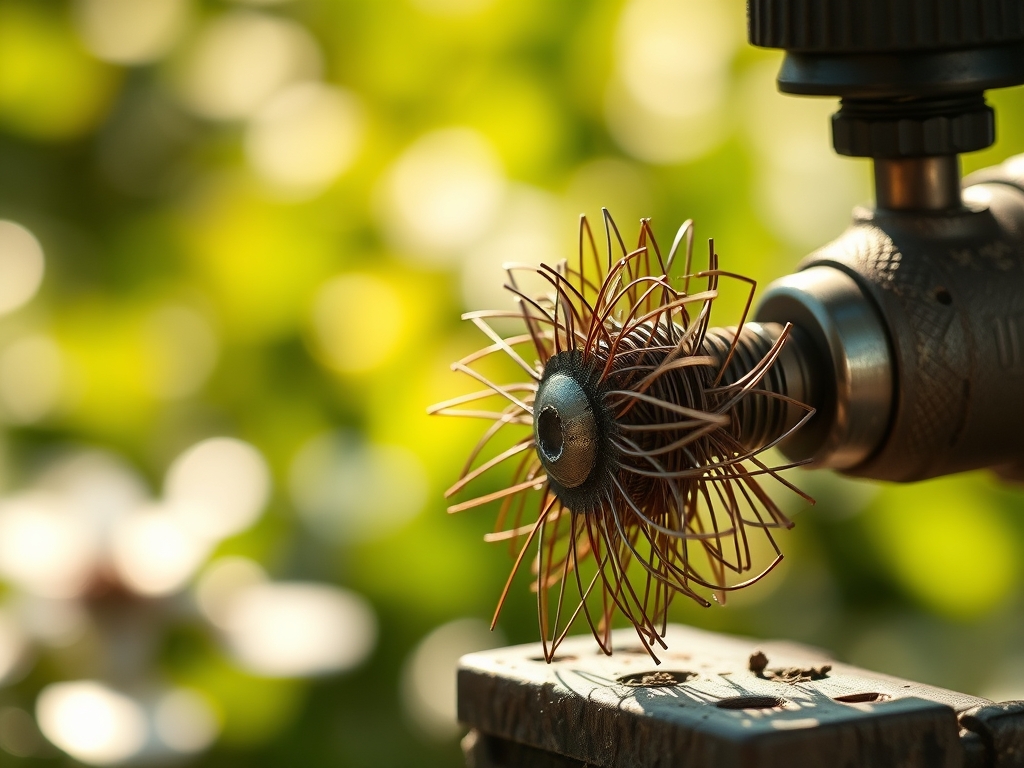
Transplanting the Edge
Once the rust is removed, switch to a fine-gauge brass wire wheel. This softer metal polishes the surface without removing excessive base material. Focus on the bevel of the tool. A polished surface reduces the surface area where pathogens can cling, ensuring that when you move a seedling, the transition is sterile.
Pro-Tip: A smooth tool surface minimizes friction, which preserves the turgor pressure of the plant being handled. Rough tools cause micro-abrasions on stems, leading to rapid water loss and transplant shock.
Establishing Protection
The final phase is the application of a protective barrier. After the wire wheel has left the metal "white" and shiny, wipe it down with a microfiber cloth to remove microscopic metal dust. Apply a thin layer of linseed oil or mineral oil. This creates a hydrophobic barrier that prevents oxygen from reaching the iron atoms.
Pro-Tip: Protecting the metal prevents the formation of iron oxide, which can alter the reduction-oxidation (redox) potential of the soil in the immediate vicinity of a new transplant.
The Clinic:
If your tools or plants show signs of distress, diagnose the physiological cause immediately.
Symptom: Pitting on tool steel.
Solution: This is often caused by acidic soil residues (pH below 5.0) left on the metal. Use a wire wheel to grind past the pits until the surface is level.
Symptom: Interveinal chlorosis (yellowing between leaf veins).
Solution: This is a classic Nitrogen or Magnesium deficiency. If the older leaves are affected first, it is likely Nitrogen. Apply a fertilizer with an NPK ratio of 10-5-5 to boost vegetative growth.
Symptom: Tool edges dulling rapidly.
Solution: High sand content in the soil acts as an abrasive. Increase organic matter to buffer the soil and reduce mechanical wear on the metal.
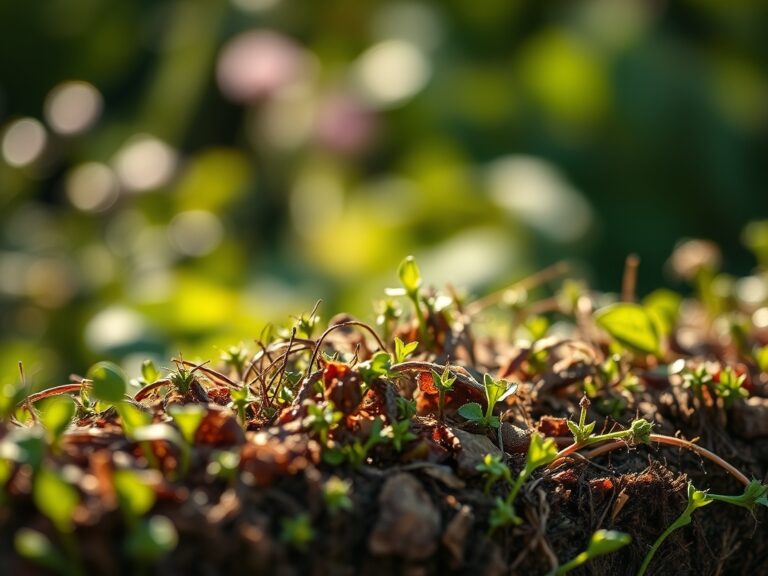
Fix-It for Nitrogen Chlorosis: Apply a liquid kelp or fish emulsion directly to the root zone. Ensure the soil moisture is at 60 percent field capacity to facilitate rapid ion transport through the xylem.
Maintenance:
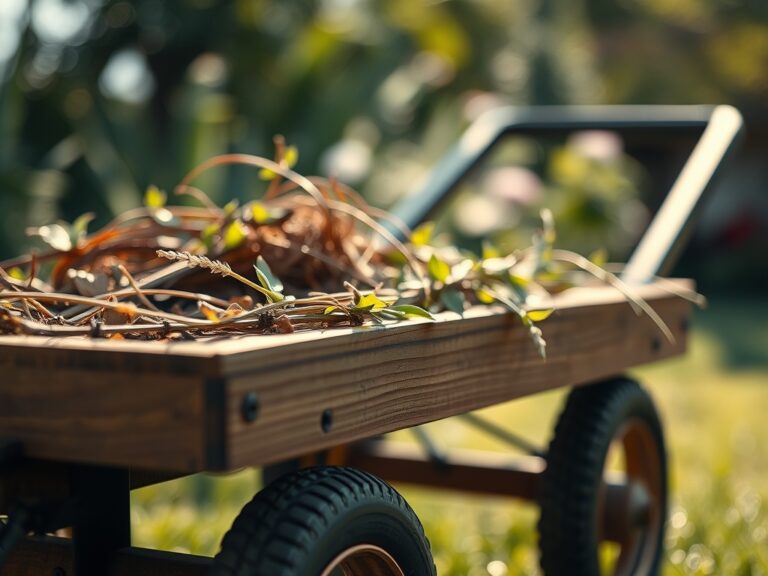
Post-restoration maintenance requires discipline. After every use, scrape soil away using a hori-hori knife. Do not allow mud to dry on the blade, as the moisture trapped against the metal triggers rapid oxidation. For pruning tasks, use bypass pruners rather than anvil types to ensure a clean lateral cut that heals quickly. Monitor your irrigation closely; most garden crops require 1.5 inches of water per week at the drip line. Use a soil moisture meter to verify that the water is penetrating at least 6 inches deep. If the meter reads in the "dry" zone at the root level, increase irrigation duration rather than frequency to encourage deep root architecture.
The Yield:
A restored tool directly impacts the quality of the harvest. For leafy greens, harvest in the early morning when turgor pressure is at its peak. Use a sharpened, restored harvesting knife to make a single, clean cut through the base of the plant. This minimizes the surface area of the wound, slowing the rate of senescence and preserving "day-one" freshness. For root crops, a restored garden fork allows you to lift the soil without bruising the taproots. Immediately move harvested produce to a shaded, cool environment to reduce the field heat and slow the metabolic respiration of the plant tissues.
FAQ:
What drill speed is best for wire wheel restoration?
Operate the drill at a medium speed between 1,500 and 2,500 RPM. Excessive speed generates heat that can draw the temper out of the steel, making the tool brittle or too soft to hold an edge.
Can I use a wire wheel on stainless steel tools?
Yes, but use a stainless steel wire wheel specifically. Using a standard carbon steel wire wheel on stainless steel can embed "free iron" into the surface, leading to "after-rust" even on high-quality stainless implements.
How do I prevent the drill from skipping?
Always move the wheel in the direction of the rotation and maintain a firm, two-handed grip. Secure the tool in a vise. Skipping occurs when the wheel catches an edge; approach corners with the rotation moving away.
Is a wire wheel better than sandpaper?
A wire wheel is superior for heavy oxidation and irregular shapes. It reaches into pits and crevices that sandpaper cannot. It is faster for bulk material removal while providing a uniform finish on forged garden steel.