6 Steps to Build a Decorative Garden Bridge
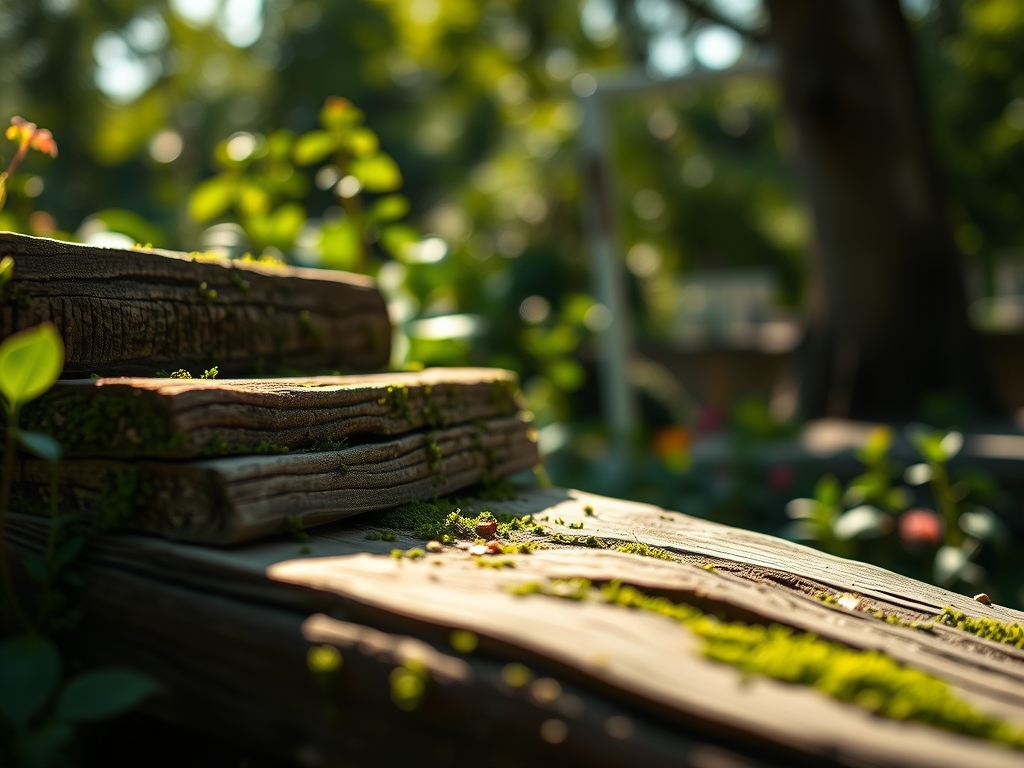
The scent of damp, anaerobic mud and the sharp tang of cedar tannins signal a landscape ready for structural intervention. A garden bridge serves as more than a visual focal point; it functions as a critical crossing over bioswales or riparian zones where the soil remains perpetually saturated. Achieving structural integrity requires understanding the Steps for building a garden bridge while respecting the delicate balance of the surrounding ecosystem. When the turgor pressure in your nearby perennials is high and the soil is at field capacity, the ground is soft enough for site preparation but firm enough to support the pressure-treated footings required for a permanent installation. You must calculate the span based on the hydraulic flow of the water feature below to ensure that during peak precipitation, the structure does not impede drainage or cause erosion in the rhizosphere of neighboring flora.
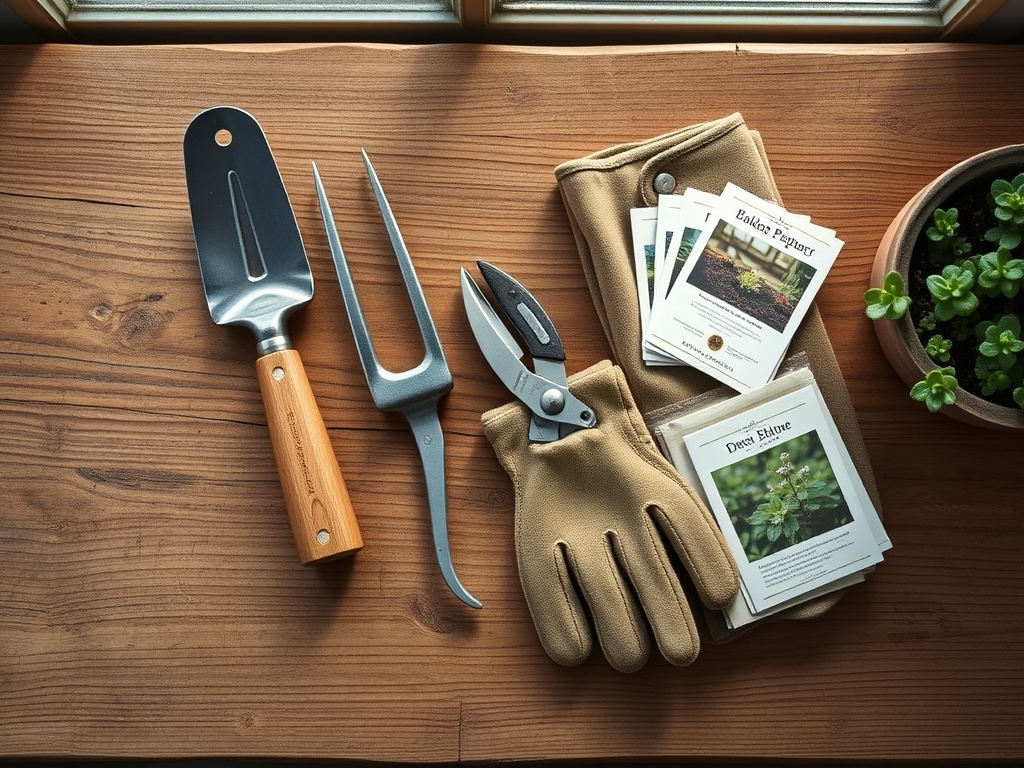
Materials:
Before the first timber is cut, the substrate must be analyzed. For a bridge to remain stable, the bank soil should be a **friable loam** with a high **Cation Exchange Capacity (CEC)**, typically ranging from **15 to 25 meq/100g**. This indicates a high clay or organic matter content capable of holding the weight of the bridge without significant compaction. The soil pH should be maintained between **6.0 and 7.0** to prevent the corrosion of galvanized hardware and to support the health of flanking vegetation.
If you are planting ornamental species around the bridge footings, specify an NPK ratio of 10-10-10 for general establishment. However, for woody shrubs that stabilize the bank, a 5-10-5 ratio is superior as it prioritizes root development over succulent top growth. The physical texture of the landing site must be reinforced with 3/4-inch crushed stone to facilitate drainage and prevent the wood from sitting in a state of constant moisture, which accelerates fungal decay.
Timing:
Construction should align with the dormant season of your specific Hardiness Zone. In Zones 5 through 7, the ideal window is late autumn after the first hard frost but before the ground freezes solid. This timing respects the Biological Clock of the garden; as plants enter senescence, their metabolic rates drop, and the risk of damaging root systems through soil compaction is minimized.
By building when the photoperiod is at its shortest, you avoid the peak vegetative stage where plants are most susceptible to mechanical stress. Construction during the reproductive phase (flowering) can lead to abscission, where the plant drops its buds due to the vibration and soil disturbance of the build. Aim for a soil temperature between 40 and 50 degrees Fahrenheit to ensure minimal microbial activity while you work the land.
Phases:

Sowing the Foundation
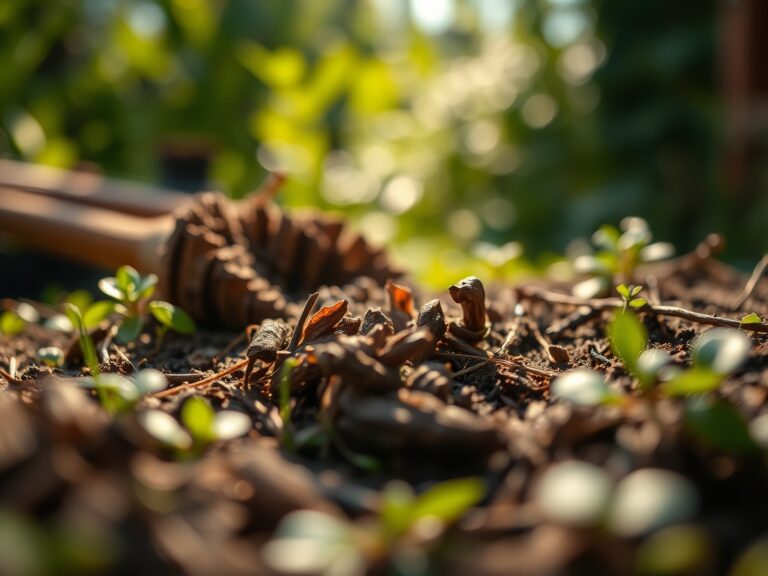
The first of the Steps for building a garden bridge involves excavating the footings. Dig two trenches on opposing banks, at least 12 inches deep and 24 inches wide. Fill these with a 6-inch layer of compacted gravel followed by concrete deck blocks.
Pro-Tip: Ensure the footings are level to prevent uneven weight distribution. Biological Why: Uneven loads cause localized soil compaction, which crushes the macropores in the soil. This leads to root hypoxia, where the surrounding plants cannot access oxygen, effectively suffocating the mycorrhizal symbiosis necessary for nutrient uptake.
Transplanting the Spans
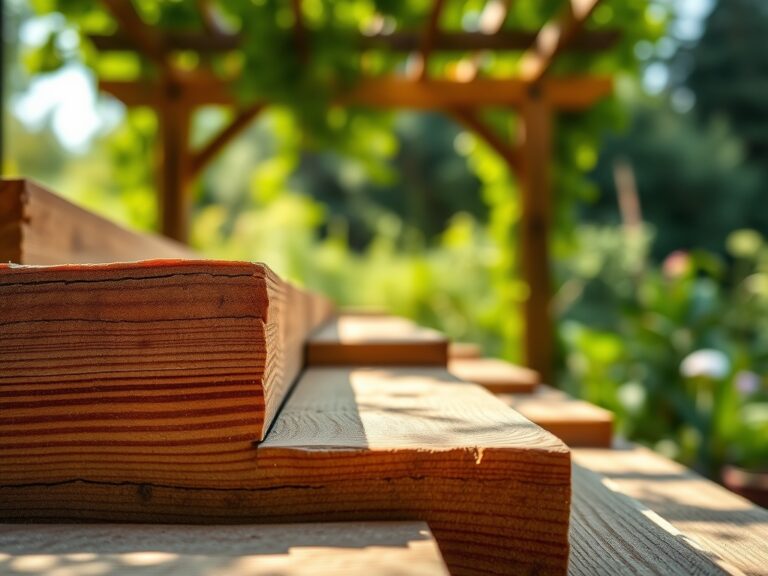
Lay two 2×12 pressure-treated beams across the span. These are the "stringers." For a decorative arch, you must scribe a curve onto the beams and cut them with a jigsaw. Secure the stringers to the deck blocks using stainless steel lag bolts.
Pro-Tip: Coat all cut ends with a copper-based preservative. Biological Why: Raw wood surfaces are an invitation for saprophytic fungi. By sealing the wood, you prevent these organisms from migrating from the bridge into the vascular tissue of nearby living trees, preventing potential heart rot.
Establishing the Decking
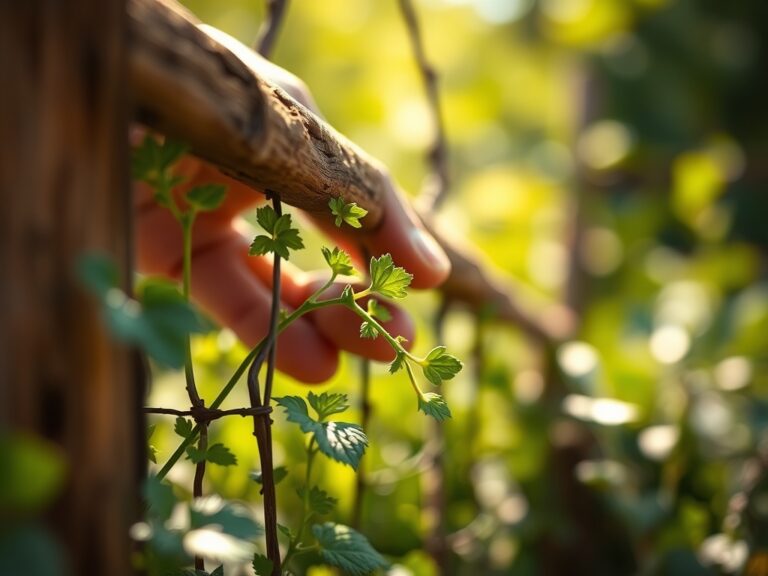
Install 2×6 cedar or redwood planks across the stringers, leaving a 1/8-inch gap between each board. This gap allows for wood expansion and ensures that water does not pool on the surface.
Pro-Tip: Use a soil moisture meter to monitor the banks after installation. Biological Why: The bridge creates a "rain shadow" effect. You must manually supplement irrigation to the plants directly underneath the structure to maintain turgor pressure, as they will no longer receive direct vertical precipitation.
The Clinic:
Monitoring the health of the bridge and its surrounding environment is a continuous process of diagnostic observation.
- Symptom: Yellowing of leaves on plants adjacent to the bridge (Chlorosis).
- Solution: Check soil pH. The leaching of alkaline components from concrete footings can raise the pH above 7.5, locking out iron.
- Fix-It: Apply chelated iron or elemental sulfur to lower the pH back to the 6.5 range.
- Symptom: Algae or moss growth on the bridge decking.
- Solution: Increase airflow and light penetration.
- Fix-It: Prune overhanging branches using bypass pruners to reduce the shade and allow the wood to dry between rain events.
- Symptom: Stunted growth in new transplants near the bridge.
- Solution: Soil compaction from construction foot traffic.
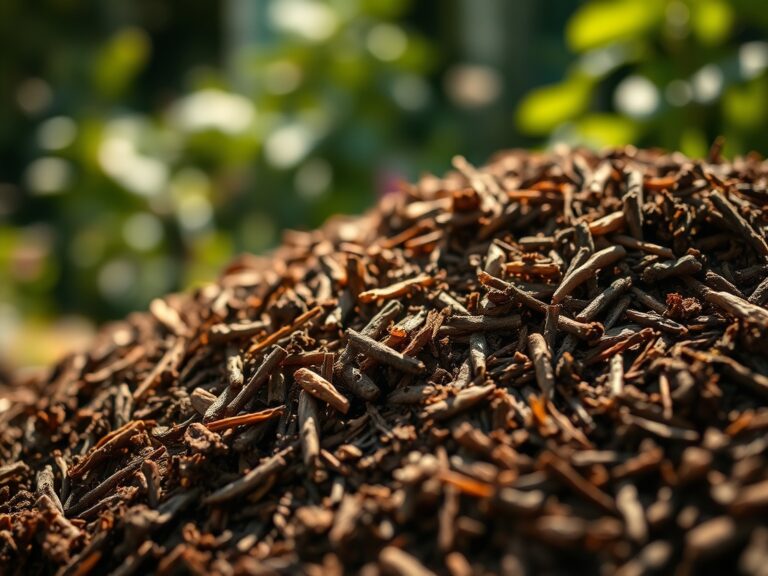
- Fix-It: Use a garden fork to aerate the soil to a depth of 8 inches, then top-dress with 2 inches of organic compost to restore the CEC.
Maintenance:
A garden bridge requires a rigorous maintenance schedule to withstand the elements. Inspect the hardware annually for signs of "rust jacking," where oxidizing metal expands and cracks the wood. Every spring, use a hori-hori knife to clear debris and weeds from the gaps between the decking boards; organic buildup here holds moisture and invites rot.
Irrigation for the surrounding landscape must be precise. Aim for 1.5 inches of water per week delivered at the drip line of the plants, rather than the base of the bridge. Use a soil moisture meter to ensure the moisture has penetrated 6 inches deep. If you notice nitrogen chlorosis (pale green or yellow older leaves), supplement with a liquid kelp emulsion to provide a quick nitrogen boost without the risk of salt buildup.
The Yield:
While a bridge is not a crop, the "yield" is the longevity of the structure and the health of the integrated landscape. If you have planted climbing species like Clematis to grow over the railings, harvest the spent blooms regularly to prevent seed energy drain. Use sharp bypass pruners to make clean cuts at a 45-degree angle just above a node. This encourages auxin suppression in the terminal bud, forcing the plant to bush out and cover the bridge more densely. For "day-one" freshness in any cut flowers taken from the bridge site, submerge the stems in 110-degree Fahrenheit water immediately to break any air embolisms in the xylem.
FAQ:
What is the best wood for a garden bridge?
Cedar and redwood are the gold standard due to their natural resistance to rot and insects. Pressure-treated pine is a cost-effective alternative, provided it is rated for ground contact and sealed with a UV-resistant finish.
How deep should bridge footings be?
Footings must reach below the frost line of your specific Hardiness Zone to prevent heaving. In most temperate climates, a depth of 12 to 18 inches atop a compacted gravel base provides sufficient stability for decorative spans.
How do I prevent the bridge from becoming slippery?
Apply a clear anti-slip coating or attach zinc strips to the decking. Zinc ions released during rain inhibit the growth of algae and moss, which are the primary causes of slick surfaces in high-humidity environments.
Can I build a bridge over a dry creek bed?
Yes. In fact, bridges over dry creek beds (bioswales) are easier to maintain as they face less constant moisture. Ensure the span is high enough to allow for peak flow during heavy storm events to avoid structural displacement.