9 Tips to Use a Landscape Rake for Site Preparation
The smell of damp, disturbed earth signals the beginning of any successful horticultural project. When the soil reaches a temperature of 55 degrees Fahrenheit, its structural integrity allows for the manipulation of the rhizosphere without causing excessive compaction. Using a rake for outdoor design is the fundamental first step in establishing a seedbed that supports optimal turgor pressure in developing seedlings. Proper site preparation ensures that the soil surface is level; this prevents hydraulic pooling and ensures uniform moisture distribution across the planting area.
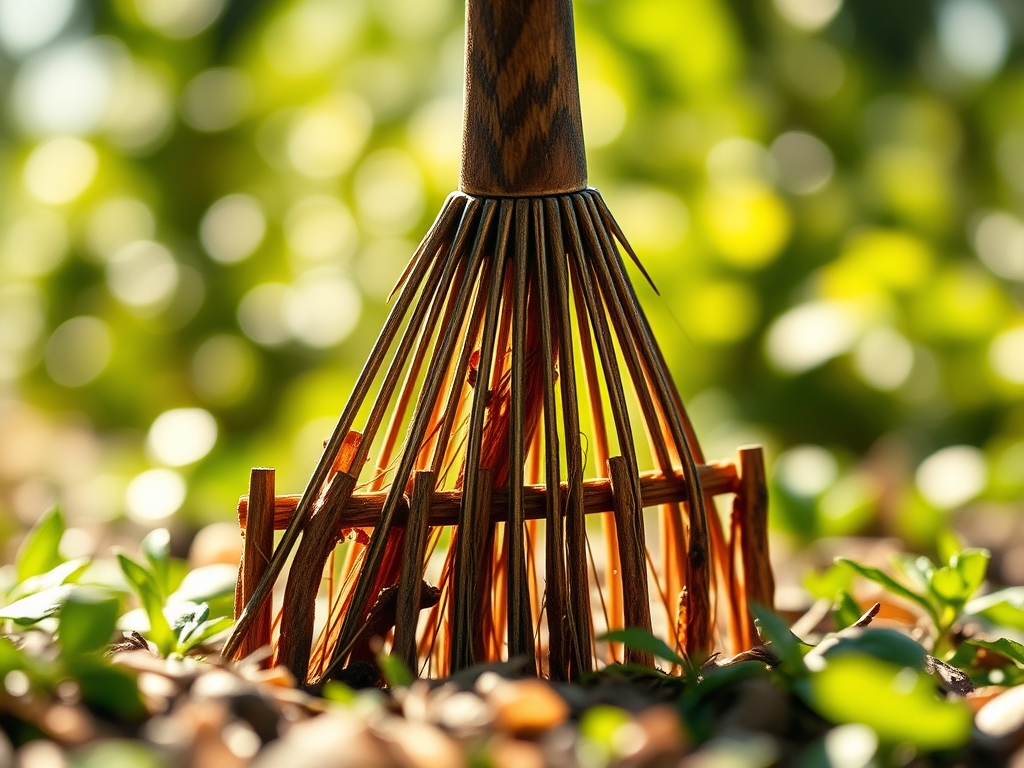
A landscape rake differs from a standard leaf rake through its rigid, wide head and flat tines. It is a tool of precision engineering designed to grade large areas and remove debris that inhibits root penetration. In a professional context, the rake acts as a mechanical extension of the hand; it levels the grade to within a 0.5 percent slope for drainage while simultaneously fracturing surface crusts. This process increases the oxygen diffusion rate within the top three inches of the substrate. Without this mechanical intervention, localized anaerobic pockets can form, leading to root rot and stunted vegetative growth.
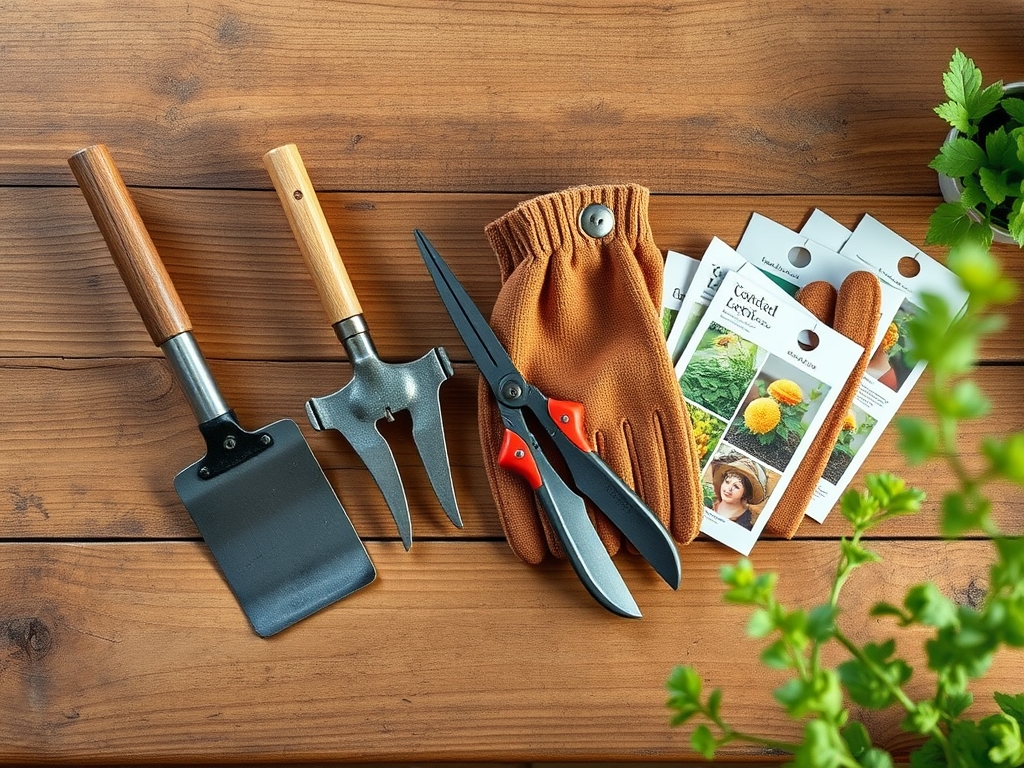
Materials:
The success of site preparation depends on the chemical and physical properties of the substrate. An ideal medium is a **friable loam** consisting of **40 percent sand, 40 percent silt, and 20 percent clay**. This balance provides a high Cation Exchange Capacity (CEC), allowing the soil to retain essential nutrients like ammonium and potassium.
Before using the rake, test the soil pH. Aim for a range of 6.2 to 6.8 for most temperate ornamentals and turfgrasses. If the pH falls below 5.5, apply calcitic lime at a rate of 50 pounds per 1,000 square feet. For initial site establishment, incorporate a starter fertilizer with an NPK ratio of 10-20-10. The high phosphorus content (20) is critical for early root development and ATP production during the seedling stage. The substrate must be free of large stones; anything larger than 0.75 inches in diameter should be removed to prevent interference with mechanical seeders or root elongation.
Timing:
Timing is dictated by the Hardiness Zone and the specific biological clock of the target species. In Zones 5 through 7, site preparation should occur as soon as the soil is workable in the spring, typically three to four weeks before the last frost date. Working soil that is too wet will collapse the macropores, leading to a permanent loss of soil structure.
The biological clock of the plant moves from the vegetative stage to the reproductive stage based on the photoperiod. For fall plantings, the rake should be deployed in late August or September. This allows the root systems to establish before the soil temperature drops below 40 degrees Fahrenheit, at which point most physiological activity ceases. Monitoring the soil moisture meter is essential; preparation should only begin when moisture levels are between 15 and 20 percent.
Phases:

Sowing
Use the flat side of the landscape rake to create a perfectly level plane. This ensures that seeds are buried at a consistent depth, usually two times their diameter. Inconsistent depth leads to staggered emergence and uneven competition for light.
Pro-Tip: Proper leveling prevents the "shading out" of smaller seeds. This is vital for phototropism, where the plant grows toward a light source. Even a 1-inch deviation in grade can cause shadows that inhibit the early growth of neighboring seedlings.
Transplanting
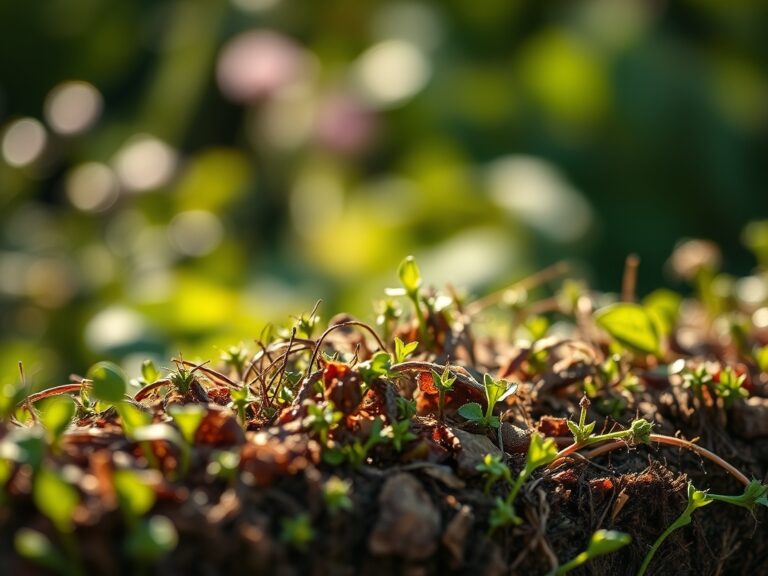
When preparing a site for larger specimens, use the rake to blend organic matter into the top 6 inches of soil. This creates a transition zone between the nursery root ball and the native soil.
Pro-Tip: Incorporating organic matter encourages mycorrhizal symbiosis. These beneficial fungi extend the root system's reach, increasing the uptake of phosphorus and water by up to 300 percent.
Establishing
After the initial planting, use the rake to lightly mulch the surface with straw or compost. This stabilizes soil temperatures and reduces evaporation.
Pro-Tip: Maintaining a stable surface prevents auxin suppression. Auxins are hormones that regulate growth; sudden temperature fluctuations can disrupt their flow, leading to apical dominance issues and leggy growth.
The Clinic:
Physiological disorders often stem from poor site preparation. If you observe Nitrogen chlorosis, characterized by the yellowing of older leaves, the soil may be too compacted for nutrient uptake. The fix is to use the rake tines to aerate the top layer and apply a high-nitrogen (21-0-0) fertilizer.
Another common issue is Iron chlorosis in high-pH soils. The leaves will turn yellow while the veins remain green. The solution involves raking in elemental sulfur to lower the pH. If you notice stunted growth with purple-tinted foliage, this indicates a phosphorus deficiency. Rake a 0-20-0 superphosphate into the root zone to restore energy transfer within the plant.
For physical disorders like damping off, where seedlings collapse at the base, the site likely has poor drainage. Use the landscape rake to create a 2 percent grade away from the center of the planting bed to ensure excess water exits the rhizosphere.
Maintenance:
Post-preparation maintenance requires precision tools. Use a soil moisture meter daily to ensure the substrate remains at the target moisture level. Most established landscapes require 1.5 inches of water per week delivered at the drip line. Avoid overhead watering to prevent foliar diseases.
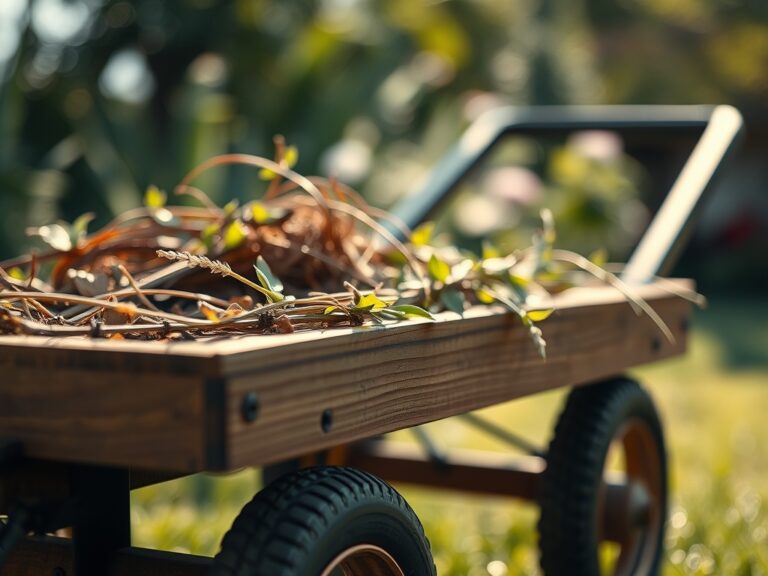
Keep a hori-hori knife sharpened for removing deep-rooted perennial weeds that emerge post-grading. For woody plants, use bypass pruners to remove any dead or crossing branches, which improves airflow. The landscape rake should be used monthly to lightly "scratch" the surface of mulched areas; this prevents the mulch from developing a hydrophobic crust that repels water.
The Yield:
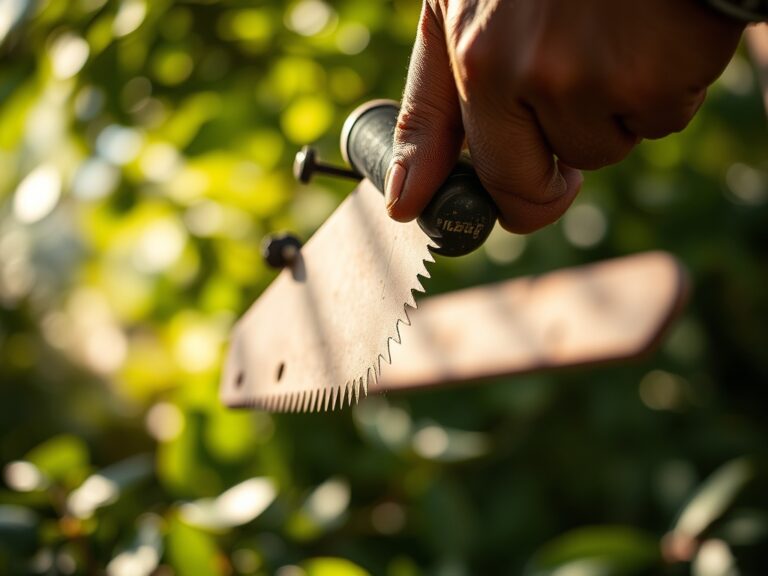
When harvesting flowers or herbs from a prepared site, timing is everything. Harvest in the early morning when turgor pressure is at its peak. Use a sharp blade to make a clean cut at a 45-degree angle. This maximizes the surface area for water uptake. Immediately submerge the stems in 100-degree Fahrenheit water to remove air bubbles from the xylem. This technique ensures "day-one" freshness and extends the post-harvest life of the plant.
FAQ:
What is the best NPK ratio for new sites?
Use a 10-20-10 ratio. The high phosphorus levels support rapid root expansion and cellular energy transfer. Nitrogen provides initial vegetative growth, while potassium regulates water movement and enzyme activation within the plant tissues.
How deep should I rake for site prep?
Rake to a depth of 2 to 3 inches for turf and small ornamentals. For larger garden beds, incorporate amendments down to 6 inches. This ensures the rhizosphere has adequate oxygen and low mechanical resistance for root penetration.
Can I rake when the soil is wet?
No. Raking wet soil with high clay content causes compaction and clodding. This destroys soil structure and reduces the Cation Exchange Capacity. Wait until the soil crumbles easily in your hand before beginning any grading work.
What is the benefit of a wide landscape rake?
The 36-inch head allows for superior leveling compared to standard tools. It bridges small depressions and high spots, creating a uniform grade. This prevents water pooling and ensures that all plants receive an equal distribution of nutrients.