6 Timing Steps to Repot a Christmas Cactus
The sharp, earthy scent of damp peat and the firm turgor of a hydrated phylloclad indicate a Schlumbergera bridgesii in peak physiological health. Achieving this state requires precision when following the steps for repotting a Christmas cactus to ensure the root system remains viable. Unlike desert cacti, these epiphytes demand a substrate that balances rapid drainage with high moisture retention. Success hinges on timing the transplant to align with the plant's post-bloom dormancy period when metabolic activity slows.
Most growers fail by using standard potting soil that lacks the necessary porosity. This leads to anaerobic conditions in the rhizosphere; eventually causing root rot and systemic collapse. A successful repotting operation ensures the plant has the structural support and nutrient access required for the next reproductive cycle. By monitoring the plant for signs of pot-binding, such as roots protruding from drainage holes or a noticeable decrease in water absorption, you can intervene before the plant enters a state of permanent senescence.
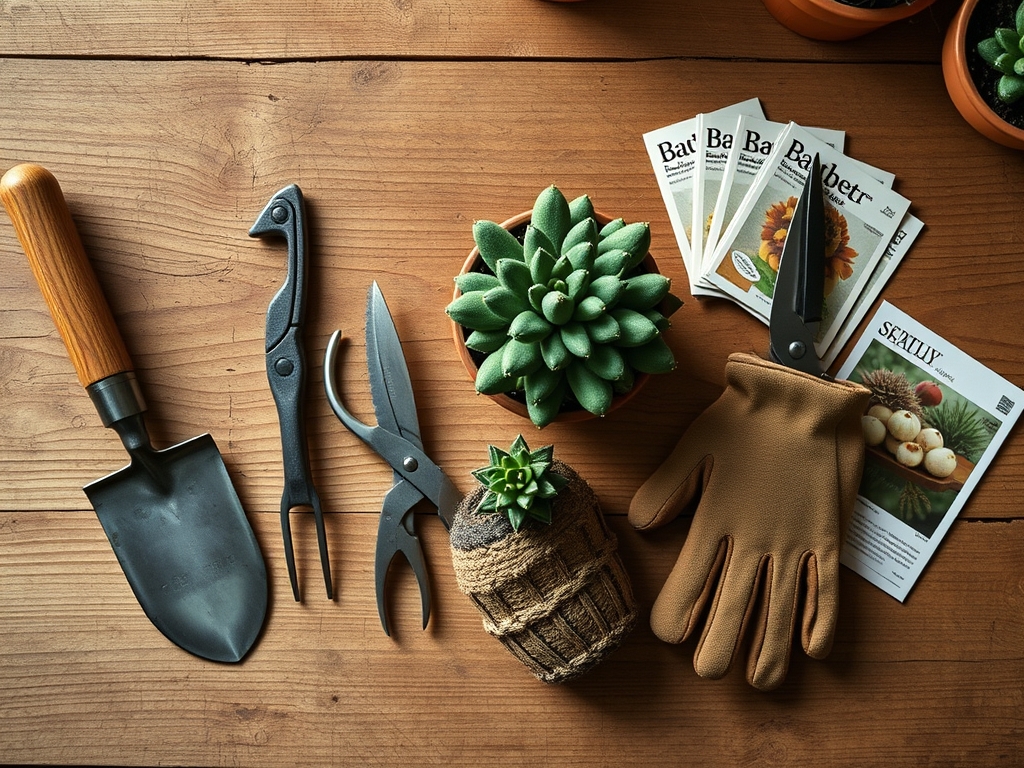
Materials:
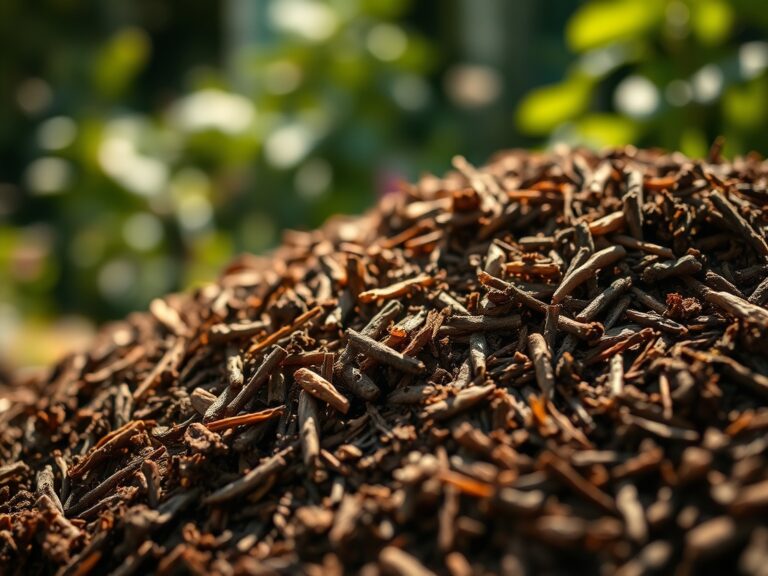
The substrate must be a friable loam with a pH range of 5.5 to 6.2. Epiphytic cacti require a medium that mimics the organic debris found in tree crotches. Construct a mix using two parts sterilized potting soil, one part coarse perlite, and one part orchid bark. This combination ensures a high Cation Exchange Capacity (CEC), allowing the roots to efficiently pull essential ions from the soil solution.
For nutrition, incorporate a slow-release granular fertilizer with an NPK ratio of 10-10-10 or 20-20-20. During the active growth phase, the plant requires consistent access to nitrogen for segment elongation and potassium for cellular wall strength. Avoid heavy clay-based soils that compact over time; compaction restricts oxygen flow to the roots and halts the exchange of gases necessary for cellular respiration. Ensure your container is only one to two inches wider than the current root ball to prevent excess moisture from sitting in unoccupied soil.
Timing:
In Hardiness Zones 9 through 11, these plants can reside outdoors in shaded environments, but for most of the northern hemisphere, they are strictly indoor specimens. The biological clock of a Christmas cactus is dictated by the photoperiod. Repotting must occur in the late spring, specifically between March and May. This window follows the winter flowering stage and precedes the vigorous vegetative growth of summer.
Do not attempt to repot while the plant is setting buds or in full bloom. The transition from the reproductive stage to the vegetative stage involves a shift in hormone distribution. Moving the plant during the "bud drop" window causes acute stress, leading to the abscission of flowers. Wait until the final blossoms have withered and the plant has rested for approximately six to eight weeks. This timing ensures the root system has sufficient time to establish itself before the shorter days of autumn trigger the next flowering cycle.
Phases:
Sowing and Extraction
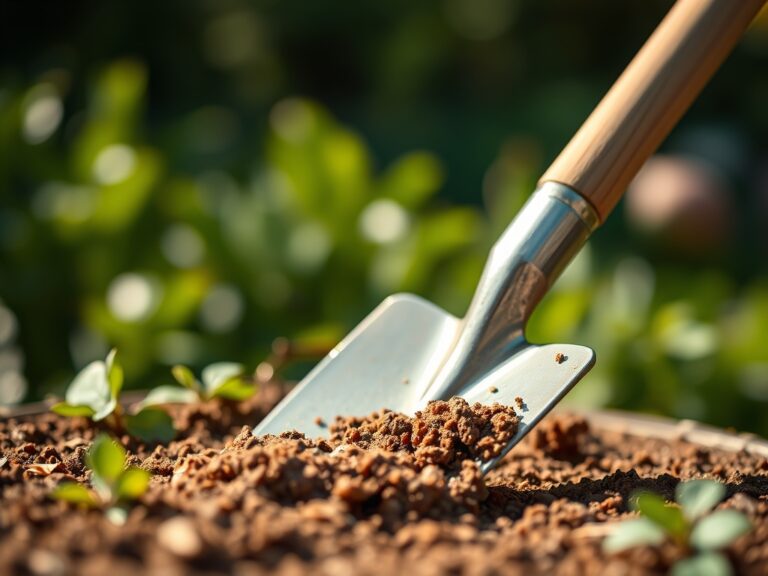
Begin by withholding water for three to five days to allow the root ball to contract slightly. Use a hori-hori knife to circle the inner perimeter of the pot, severing any roots that have adhered to the container walls. Gently invert the plant while supporting the base of the stems. If the plant is stubborn, tap the bottom of the pot firmly. Inspect the roots for any signs of decay; healthy roots should appear tan or white and feel firm to the touch.
Pro-Tip: Minimizing root disturbance preserves the existing mycorrhizal symbiosis. These beneficial fungi assist the plant in phosphorus uptake, and maintaining their integrity reduces the duration of transplant shock.
Transplanting
Place a layer of the prepared friable loam at the bottom of the new container. Position the cactus so the top of the root ball sits approximately one inch below the rim of the pot. This headspace allows for efficient watering without overflow. Fill the gaps with the substrate, tamping down lightly with your fingers to eliminate large air pockets. Do not pack the soil tightly; the goal is to maintain a porous structure that facilitates gas exchange.
Pro-Tip: Maintaining the original planting depth prevents stem rot. Burying the segments too deep can lead to the suppression of auxins at the base, inhibiting new growth and encouraging fungal pathogens to invade the soft tissue.
Establishing
After the transplant is complete, move the plant to a location with bright, indirect light. Maintain an ambient temperature between 65 and 75 degrees Fahrenheit. Wait two to three days before the first watering to allow any micro-tears in the root system to callus over. When you do water, apply enough to saturate the root zone until liquid exits the drainage holes.
Pro-Tip: Controlled light exposure post-repotting manages phototropism. By keeping the light source consistent, the plant can direct its energy toward root regeneration rather than reorienting its segments toward the sun.
The Clinic:
Symptom: Limp, shriveled segments despite wet soil.
Solution: This indicates root rot. Remove the plant, prune away blackened, slimy roots using bypass pruners sterilized with 70 percent isopropyl alcohol, and repot in fresh, dry substrate.
Symptom: Reddish or purple tint on segments.
Solution: This is typically a sign of magnesium deficiency or excessive light stress. Apply a solution of one teaspoon of Epsom salts per gallon of water to boost magnesium levels and move the plant further from the light source.
Symptom: Yellowing of segment edges (Nitrogen Chlorosis).
Fix-It: Apply a water-soluble fertilizer with a higher nitrogen concentration. Ensure the soil pH is not above 6.5, as high alkalinity locks out nitrogen and iron.
Symptom: Sudden dropping of segments.
Solution: This is often caused by rapid temperature fluctuations or draft exposure. Maintain a stable environment and check the accuracy of your thermostat.
Maintenance:
Precision in hydration is the cornerstone of long-term care. Use a soil moisture meter to verify that the top two inches of soil have dried out before adding more water. On average, the plant requires approximately 1.5 inches of water per week during the peak growing season. During the winter dormancy, reduce this frequency significantly.
Every two weeks during the summer, apply a liquid fertilizer at half-strength to support the development of new segments. Use bypass pruners to trim back the plant in early summer if it becomes leggy; this encourages a bushier growth habit. Always prune at the joint between segments to ensure clean healing. Monitor the plant for any changes in turgor pressure, as this is the primary indicator of hydraulic health within the plant's vascular system.
The Yield:
While the Christmas cactus is not an edible crop, its "yield" is the annual floral display. To maximize bloom density, provide the plant with 12 to 14 hours of total darkness per day starting in October. Maintain cool night temperatures around 50 to 55 degrees Fahrenheit. This environmental stress triggers the transition from vegetative growth to floral initiation. Once buds appear, do not move the plant; any change in orientation or temperature can cause the buds to drop prematurely. After the bloom cycle, the segments may appear slightly depleted; this is a natural result of the energy expenditure required for flowering.
FAQ:
When is the best time for repotting a Christmas cactus?
The optimal window is late spring, specifically from March to May. This follows the winter flowering period and aligns with the start of the vegetative growth cycle, allowing the root system to recover before the next bloom.
What kind of soil is best for a Christmas cactus?
Use a well-draining, porous mix with a pH between 5.5 and 6.2. A blend of two parts potting soil, one part perlite, and one part orchid bark provides the necessary aeration and moisture retention for epiphytic roots.
How do I know if my cactus needs a larger pot?
Signs include roots emerging from drainage holes, water running straight through the pot without being absorbed, or stunted growth. Generally, these plants prefer being slightly pot-bound and only need repotting every three to four years.
Should I water immediately after repotting?
No. Wait two to three days before the first watering. This allows any damaged roots to callus over and prevents soil-borne pathogens from entering the plant's vascular system through open wounds during the initial settling period.