8 Steps to Prepare Your Outdoor Perimeter for a Wall
The scent of damp, disturbed earth signals the beginning of a structural shift in the landscape. When you learn how to prepare a garden for a wall, you are managing the intersection of civil engineering and plant physiology. A wall alters the local microclimate by reflecting thermal energy and obstructing airflow. Success requires a deep understanding of the rhizosphere and the mechanical stability of the soil. You must ensure that the transition from open ground to a vertical barrier does not compromise the turgor pressure of your existing flora.
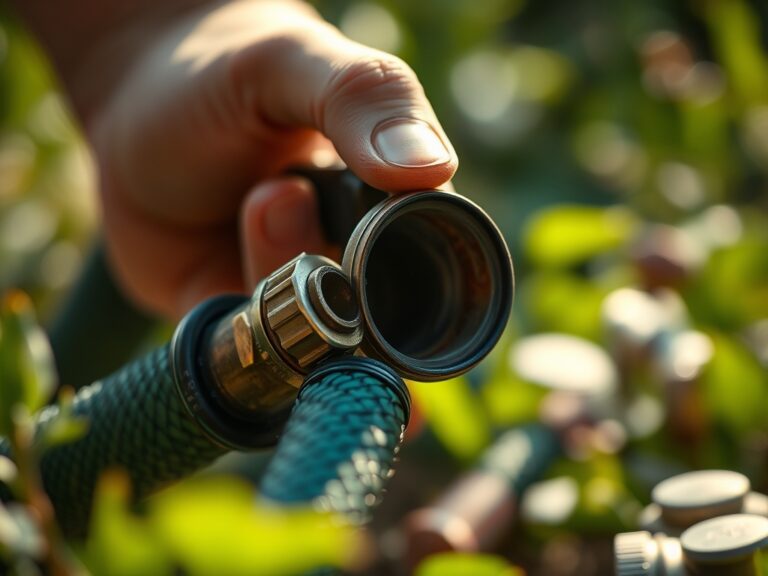
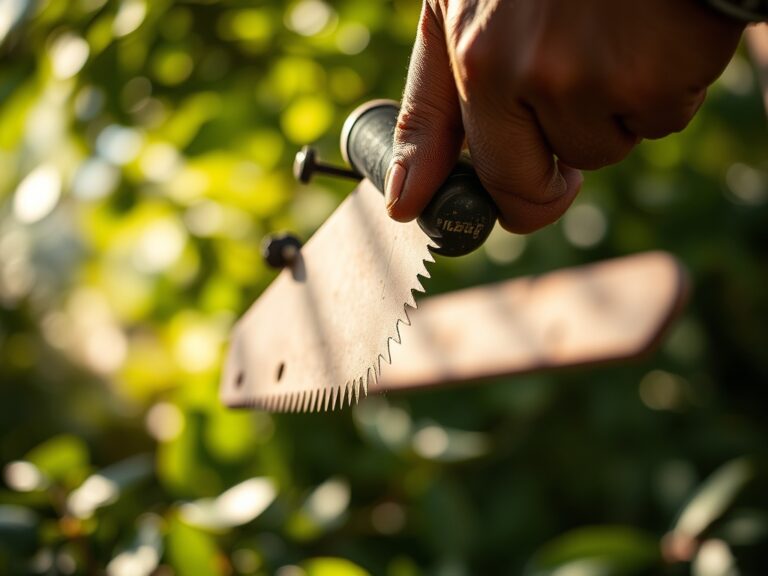
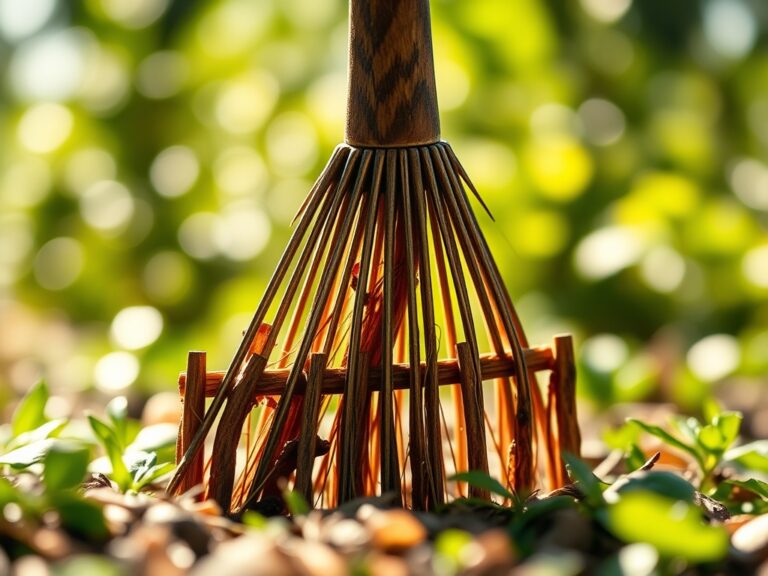
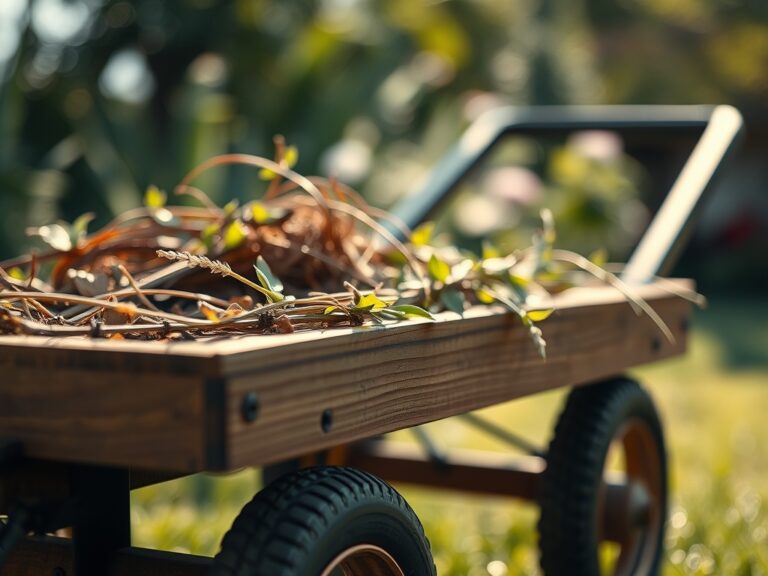
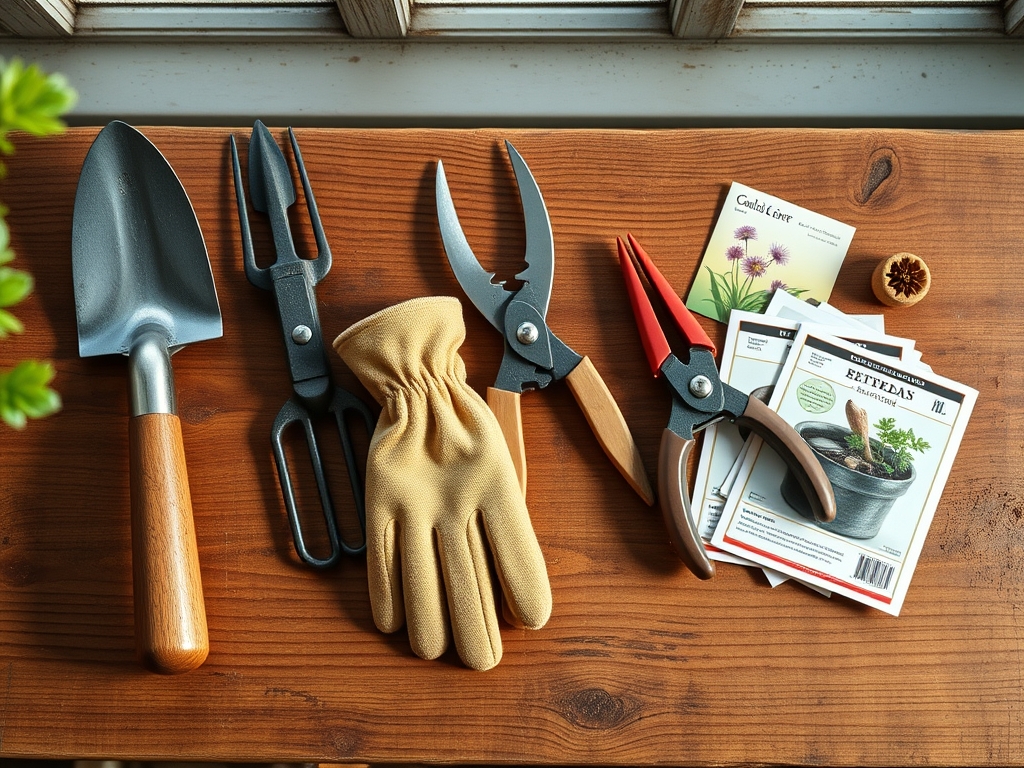
Materials:
Before the first stone is laid, the soil profile must be optimized. The ideal substrate is a **friable loam** with a **Cation Exchange Capacity (CEC)** of 15 to 25 milliequivalents per 100 grams. This ensures the soil can hold essential nutrients against the leaching effects of increased runoff from the wall surface.
For the perimeter zone, aim for a soil pH between 6.2 and 6.8. If your soil is too acidic, apply pelletized lime at a rate of 5 pounds per 100 square feet. For alkaline soils, use elemental sulfur. The nutrient profile should be balanced with an NPK ratio of 5-10-10 for the base layer to encourage root development over excessive vegetative growth. Use coarse masonry sand for drainage layers to prevent anaerobic conditions in the root zone.
Timing:
The biological clock of your garden dictates the construction schedule. In USDA Hardiness Zones 5 through 7, the window for site preparation opens as soon as the soil temperature reaches a consistent 50 degrees Fahrenheit. Construction should ideally occur during the plant's dormancy period or the early vegetative stage.
Avoid major excavation during the reproductive stage when the plant is diverting energy to flowering or fruiting. This prevents unnecessary stress and senescence. If you are working in warmer zones (8-10), time your preparation for the late autumn to take advantage of cooler temperatures, which reduces the rate of evapotranspiration in disturbed root systems.
Phases:
Sowing and Site Clearing
Clear a minimum of 24 inches of clearance from the wall's footprint. Remove all competitive weeds using a hori-hori knife to ensure the entire taproot is extracted. If you are sowing a cover crop to stabilize the soil during construction, use Dutch White Clover for its nitrogen-fixing capabilities.
Pro-Tip: Maintaining a clean perimeter prevents pathogen reservoirs from establishing near the new structure. Fungal spores often overwinter in organic debris; removing this material breaks the life cycle of common blights.
Transplanting Existing Specimens
When moving plants to accommodate the wall, preserve the root ball diameter at a ratio of 12 inches for every 1 inch of trunk caliper. Use bypass pruners to make clean cuts on any bruised roots to prevent infection. Replant at the same depth to avoid suffocating the root flare.
Pro-Tip: When transplanting, apply a mycorrhizal inoculant to the root zone. This fosters mycorrhizal symbiosis, where fungi extend the reach of the root system to improve water and phosphorus uptake during the recovery phase.
Establishing the Buffer Zone
Once the wall is built, establish a drainage "chimney" of crushed stone. Backfill with your prepared loam, ensuring the soil is not compacted beyond 85 percent Proctor density. This allows for adequate oxygen diffusion to the roots.
Pro-Tip: Direct your plantings based on phototropism. Plants will naturally lean away from the wall toward the light source. Space them 18 to 24 inches from the wall to allow for mature spread and air circulation, preventing powdery mildew.
The Clinic:
Physiological disorders often arise from the sudden change in light and drainage.
- Nitrogen Chlorosis: Symptoms include the yellowing of older leaves while veins remain green. Fix-It: Apply a quick-release high-nitrogen fertilizer (20-0-0) at a rate of 1 pound per 1,000 square feet.
- Iron Deficiency: New growth appears bleached or pale yellow. This often occurs if the wall's concrete leaches lime, raising the pH. Fix-It: Apply chelated iron as a foliar spray or soil drench.
- Leaf Scorch: Brown, necrotic edges on leaves. This is caused by reflected heat from the wall. Fix-It: Increase irrigation frequency and apply a 3-inch layer of organic mulch to cool the root zone.
- Epinasty: Downward curling of leaves, often a sign of waterlogged soil near the wall foundation. Fix-It: Improve sub-surface drainage by installing a 4-inch perforated French drain.
Maintenance:
Precision is the hallmark of a professional horticulturist. Use a soil moisture meter to ensure the root zone stays between 20% and 40% volumetric water content. Most perimeter plantings require 1.5 inches of water per week delivered directly at the drip line.
Prune aggressively with bypass pruners to maintain a 6-inch air gap between the foliage and the wall surface. This prevents moisture trapment and structural degradation. Check the soil pH annually; the leaching of calcium carbonate from masonry can shift your pH by 0.5 units over a single growing season.
The Yield:
If your perimeter garden includes herbs or cut flowers, harvest during the early morning hours when turgor pressure is at its peak. This ensures the cells are fully hydrated. Use a sharp hori-hori knife for clean cuts that minimize tissue trauma.
For post-harvest longevity, immediately submerge stems in 40-degree Fahrenheit water. This rapid cooling slows the metabolic rate and delays the onset of senescence. Store woody herbs in a high-humidity environment to maintain essential oil concentrations.
FAQ:
How close can I plant to a new retaining wall?
Maintain a minimum distance of 18 to 24 inches. This allows for root expansion and prevents the root system from exerting lateral pressure on the wall, which can cause structural failure over time.
Does concrete affect soil acidity?
Yes. New concrete leaches calcium hydroxide, which can significantly raise the soil pH. Monitor the perimeter with a digital tester and apply elemental sulfur if the pH climbs above 7.2.
What NPK ratio is best for wall-side plants?
A low-nitrogen, high-phosphorus starter (such as 5-10-10) is ideal. This ratio prioritizes root establishment and structural integrity over rapid, weak vegetative growth that may be susceptible to pests.
How do I prevent root rot near the foundation?
Install a drainage layer of 1-inch clean stone behind the wall. Ensure the soil is a friable loam and use a soil moisture meter to avoid exceeding the field capacity of the substrate.
When is the best time to excavate for a garden wall?
Excavate during late winter or early spring while plants are dormant. This minimizes the metabolic shock to the root systems and allows the soil to settle before the peak growing season begins.