7 Steps to Clean and Dry a Soil Sifter After Use
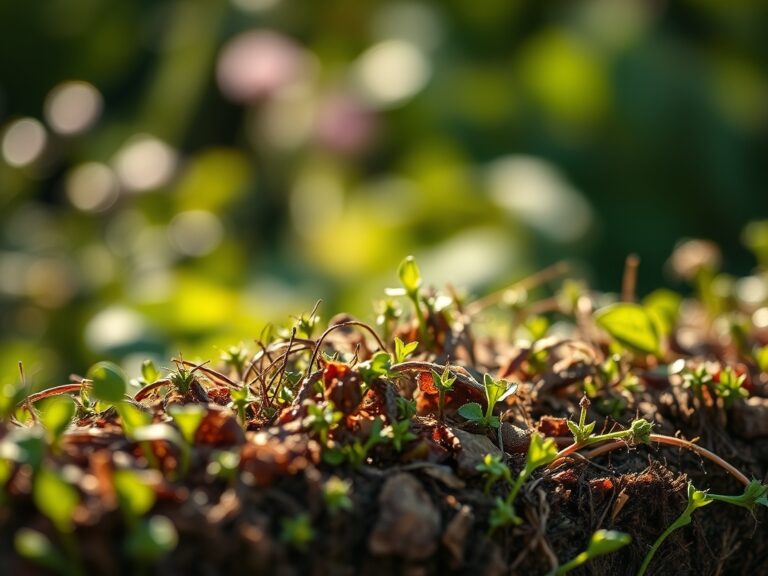
Damp earth carries the scent of geosmin, a byproduct of Actinobacteria that signals a healthy rhizosphere. When the sifter finishes its work, the mesh is often clogged with clay particles and organic matter that can harbor pathogens like Pythium or Fusarium. Proper hygiene prevents cross-contamination between seed beds. Executing the correct steps for cleaning a soil sifter after use ensures the longevity of the galvanized steel and maintains the precision of the mesh gauge. Residual moisture trapped in soil particles accelerates oxidation. A clean sifter allows for an accurate assessment of soil texture, ensuring the friable loam required for delicate root systems is not compromised by leftover debris. Neglecting this maintenance leads to physical degradation of the tool and potential fungal outbreaks in the nursery. By following a systematic decontamination protocol, you preserve the integrity of your mechanical sieves and the health of your future crops.
Materials:
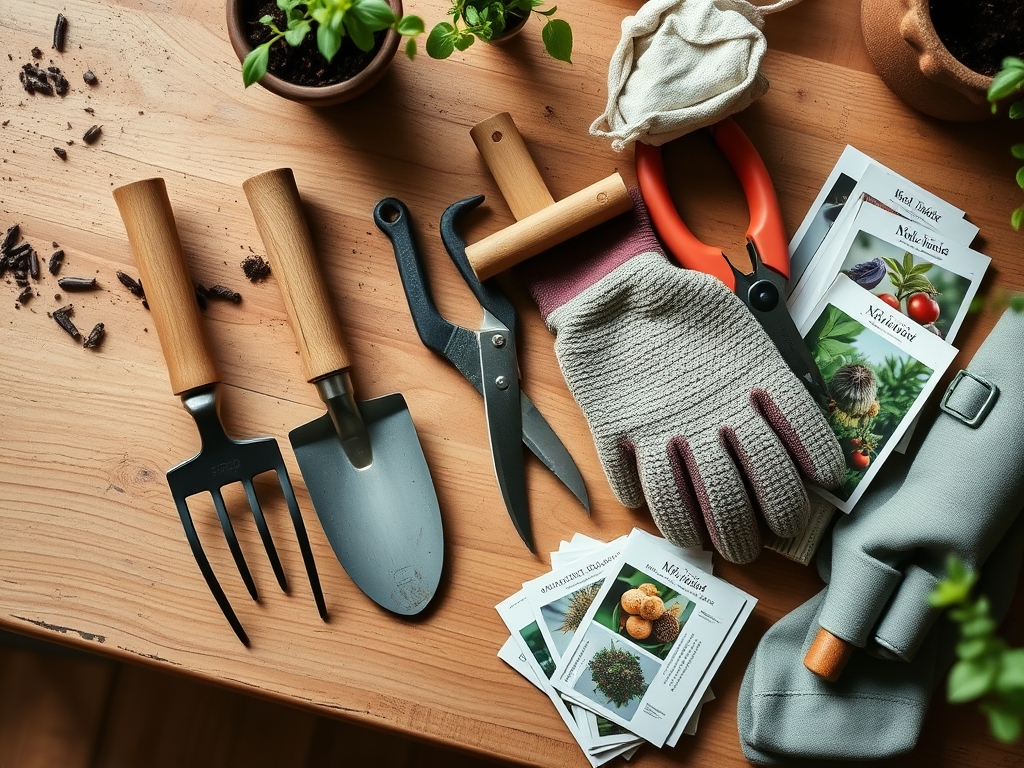
To maintain a high Cation Exchange Capacity (CEC) in your potting mixes, the sifter must be free of contaminants. Ideal substrate preparation requires a **friable loam** consisting of **40% sand, 40% silt, and 20% clay**. When sifting specialized mixes, monitor the NPK ratios of the residual organic matter. For seed starting, a ratio of **5-10-5** is standard to encourage root development without scorching tender tissues. The pH of the cleaning solution should be neutral, approximately **7.0**, to avoid altering the acidity of the next batch of soil. You will need a stiff-bristled nylon brush, a pressurized water source, and a 10% bleach solution or isopropyl alcohol for sterilization.
Timing:
In Hardiness Zones 5 through 8, the window for soil preparation usually begins 4 to 6 weeks before the last frost date. Cleaning your equipment must happen immediately after use to prevent the "setting" of clay-heavy soils. This timing aligns with the biological clock of the plant; as seeds move from dormancy to the vegetative stage, they require a sterile environment. Sifting soil during the transition from vegetative to reproductive stages is less common, but if you are top-dressing perennials in late summer, the tool must be cleaned before the autumn cooling period begins. Rapid drying is essential when ambient humidity exceeds 65% to prevent rust.
Phases:

### Sowing
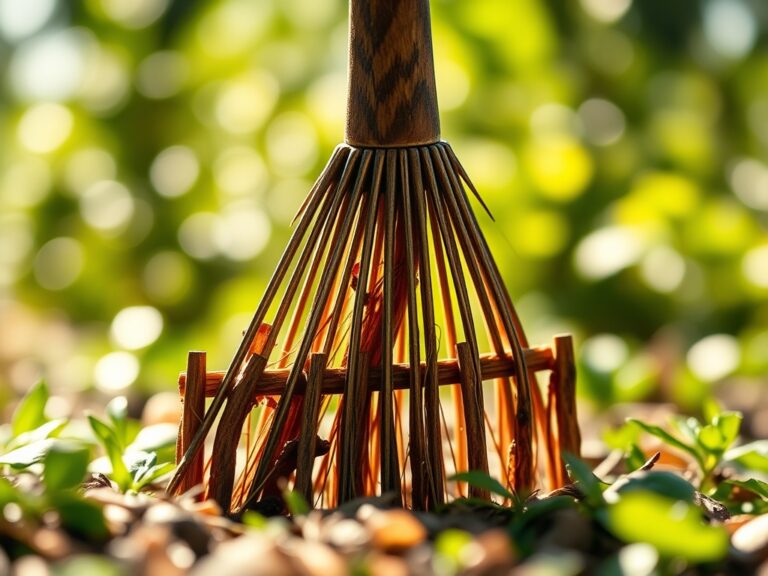
The first step in the cleaning process is the mechanical removal of large aggregates. Use a **hori-hori knife** to scrape away compacted clods from the corners of the frame. This prevents the buildup of anaerobic pockets where harmful bacteria thrive.
**Pro-Tip:** Removing organic debris immediately limits the food source for fungus gnats. This is vital because **mycorrhizal symbiosis** requires a balanced microbial environment, not one dominated by opportunistic pests.
Transplanting
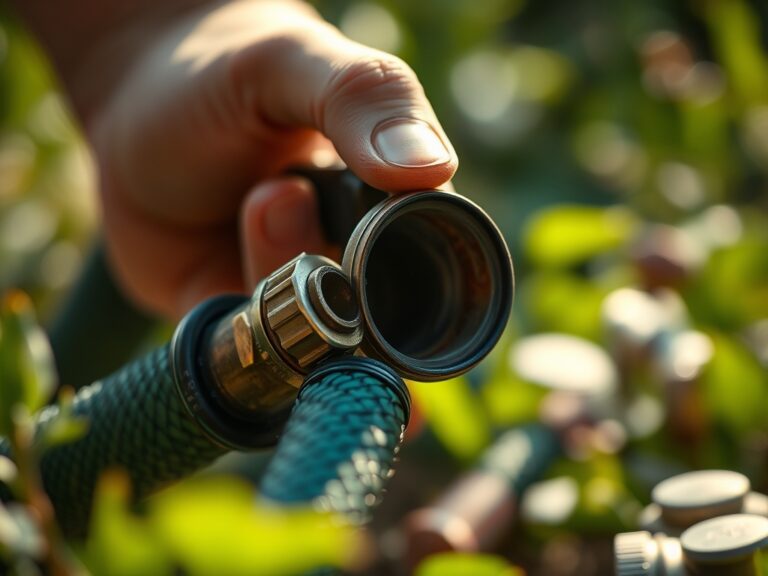
Once the bulk material is removed, use a high-pressure hose to blast the mesh. Focus on the intersections of the wire where silt particles lodge. These particles can alter the drainage profile of your next mix if they are allowed to contaminate a new batch.
Pro-Tip: High-pressure water also removes hidden insect eggs. This prevents the disruption of phototropism in young seedlings, as pest-damaged leaves cannot orient themselves effectively toward light sources.
Establishing
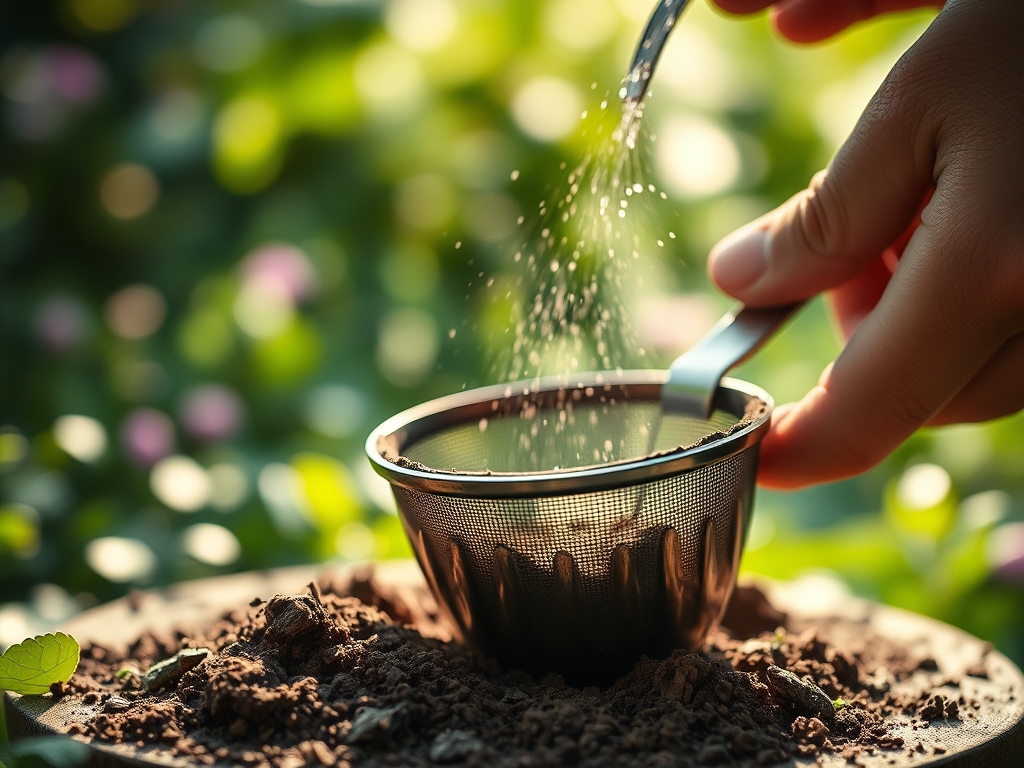
The final phase involves chemical sterilization and thermal drying. Submerge or spray the mesh with a disinfectant to kill lingering spores. Place the sifter in a location with high airflow or direct sunlight to utilize UV sterilization.
Pro-Tip: Rapid drying prevents the oxidation of the metal. If the mesh becomes pitted from rust, it creates micro-environments that trap moisture, leading to auxin suppression in plants if heavy metal oxides leach into the soil.
The Clinic:
Symptom: Damping-off in Seedlings
Solution: This is often caused by Rhizoctonia or Pythium fungi surviving on dirty equipment. Sterilize the sifter with a 10% bleach solution for 10 minutes.
Symptom: Iron Chlorosis
Solution: If rust from a poorly maintained sifter leaches into the soil, it can interfere with nutrient uptake. Check soil pH; if it is above 7.0, iron becomes less available. Use chelated iron to fix the deficiency.
Symptom: Nitrogen Chlorosis
Fix-It: Yellowing of older leaves indicates a Nitrogen deficiency. Ensure your sifted compost has a balanced C:N ratio. Add a high-nitrogen amendment like blood meal (12-0-0) to the mix.
Symptom: Reduced Turgor Pressure
Solution: This occurs when soil is too coarse and drains too quickly. Use a finer mesh (1/4 inch or 1/8 inch) to ensure the soil retains enough moisture to maintain internal cellular pressure.
Maintenance:
A soil sifter is a precision instrument for the serious horticulturist. After every 20 hours of use, inspect the frame for structural integrity. Use bypass pruners to trim away any root fibers that have become entwined in the mesh. To prevent rust during storage, apply a light coating of mineral oil to the wire. When preparing your beds, ensure you are providing 1.5 inches of water per week at the drip line to maintain the soil structure you worked hard to sieve. Use a soil moisture meter to verify that the sifted loam is holding water at a tension of 10 to 30 centibars, which is the sweet spot for most vegetable crops. Store the tool vertically in a low-humidity environment to ensure the mesh does not sag or warp.
The Yield:
When your soil is properly sifted and the equipment is kept sterile, the harvest quality improves significantly. For root crops like carrots or radishes, sifted soil prevents "fanging" or split roots caused by hitting stones. Harvest these crops when they reach the diameter specified for their variety; usually 0.5 to 1 inch for radishes. To maintain day-one freshness, harvest in the early morning when turgor pressure is at its peak. Immediately plunge the produce into an ice-water bath to remove field heat and slow the process of senescence, which preserves the sugars and crispness of the vegetable.
FAQ:
Why is drying the sifter immediately necessary?
Residual moisture on metal mesh leads to oxidation and rust. Rust particles can contaminate soil and alter the chemical balance of the rhizosphere, potentially introducing heavy metal oxides that inhibit sensitive seedling growth and root elongation.
What is the best disinfectant for a soil sifter?
A 10% bleach solution or 70% isopropyl alcohol is most effective. These agents neutralize fungal spores and bacterial pathogens like Agrobacterium, ensuring that the next batch of sifted soil remains sterile for delicate propagation tasks.
Can I use a wire brush to clean the mesh?
Yes, but use a stainless steel or nylon brush. Avoid carbon steel brushes on galvanized mesh to prevent cross-metal contamination, which can accelerate galvanic corrosion and weaken the structural integrity of the sieve over time.
How does sifting affect the Cation Exchange Capacity?
Sifting removes large, inert rocks and incorporates organic matter more uniformly. This increases the total surface area of the soil particles, effectively raising the CEC and allowing the soil to hold more essential nutrients like Potassium and Magnesium.