7 Vacation Tips for the Best Automatic Indoor Waterers
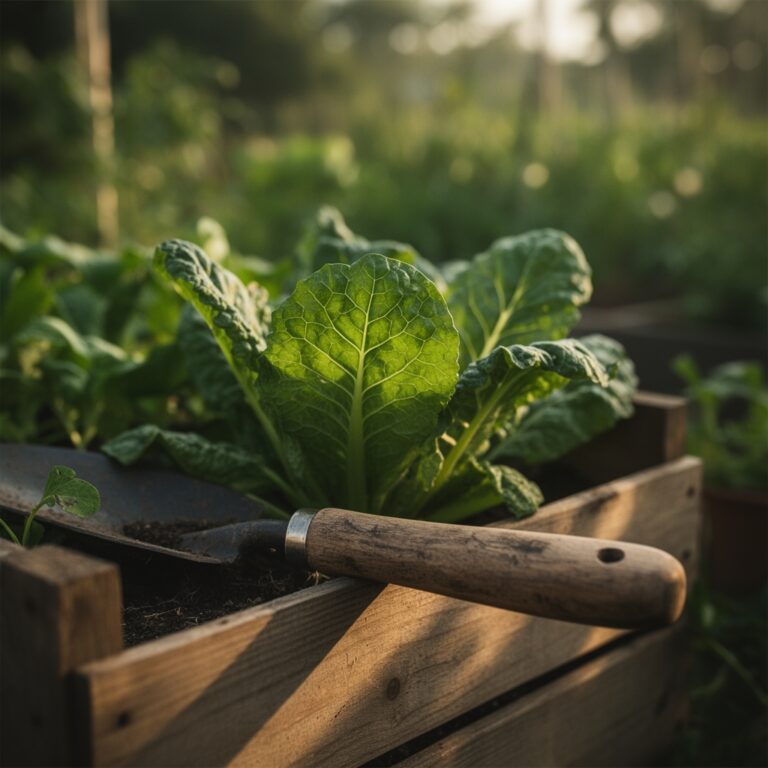
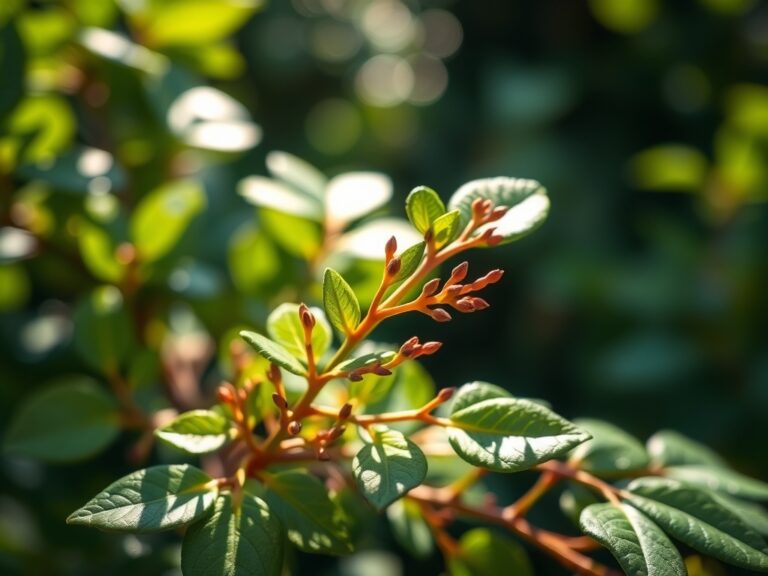
Healthy leaf turgor is the primary indicator of cellular hydraulic success. When you enter a room filled with well hydrated foliage; the scent of damp earth and active transpiration is unmistakable. Maintaining this physiological state while away requires precision engineering rather than guesswork. Relying on the best automatic waterers for indoor gardens ensures that the rhizosphere remains consistently moist without reaching the point of anaerobic saturation. This stability prevents the sudden drop in turgor pressure that leads to permanent wilting point; a state where the vascular system of the plant can no longer recover. A successful vacation setup mimics the natural ebb and flow of groundwater. It provides a steady supply of moisture to meet the metabolic demands of the plant during your absence. By integrating high quality irrigation hardware; you maintain the osmotic balance required for nutrient uptake and photosynthesis. This guide focuses on the technical calibration of these systems to ensure your botanical collection survives and thrives during your time away.
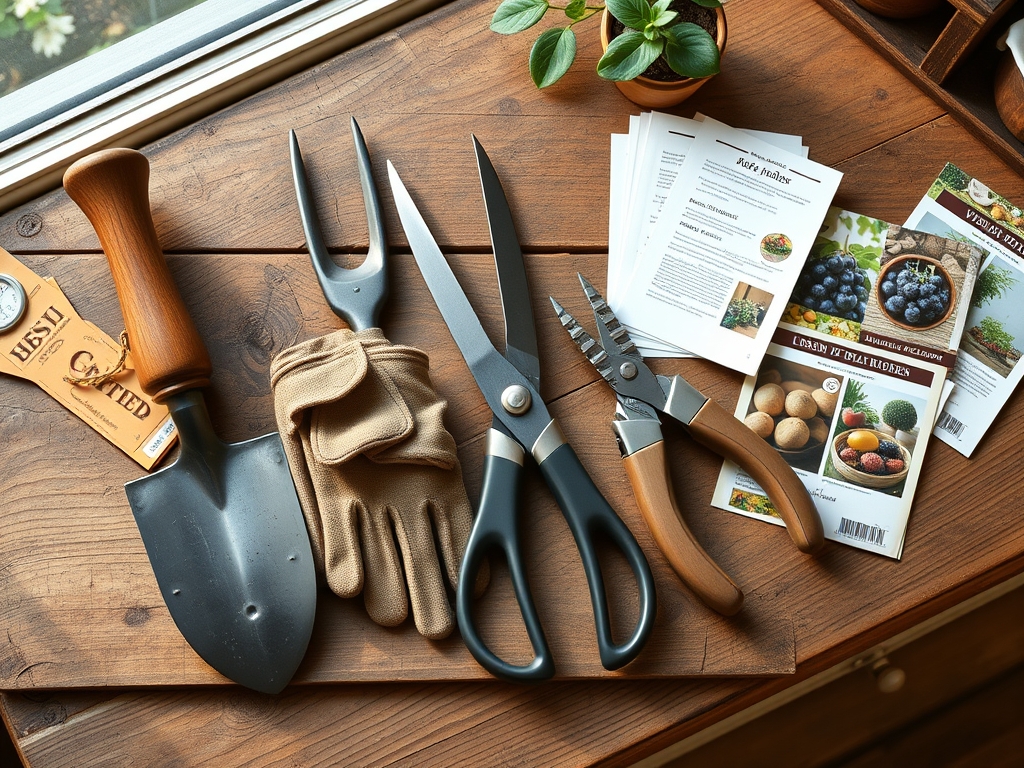
Materials:
The efficacy of an automatic watering system depends heavily on the substrate it services. For most indoor tropicals; a **friable loam** with high porosity is required. This substrate should ideally maintain a **pH between 6.0 and 7.0** to ensure maximum nutrient bioavailability. Before setting up your waterer; verify that your soil has a balanced **NPK ratio of 10-10-10** for general maintenance or **5-10-10** for flowering species to prevent excessive vegetative growth while you are away.
Soil Cation Exchange Capacity (CEC) determines how well your medium holds onto essential nutrients like potassium and magnesium. A substrate with a high organic matter content will have a higher CEC; acting as a buffer against the leaching that can occur with constant drip irrigation. If you are using a wick system; the capillary action is most effective in a medium that contains perlite or vermiculite to facilitate vertical water movement. Ensure the soil is not compacted; as compaction reduces the oxygen available to the roots and can lead to root rot when using automated systems that provide a constant moisture supply.
Timing:
Indoor environments are shielded from traditional Hardiness Zones; yet they are subject to micro-climates created by HVAC systems and window orientation. You must time your irrigation frequency based on the current "Biological Clock" of the plant. During the vegetative stage; plants require more frequent watering to support rapid cell division and leaf expansion. If your vacation coincides with the reproductive stage; the plant may require a slight reduction in nitrogen but an increase in water consistency to support flower or fruit development.
The transition from vegetative to reproductive stages is often triggered by the photoperiod. If your indoor garden relies on grow lights; ensure your timers are synchronized with your automatic waterers. A plant in a 16 hour light cycle will transpire significantly more water than one in an 8 hour cycle. Always calibrate your system at least seven days before departure. This allows you to observe the moisture levels and adjust the flow rate based on the specific evaporation rates of your home environment.
Phases:
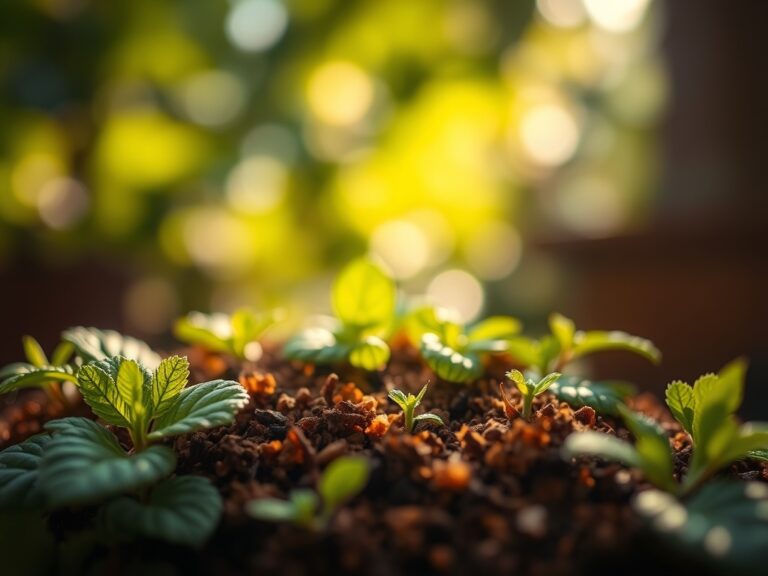
Sowing and Early Growth
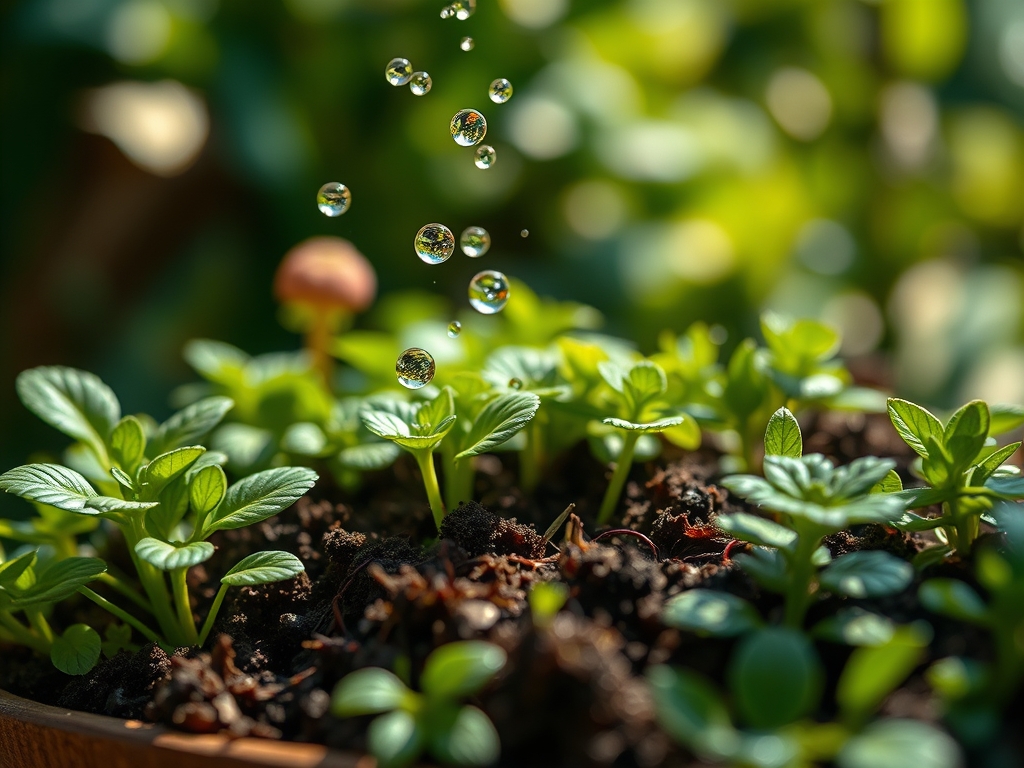
When starting seeds or managing young seedlings; moisture consistency is critical. Automatic misters or precise drip emitters are preferred here.
Pro-Tip: Maintaining high humidity around seedlings prevents the desiccation of the radicle. This supports mycorrhizal symbiosis; where beneficial fungi colonize the root system to enhance nutrient uptake.
Transplanting and System Integration
Moving a plant into a self watering pot or installing a spike system requires careful handling of the root ball. Use a hori-hori knife to loosen the soil without damaging the primary taproot.
Pro-Tip: Ensure the water delivery point is near the root zone but not touching the stem. This prevents auxin suppression; allowing the plant to maintain its natural growth direction through proper hormone distribution.
Establishing the Routine
Once the system is installed; monitor the turgor pressure of the leaves for 48 hours. The soil should feel like a wrung out sponge.
Pro-Tip: Plants utilize phototropism to orient their leaves toward light. If a plant is overwatered; the weight of the water in the cells can interfere with this movement; leading to "heavy" or drooping foliage that cannot properly track light.
The Clinic:
Physiological disorders often arise from improper calibration of automatic systems.
Symptom: Edema (Small bumps or blisters on leaf undersides)
Solution: This is caused by the plant taking up water faster than it can transpire. Reduce the flow rate of your best automatic waterers for indoor gardens or increase air circulation using a small fan.
Symptom: Nitrogen Chlorosis (Yellowing of older leaves)
Solution: Constant watering can leach nitrogen from the soil. Use a slow release NPK 12-4-8 fertilizer spike to provide a steady supply of nutrients that won't wash away.
Symptom: Tip Burn (Necrosis at the leaf edges)
Solution: This often indicates salt buildup from tap water. Flush the soil with distilled water before you leave and use a filtered water source for your reservoir.
Fix-It for Magnesium Deficiency: If you notice interveinal chlorosis; add one teaspoon of Epsom salts per gallon of water in your reservoir to restore magnesium levels and support chlorophyll production.
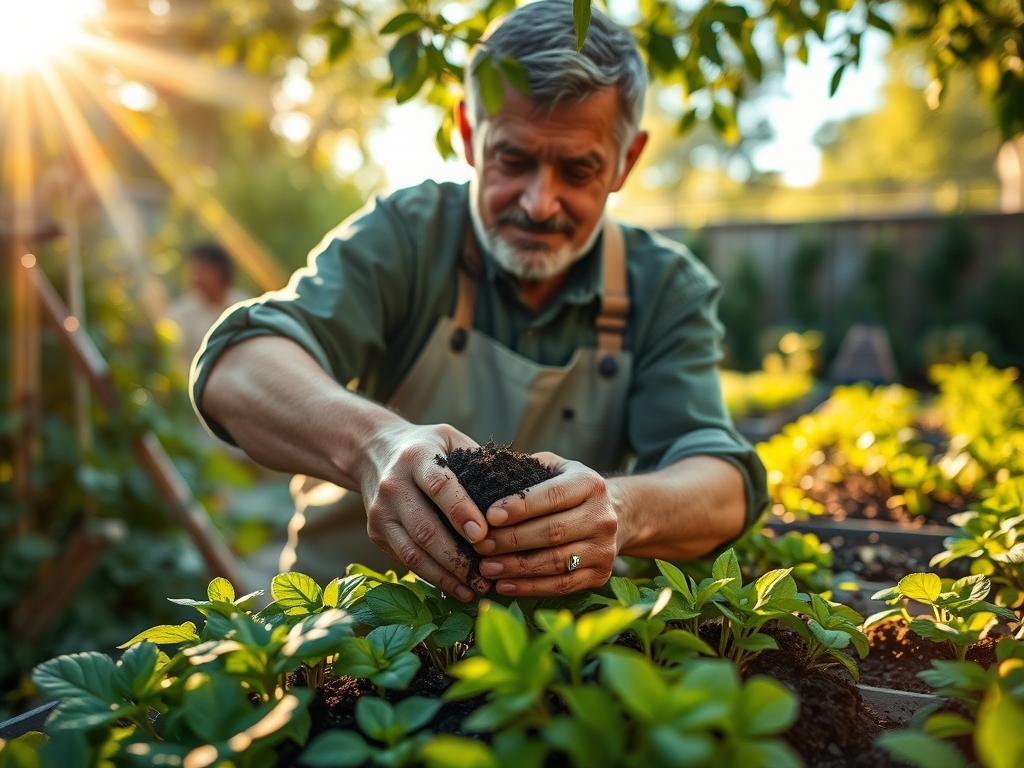
Maintenance:
Precision maintenance is the hallmark of a professional horticulturist. Use a soil moisture meter to verify that your system is delivering exactly 1.5 inches of water per week for high demand plants or 0.5 inches for succulents. Clean your emitters with a weak vinegar solution to prevent calcium buildup which can clog the lines. Use bypass pruners to remove any dead or dying foliage before you leave; this reduces the plant's overall water demand and prevents the spread of pathogens in your absence. Regularly check the reservoir for algae growth; which can compete with your plants for oxygen and nutrients.
The Yield:
For those growing indoor herbs or peppers; harvesting before departure is essential. Harvest at the peak of turgor pressure; usually in the early morning. Cut stems at a 45 degree angle to maximize surface area for water uptake if keeping them in a vase. For "day-one" freshness; place harvested greens in a sealed container with a damp paper towel at 34 to 40 degrees Fahrenheit. This slows down senescence; the natural aging process of the plant tissue; by reducing the metabolic rate.
FAQ:
How do I choose the best automatic waterers for indoor gardens?
Select a system based on your plant's specific water needs. Use gravity fed spikes for individual pots and pump-based drip kits for large collections. Ensure the reservoir capacity matches your vacation duration and the total transpiration rate of your plants.
Can I use automatic waterers for succulents?
Yes; but you must use a highly porous substrate and calibrate the timer for infrequent intervals. Succulents require a "dry-back" period to prevent root rot. Set the system to deliver water only when the soil is completely dry.
What is the best water source for these systems?
Distilled or filtered water is ideal to prevent mineral buildup in the tubing and emitters. If using tap water; let it sit for 24 hours to allow chlorine to dissipate; which protects the delicate rhizosphere and beneficial soil microbes.
How do I prevent the reservoir from siphoning?
Ensure the water level in the reservoir is lower than the emitters if using a pump system. For gravity systems; the reservoir must be higher. Use a check valve or anti-siphon device to maintain precise control over the flow rate.