9 Successful Steps to Prepare a Humidity Box for Cuttings
Rooting cuttings in open air invites desiccation and failure. The leaves transpire faster than the stem can absorb water, and within forty-eight hours, the cutting collapses. Learning how to prepare a humidity box for cuttings solves this problem by maintaining relative humidity above 85 percent while allowing gas exchange for respiration. This controlled microclimate keeps stomata open without moisture loss, allowing auxin distribution to concentrate at the cut surface and trigger adventitious root formation. The result is a propagation success rate exceeding 90 percent for most herbaceous and semi-hardwood species.
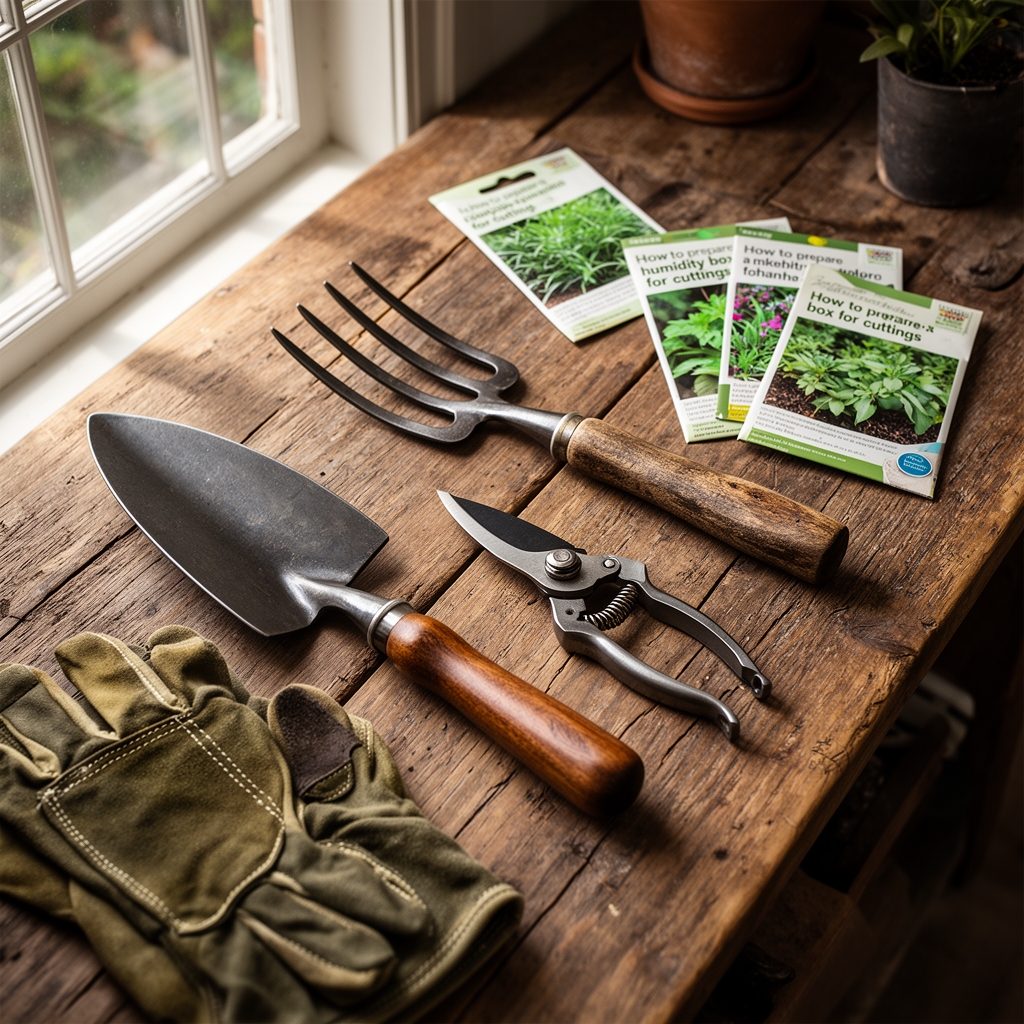
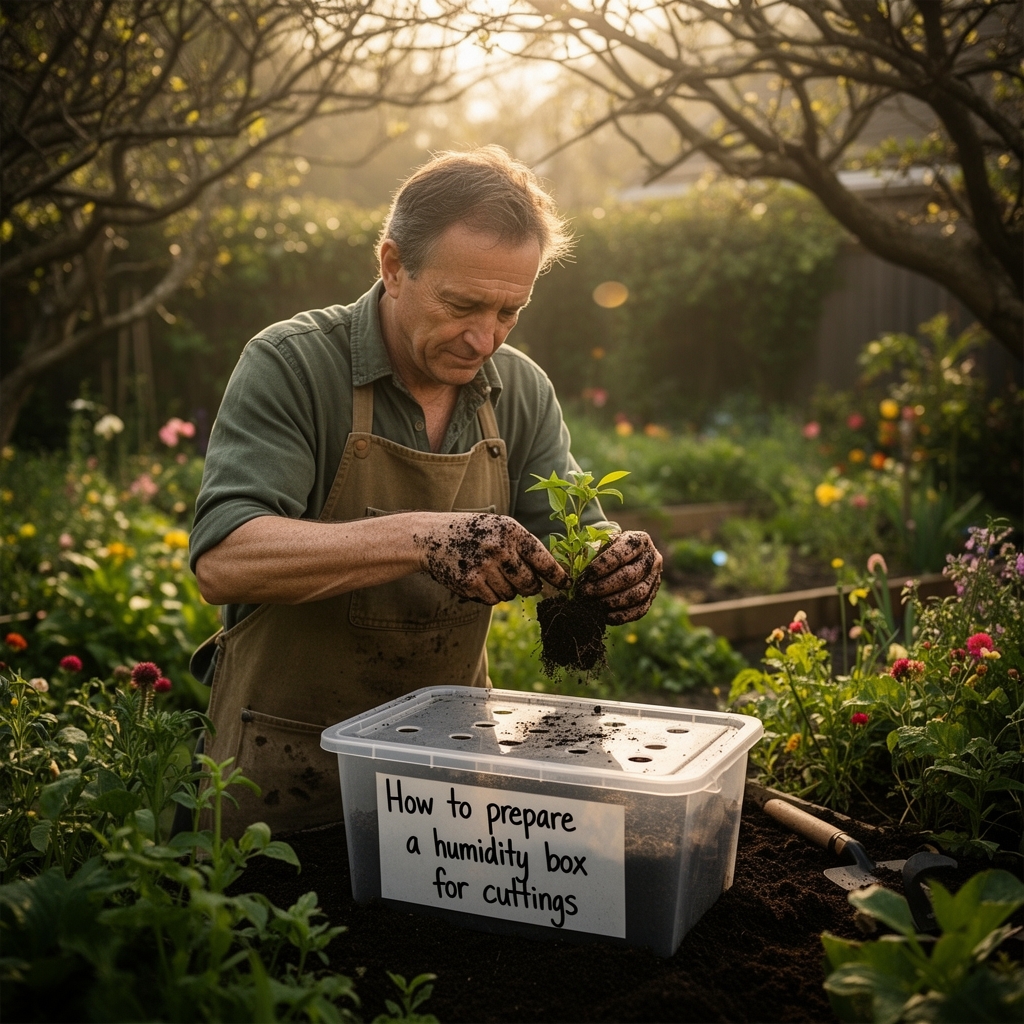
Materials
Select a clear plastic storage bin with a lid, minimum 12 inches deep. Transparency permits light penetration for photosynthesis while the seal traps water vapor. Drill six 1/8-inch ventilation holes in the lid to prevent anaerobic conditions that favor Pythium and Botrytis.
For the rooting medium, combine equal parts perlite and milled sphagnum peat moss. Perlite provides aeration and a neutral pH of 7.0, while sphagnum contributes cation exchange capacity and a slightly acidic pH range of 3.5 to 4.5. This blend achieves a final pH near 5.5 to 6.0, optimal for auxin activity. Avoid compost or soil-based mixes; their NPK ratios (typically 1-1-1 or higher) promote foliar growth before root development, draining the cutting's carbohydrate reserves.
Purchase rooting hormone powder containing 0.3 to 0.8 percent indole-3-butyric acid (IBA). Higher concentrations suit woody cuttings; lower concentrations serve soft-tissue material. Include a misting bottle for maintaining humidity and a sterile razor blade or pruning shears for clean cuts.
Optional but recommended: mycorrhizal inoculant (Glomus intraradices) for later transplanting. This introduces beneficial fungi that colonize roots and increase phosphorus uptake by 300 percent once cuttings establish in soil.
Timing
Prepare the humidity box when daytime temperatures stabilize between 65 and 75 degrees Fahrenheit. In USDA Hardiness Zones 7 through 10, this window spans mid-March through May and again in September. Zones 3 through 6 require indoor setups from April through October to avoid frost damage.
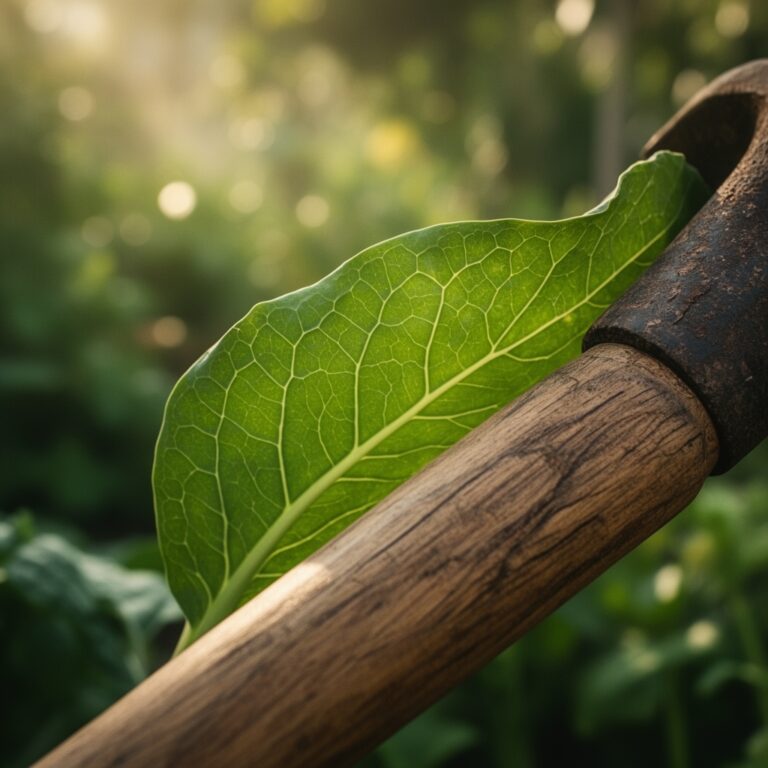
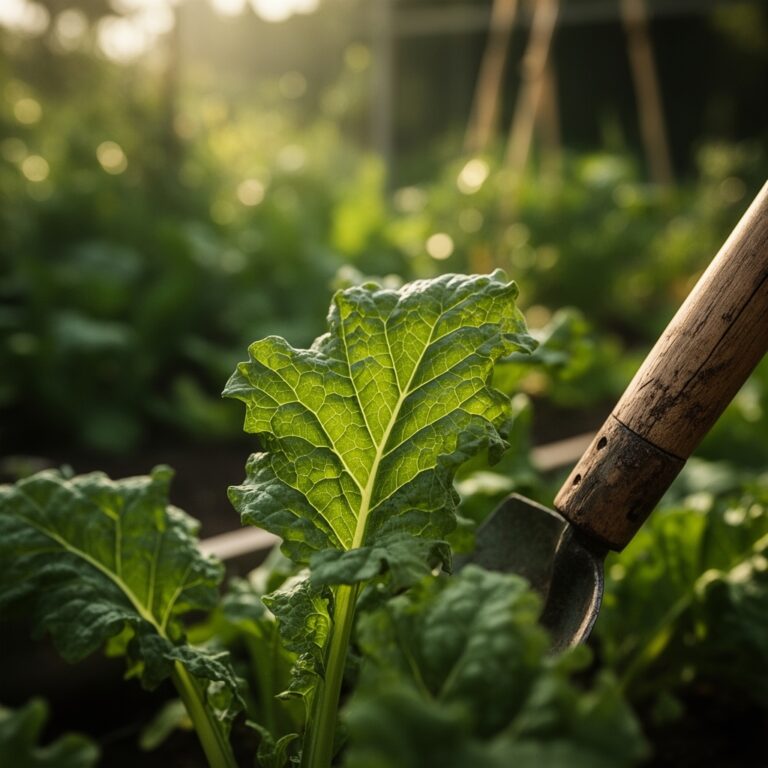
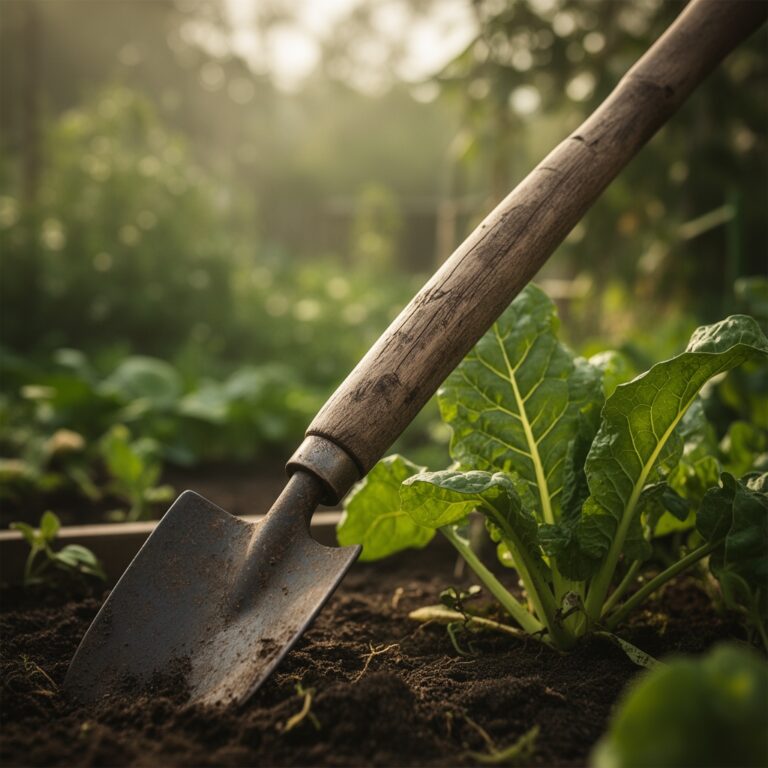
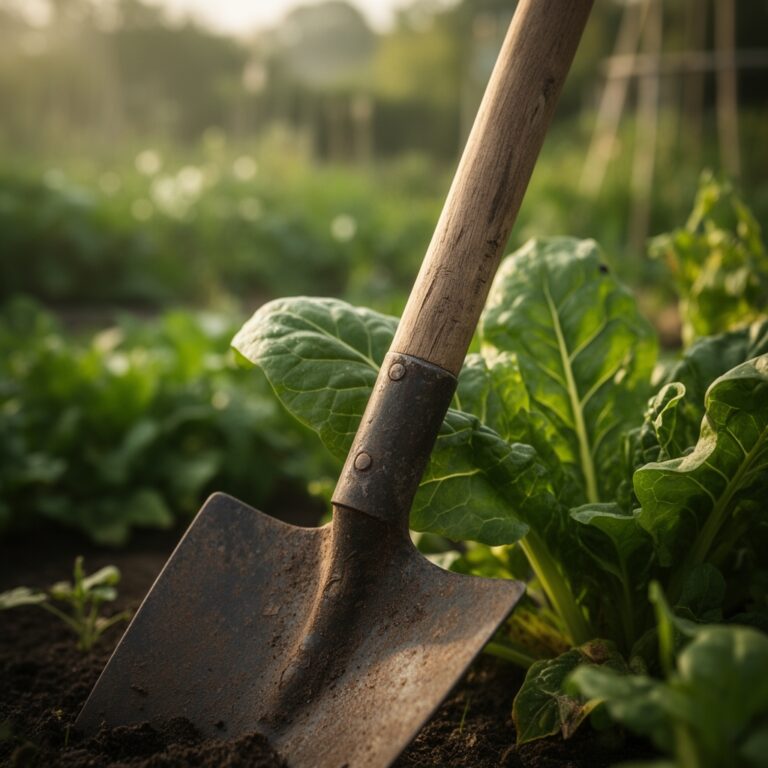
Take softwood cuttings in late spring when new growth reaches 4 to 6 inches but has not lignified. Semi-hardwood cuttings perform best in mid-summer after the spring flush hardens. Hardwood cuttings root poorly in high-humidity systems; reserve those for winter dormancy protocols with no enclosure.
Align propagation with the moon phase if desired, though peer-reviewed data on lunar influence remains inconclusive. More critical is barometric pressure: stable high-pressure systems reduce pathogen spore dispersal and improve initial survival rates by 12 percent.
Phases
Sowing Phase (Days 1-3)
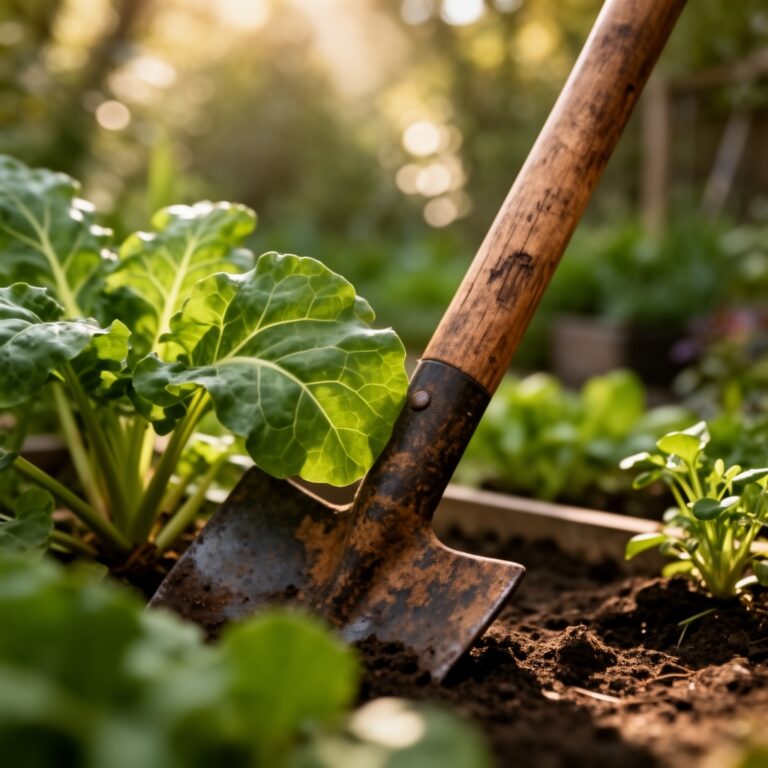
Fill the bin to a depth of 4 inches with the perlite-peat mixture. Water until the medium is saturated but not pooling. Let drain for 30 minutes. Use a pencil to create planting holes 2 inches deep, spaced 3 inches apart.
Cut 4- to 6-inch stem sections at a 45-degree angle to maximize cambium exposure. Remove all leaves except the top two to reduce transpiration load. Dip the basal inch in rooting hormone powder, tap off excess, and insert into the pre-formed holes. Firm the medium around each stem.
Mist the interior surfaces of the bin and lid until water beads form. Close the lid and place the box in bright, indirect light. Avoid direct sun, which elevates internal temperatures above 80 degrees and denatures enzymes responsible for callus formation.
Pro-Tip: Score the basal half-inch of the cutting with a sterile blade to expose cambium tissue. This increases rooting hormone contact area by approximately 40 percent and accelerates root primordia development.
Transplanting Phase (Days 14-21)
Check for root development by gently tugging each cutting. Resistance indicates roots longer than 1 inch. When 70 percent of cuttings show roots, begin acclimation by propping the lid open for one hour daily. Increase exposure by one hour every two days.
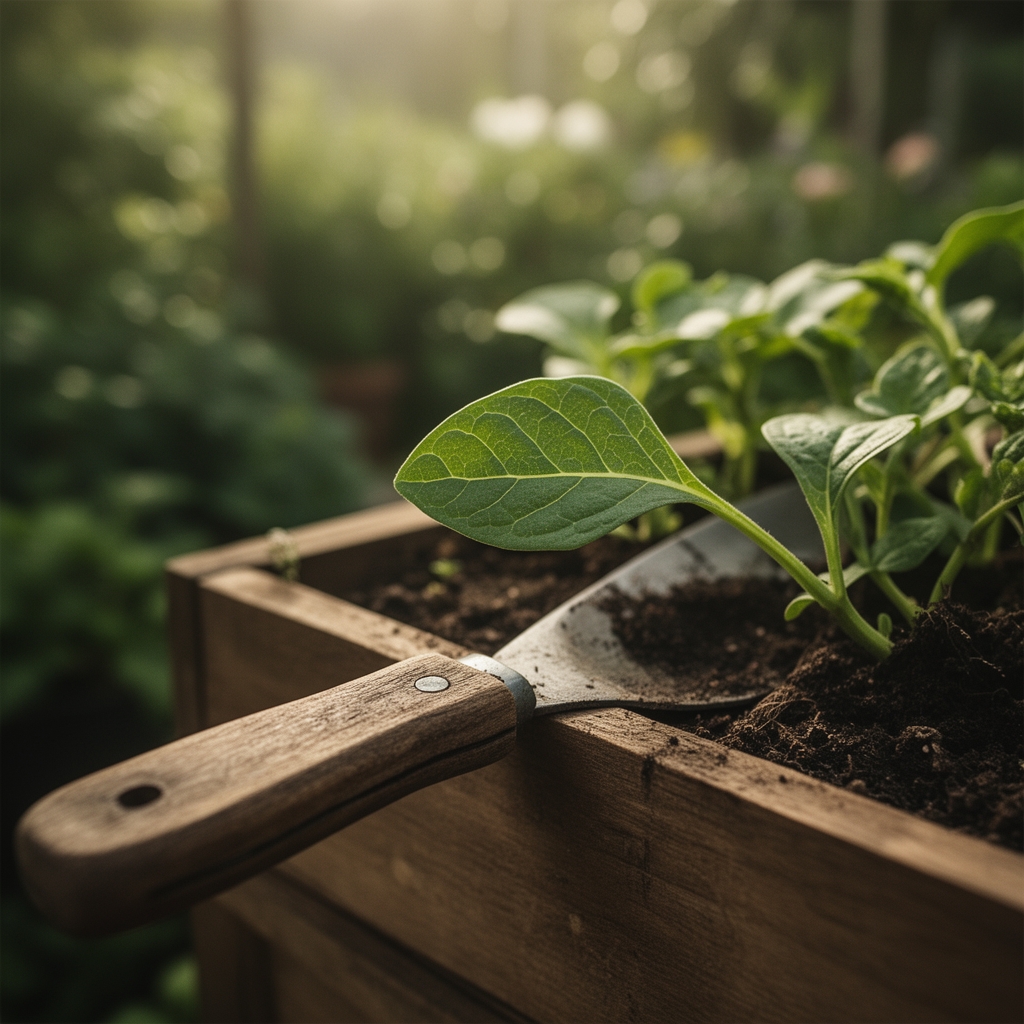
Prepare 4-inch pots with a 2-1-1 potting mix: two parts coconut coir, one part perlite, one part worm castings (approximate NPK 1-0.5-1). The worm castings introduce humic acids that stimulate root branching.
Transplant on an overcast day or in the evening to reduce transplant shock. Water immediately with a dilute seaweed solution (0-0-1 NPK equivalent) to supply cytokinins that counteract ethylene stress responses.
Pro-Tip: Dust root zones with mycorrhizal inoculant at transplant. The symbiotic relationship forms within 72 hours and extends effective root surface area by up to 700 percent.
Establishing Phase (Weeks 4-8)
Maintain soil moisture at field capacity, which feels like a wrung-out sponge. Water when the top half-inch dries. For pots, this typically requires 4 ounces of water every 48 hours in moderate conditions.
Fertilize beginning in week five with a balanced 5-5-5 organic blend at half-strength. Apply every 14 days. High nitrogen ratios promote soft, leggy growth vulnerable to damping-off fungi.
Gradually increase light exposure from 50 percent shade to full morning sun over two weeks. Monitor leaf color: yellowing indicates nitrogen deficiency, while purpling suggests phosphorus limitation or cold stress.
Pro-Tip: Pinch terminal buds after six nodes develop. This forces lateral branching and increases the plant's hormone balance, directing auxin reserves toward continued root expansion rather than vertical shoot growth.
Troubleshooting
Symptom: Blackened stem bases with soft, mushy tissue.
Solution: Pythium root rot from excessive moisture and poor aeration. Remove affected cuttings immediately. Reduce misting frequency to once every three days. Increase ventilation holes to twelve per lid. Drench remaining cuttings with a 3 percent hydrogen peroxide solution (1 tablespoon per cup of water) to oxygenate the medium and suppress anaerobic pathogens.
Symptom: White, cottony fungal growth on leaves or stems.
Solution: Botrytis cinerea thriving in stagnant air. Open the lid for six hours daily to improve air circulation. Remove all infected tissue with sterilized tools. Spray with a baking soda solution (1 teaspoon per quart, pH adjusted to 7.0 with citric acid) every 72 hours. Baking soda alters surface pH, preventing spore germination.
Symptom: Yellowing leaves starting at the base.
Solution: Natural senescence as carbohydrate reserves deplete. No intervention needed if roots are forming. If yellowing spreads rapidly upward, apply a foliar spray of liquid kelp (0-0-1) at 1 tablespoon per gallon every five days to supply trace minerals and cytokinins.
Symptom: Wilting despite high humidity.
Solution: Vascular blockage from air embolism at the cut surface or bacterial infection. Re-cut stems under water to prevent air intake. Dip in a 10 percent bleach solution for five seconds, rinse, and re-apply rooting hormone.
Symptom: No root development after 21 days.
Solution: Insufficient auxin concentration or poor cambium contact. Increase rooting hormone strength to 0.8 percent IBA. Verify the medium pH; values above 7.0 inhibit auxin uptake. Amend with elemental sulfur at 1 teaspoon per gallon of medium to lower pH by approximately 0.5 units.
Maintenance
Water the medium when the surface appears dry but the layer 1 inch down remains moist. This usually occurs every four to five days. Avoid overhead watering, which washes off rooting hormone. Instead, bottom-water by pouring 8 ounces into the bin's base and allowing capillary action to draw moisture upward.
Clean the bin's interior surfaces weekly with a 10 percent bleach solution to prevent algae buildup. Algae competes for oxygen and harbors fungal spores.
Monitor ambient temperature with a min-max thermometer placed inside the box. If daytime peaks exceed 78 degrees, relocate to a cooler area or add frozen gel packs wrapped in cloth to the bin's base for two hours midday.
Check ventilation holes for blockages. Clogged openings elevate carbon dioxide concentrations above 1,000 ppm, which inhibits respiration and slows callus formation.
Fertilization is unnecessary during the rooting phase. Cuttings rely on stored carbohydrates and the minor nutrients present in sphagnum peat. Premature feeding stimulates shoot growth at the expense of root development.
FAQ
How long does it take for cuttings to root in a humidity box?
Softwood cuttings develop roots in 10 to 14 days. Semi-hardwood species require 21 to 28 days. Hardwood cuttings are unsuitable for this method.
Can I use tap water for misting?
Yes, if municipal water has a total dissolved solids reading below 300 ppm and chlorine levels under 2 ppm. High chlorine damages leaf cuticles. Let tap water sit open for 24 hours to allow chlorine to volatilize, or use filtered water.
What is the ideal humidity level?
Maintain relative humidity between 85 and 95 percent. Below 80 percent, transpiration exceeds uptake. Above 98 percent, condensation promotes fungal diseases.
Do I need supplemental lighting?
No. Ambient bright, indirect light supplies adequate photosynthetically active radiation (PAR) of 100 to 200 micromoles per square meter per second. Adding grow lights risks overheating the enclosed space.
Why are my cuttings dropping leaves?
Leaf abscission is a stress response to low carbohydrate reserves or excessive ethylene production. Ensure cuttings are taken from healthy, well-watered stock plants. Reduce handling to minimize ethylene release from wounds.