9 Mixing Steps to Prepare a Decorative Dish Garden
The smell of damp peat and the gritty friction of perlite against the palm signal the start of a precise horticultural operation. Success depends on maintaining high turgor pressure within the plant tissues; this internal fluid pressure keeps stems rigid and leaves expanded. Understanding how to prepare a decorative dish garden requires more than an eye for aesthetics. It demands a mastery of the rhizosphere, the narrow region of soil directly influenced by root secretions and soil microorganisms. A dish garden is a closed ecosystem where the margin for error is slim. Drainage is non negotiable; without it, oxygen is displaced, leading to anaerobic conditions and root senescence. By controlling the substrate composition and selecting species with compatible metabolic rates, you create a stable microenvironment. This guide focuses on the technical variables of soil chemistry, light requirements, and moisture management to ensure long term botanical health.
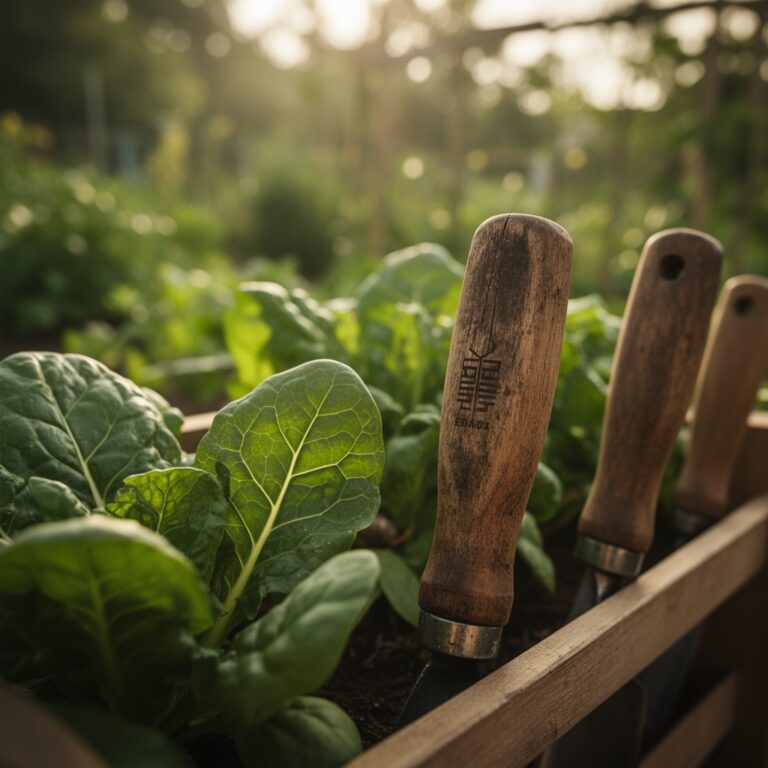
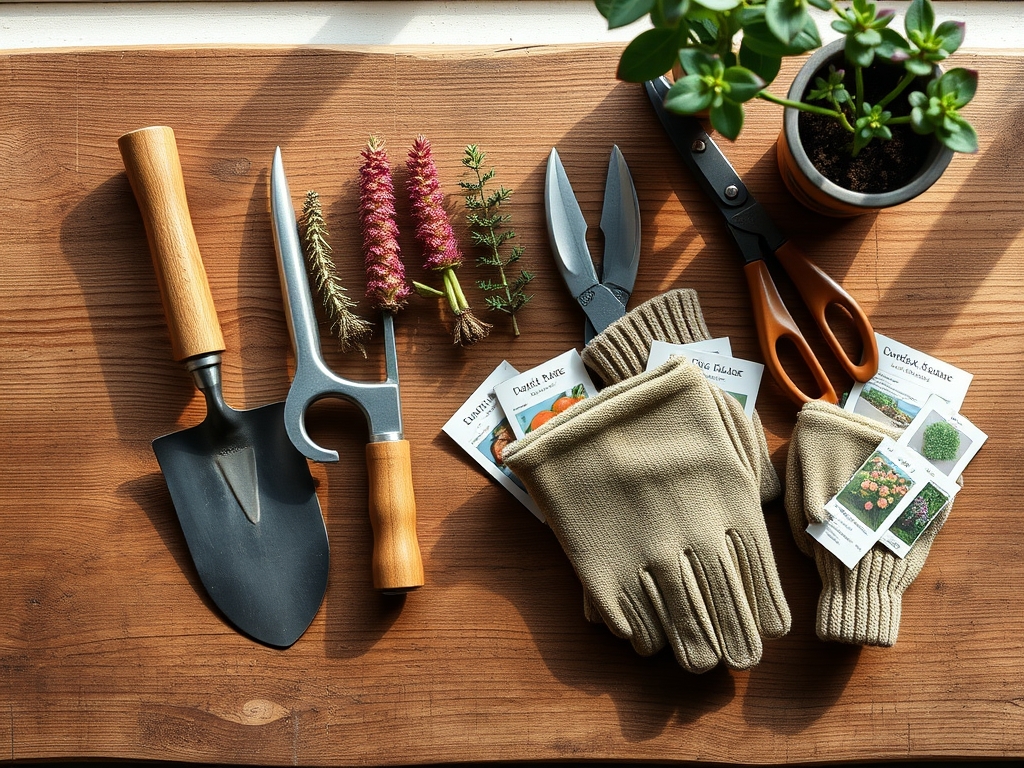
Materials:
The substrate is the foundation of the dish garden. You must select a medium with a high Cation Exchange Capacity (CEC) to ensure the soil can hold and release essential nutrients like potassium and magnesium. A friable loam texture is ideal; it should crumble easily when squeezed, indicating a balance of sand, silt, and organic matter.
- Substrate: Use a sterile potting mix with a pH between 5.8 and 6.5. This range ensures maximum bioavailability of micronutrients.
- Nutrition: Incorporate a slow release fertilizer with an NPK ratio of 10-10-10 for general foliage or 5-10-10 if using flowering species to prioritize root and bloom development over excessive vegetative growth.
- Drainage Layer: Use 0.5 inch diameter horticultural charcoal or river stones. This layer prevents the lower roots from sitting in stagnant water.
- Vessel: A shallow ceramic or glass container. If the vessel lacks drainage holes, the charcoal layer must be at least 1 inch thick to manage excess moisture.
Timing:
Botanical success is dictated by the biological clock of the chosen species. For indoor dish gardens, the "frost date" is less relevant than the photoperiod (the length of daily light exposure). Most tropical houseplants require a minimum of 12 to 14 hours of light to remain in a vegetative state. If you are sourcing plants from a nursery, ensure they have transitioned out of their juvenile phase but have not yet reached senescence (biological aging).
In Hardiness Zones 8 through 11, dish gardens can transition to outdoor patios during spring once nighttime temperatures consistently remain above 55 degrees Fahrenheit. In colder zones (3 through 7), keep these gardens strictly indoors near a south facing window to maximize solar radiation. The transition from vegetative to reproductive stages is often triggered by changes in light intensity; monitor your plants for sudden "bolting" or flower induction, which may indicate light stress.
Phases:
Sowing and Selection
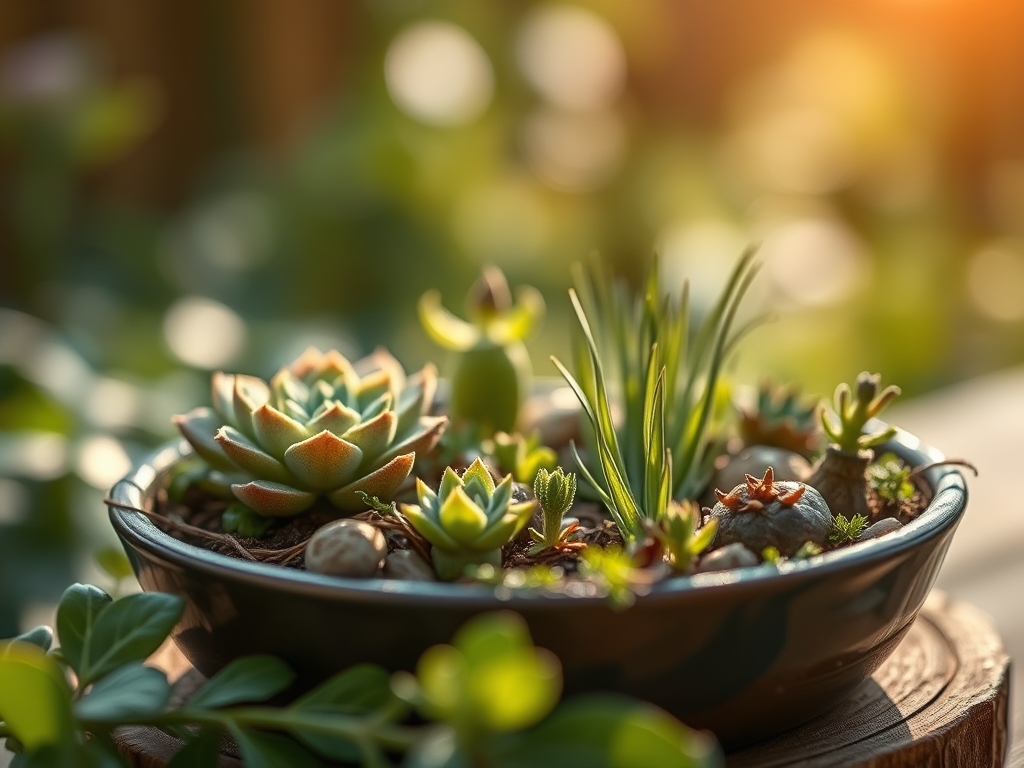
Select plants with identical cultural requirements. Do not mix succulents, which require a dry, porous substrate, with ferns that demand constant hygroscopic moisture. Aim for a variety of heights to create a canopy, midstory, and groundcover.
Pro-Tip: Observe the phototropism of your selected plants. Species that lean aggressively toward light sources should be placed in the center of the dish to prevent the garden from becoming lopsided as the plants grow toward the window.
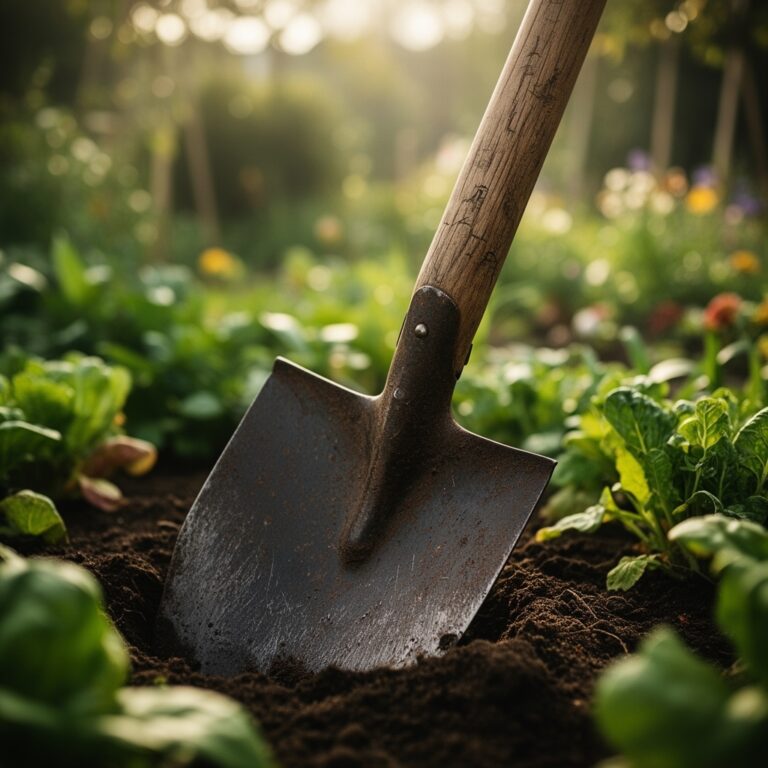
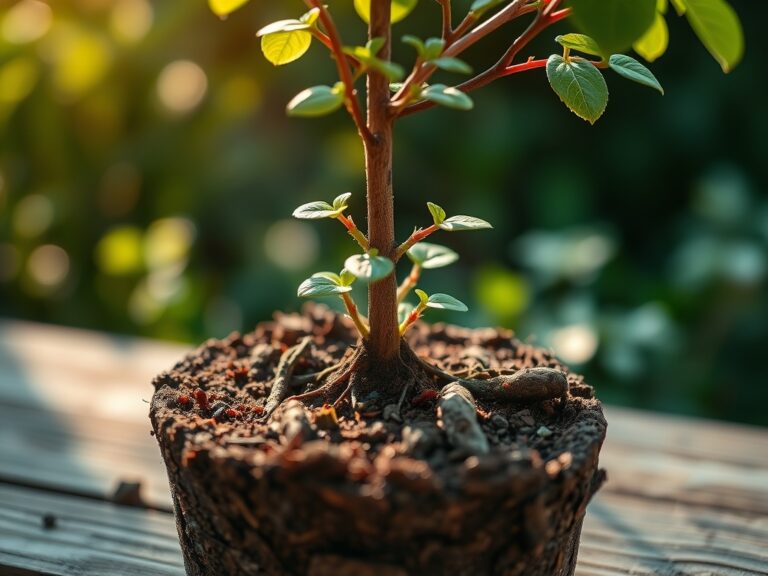
Transplanting
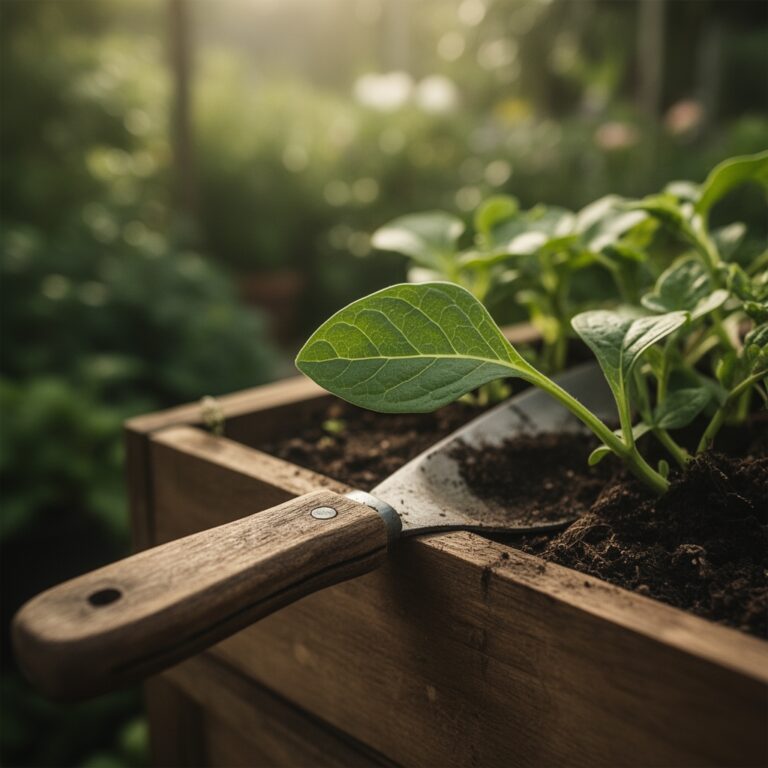
Remove the plant from its nursery pot and gently tease the roots. If the roots are "pot-bound" (circling the root ball), use a hori-hori knife to make three shallow vertical cuts. This stimulates the production of new lateral roots. Place the largest plant first, usually off center for visual balance, and backfill with your friable loam.
Pro-Tip: Applying a diluted seaweed extract during transplanting helps mitigate transplant shock. The cytokinins in the seaweed promote cell division and help the plant establish its root system in the new substrate more rapidly.
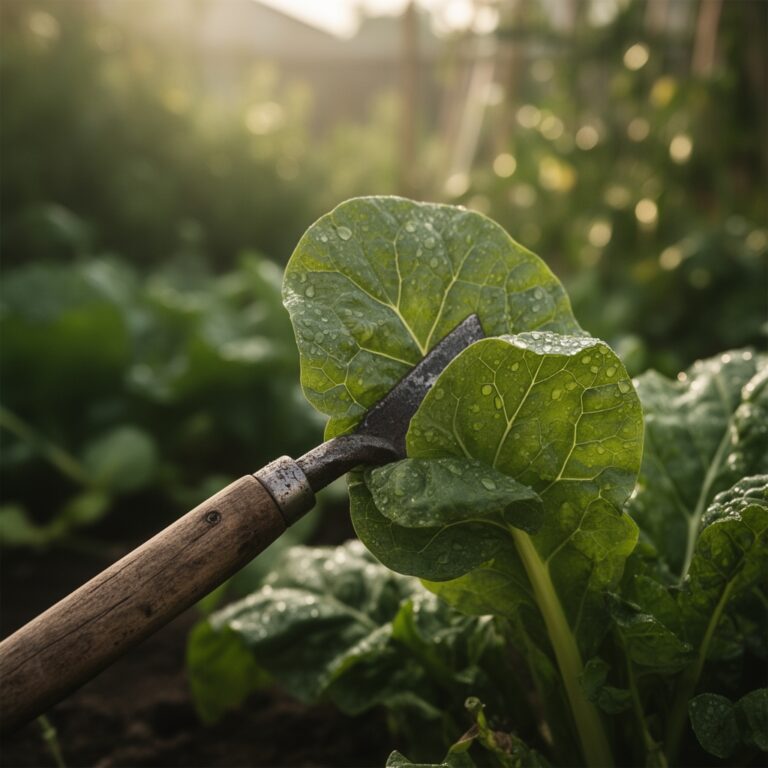
Establishing
Firm the soil around the base of each plant to eliminate air pockets. Air pockets can cause roots to desiccate and die. Water the garden until the substrate is saturated but not waterlogged. For the first 14 days, keep the garden in indirect light to allow the roots to recover before exposing them to higher intensity radiation.
Pro-Tip: Maintain mycorrhizal symbiosis by avoiding synthetic fungicides during the establishment phase. These beneficial fungi attach to the roots, effectively increasing the surface area for water and nutrient absorption.
The Clinic:
Physiological disorders often mimic disease but are usually caused by environmental stress.
- Symptom: Nitrogen Chlorosis. Leaves turn pale yellow, starting with the oldest growth.
- Solution: Apply a liquid fertilizer with a high first number (Nitrogen). Check the soil pH; if it is above 7.0, nitrogen becomes chemically locked and unavailable to the plant.
- Symptom: Edema. Small, corky bumps appear on the underside of leaves.
- Solution: This is caused by high water uptake and low transpiration. Reduce watering frequency and increase air circulation to lower ambient humidity.
- Symptom: Leaf Scorch. Brown, crispy edges on leaves.
- Solution: This indicates low humidity or excessive salt buildup from tap water. Flush the soil with distilled water and move the garden away from direct heat vents.
- Symptom: Etiolation. Stems become long, thin, and pale.
- Solution: The plant is "stretching" for light. Increase light intensity or duration. Trim the leggy growth with bypass pruners to encourage bushier development.
Maintenance:
Precision maintenance prevents the closed system from collapsing. Use a soil moisture meter to check the hydration level at the root zone; do not rely on the surface feel. Most dish gardens require approximately 1.5 inches of water per week, delivered directly to the soil to avoid wetting the foliage, which can encourage fungal pathogens.
Every 6 months, use a hori-hori knife to gently aerate the soil by poking small holes into the substrate. This allows oxygen to reach the roots. Use bypass pruners to remove any dead or decaying matter immediately. Decaying organic matter consumes oxygen and can attract unwanted detritivores. If the plants begin to outgrow the vessel, prune the roots by removing the plant and trimming the outer 10 percent of the root mass before replanting with fresh soil.
The Yield:
While dish gardens are primarily decorative, those containing herbs or edible flowers require specific harvest techniques to maintain plant health. Always harvest in the morning when turgor pressure is at its peak. This ensures the cuttings stay fresh longer.
Never remove more than 30 percent of a single plant's foliage at one time. Removing too much leaf area reduces the plant's ability to photosynthesize, leading to a weakened state. Use sharp snips to make clean cuts just above a node (where a leaf meets the stem). This stimulates auxin suppression in the terminal bud, forcing the plant to grow side branches and become denser. Place harvested cuttings immediately into cold water to maintain cellular structure.
FAQ:
How often should I water my dish garden?
Water when the soil moisture meter reads in the "dry" zone, typically every 7 to 10 days. Use approximately 1.5 inches of water per application, ensuring the liquid reaches the root zone without saturating the drainage layer.
Why are the leaves on my plants turning yellow?
Yellowing, or chlorosis, usually indicates a nitrogen deficiency or overwatering. If the soil is soggy, oxygen cannot reach the roots, causing them to rot. If the soil is dry, the plant likely needs a balanced 10-10-10 NPK fertilizer.
Can I use garden soil for my dish garden?
No. Garden soil is too heavy and lacks the necessary porosity. It often contains pathogens and weed seeds. Use a sterile, peat-based or coco-coir-based potting mix with a pH of 5.8 to 6.5 for optimal results.
How much light does a dish garden need?
Most decorative plants require medium to bright indirect light. This equates to roughly 12 hours of light per day. If using a grow light, maintain a distance of 12 to 18 inches from the canopy to prevent heat stress.