9 Digging Steps to Use a Garden Spade for Transplants
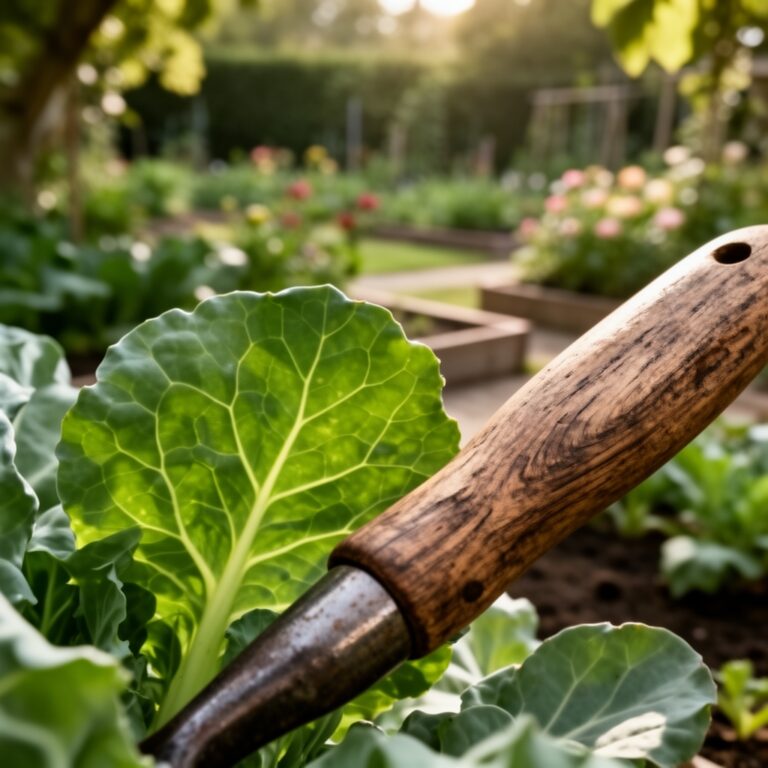
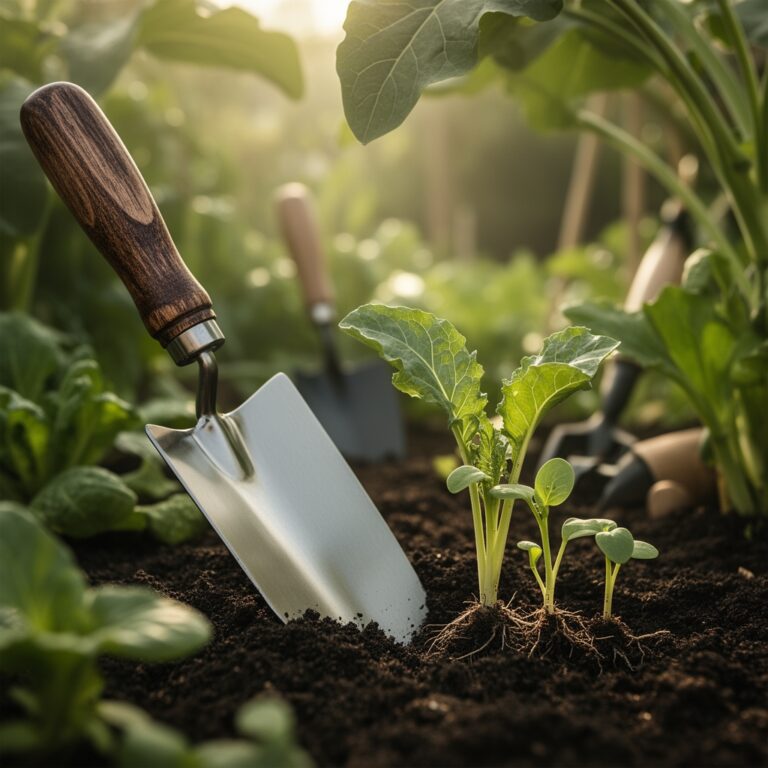
The blade edge catches morning light as it slices through topsoil, cutting a clean perimeter around the rootball of a young tomato seedling. Using a garden spade for digging vegetable holes transforms transplant day from a haphazard task into precision horticulture. The flat blade geometry and footrest design enable vertical cuts that preserve feeder roots in the top 6 inches of soil where 80 percent of nutrient uptake occurs. Every angle, every depth increment, and every soil wedge removal contributes to transplant establishment rates that reach 95 percent or higher when technique aligns with plant physiology.
Materials
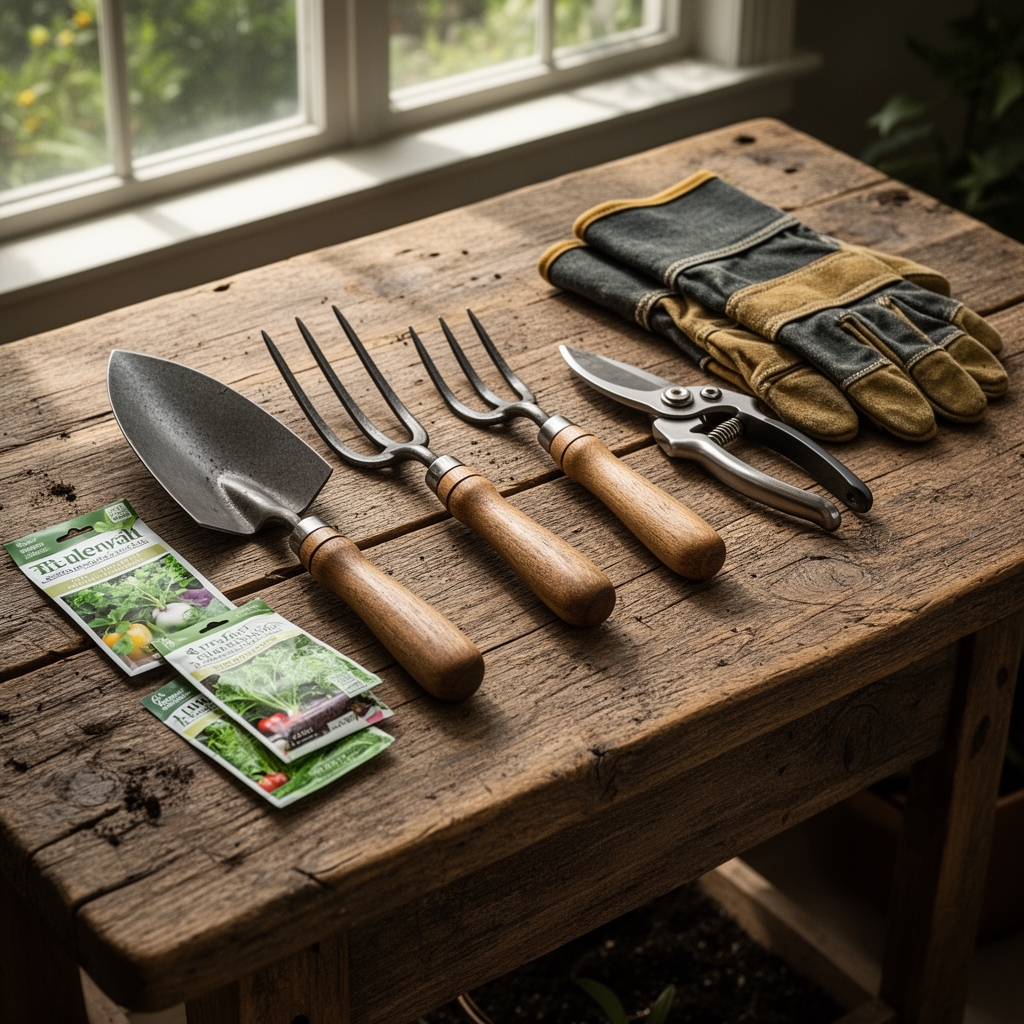
Select a forged steel spade with a blade measuring 7 to 8 inches wide and 11 to 12 inches long. The D-grip handle should position your wrist at a neutral angle during the thrust phase. Blade edges must be sharpened to 20 degrees for clean cuts through clay aggregates and fibrous root mats.
Soil amendments should match transplant species and existing soil chemistry. For nightshades (tomatoes, peppers, eggplants), incorporate a 5-5-5 balanced organic fertilizer at 2 ounces per cubic foot of backfill. Brassicas (cabbage, broccoli, kale) require higher nitrogen ratios such as 7-3-3 at 1.5 ounces per cubic foot. Cucurbits (squash, cucumbers, melons) thrive with 4-4-4 formulations supplemented with 1 tablespoon of kelp meal per hole to boost potassium availability.
Adjust pH using dolomitic limestone for soils below 6.2 or elemental sulfur for soils above 7.0. Target pH of 6.5 to 6.8 maximizes cation exchange capacity for most vegetables. Include mycorrhizal inoculant (Rhizophagus irregularis) at 1 teaspoon per transplant to colonize roots within 14 days.
Timing
Hardiness zones dictate transplant windows with precision. Zones 7 through 10 allow spring transplants from March 15 to May 1, while zones 3 through 5 require waiting until May 20 to June 10 when soil temperatures stabilize above 60°F at 4-inch depth. Use a soil thermometer at 8:00 AM for three consecutive days to confirm readiness.
Frost-free dates serve as anchors. Transplant cold-tolerant crops (lettuce, spinach, peas) 4 weeks before the last spring frost. Warm-season crops (tomatoes, peppers, basil) go out 1 to 2 weeks after the final frost date. Fall transplants begin 8 to 10 weeks before the first expected autumn frost for a second harvest cycle.
Phases

Sowing Phase:
Indoor seed starting occurs 6 to 8 weeks before transplant date. Use sterile seed-starting mix with an EC (electrical conductivity) below 0.75 mS/cm to prevent salt burn on emerging radicles. Germination temperatures range from 70°F to 75°F for most vegetables. Harden off seedlings 7 days prior by reducing water frequency by 30 percent and exposing plants to outdoor conditions for 2 hours daily, increasing by 1 hour increments.
Pro-Tip: Apply dilute seaweed extract (1:500 ratio) 48 hours before transplant to elevate auxin levels and stimulate adventitious root formation.
Transplanting Phase:
Step 1: Mark the planting grid with stakes spaced according to mature plant spread. Tomatoes require 24 inches, peppers 18 inches, lettuce 10 inches.
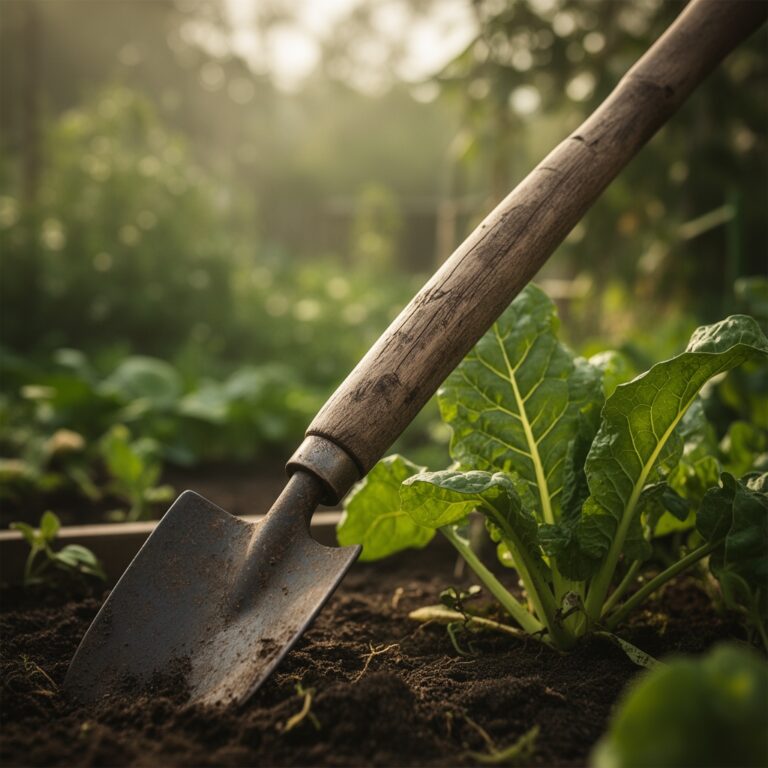
Step 2: Position the spade blade 4 inches from the marked center. Drive the blade vertically to 10-inch depth using your body weight on the footrest.
Step 3: Pull the handle back 15 degrees to create a pivot point. This lever action loosens the soil plug without shattering aggregates.
Step 4: Extract the first wedge and set it aside. Rotate 90 degrees and repeat the vertical cut.
Step 5: Complete a four-sided excavation to create a square hole measuring 8 by 8 inches at the surface, tapering to 6 by 6 inches at the base.
Step 6: Crumble the extracted soil wedges and mix with amendments in a 5-gallon bucket. Avoid over-pulverizing; maintain pea-sized aggregates for optimal pore space.
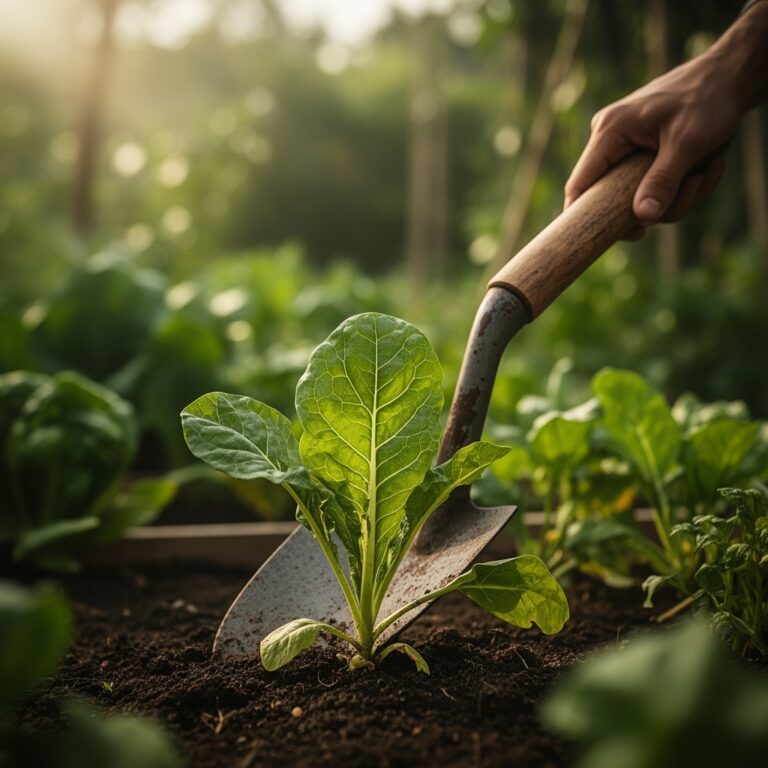
Step 7: Place the rootball so the stem transition zone sits 0.5 inches below final grade. For tomatoes only, bury the stem up to the first true leaves to encourage adventitious root development along the buried portion.
Step 8: Backfill with amended soil, firming gently every 3 inches to eliminate air pockets without compacting.
Step 9: Create a 3-inch tall soil ring at the hole perimeter to form a watering basin that holds 1 gallon of water.
Pro-Tip: Slice through circling roots on pot-bound transplants using a clean blade at four vertical points. This interrupts girdling patterns that restrict vascular flow.
Establishing Phase:
Water immediately with 1 gallon per plant, delivering it slowly over 5 minutes. Subsequent irrigation provides 1 inch per week (0.62 gallons per square foot) via drip lines or soaker hoses. Monitor soil moisture at 3-inch depth; maintain consistency between 50 and 70 percent of field capacity.
Mulch with 2 inches of shredded hardwood bark or straw 3 days post-transplant. This delay allows soil to warm before insulation occurs. Mulch suppresses weeds and reduces evapotranspiration by 40 percent.
Pro-Tip: Install cutworm collars (4-inch sections of cardboard) around nightshade stems, pressing 2 inches into soil and extending 2 inches above grade.
Troubleshooting
Symptom: Wilting within 48 hours despite adequate soil moisture.
Solution: Transplant shock from root damage. Apply foliar spray of 1:1000 dilution of liquid kelp to supply cytokinins that regulate stomatal closure. Shade plants with 50 percent shade cloth for 5 days.
Symptom: Yellowing lower leaves progressing upward.
Solution: Nitrogen deficiency. Side-dress with blood meal (12-0-0) at 1 tablespoon per plant, scratching it into the top 2 inches of soil. Reapply every 3 weeks.
Symptom: Holes in leaves with dark frass present.
Solution: Cabbage looper or hornworm feeding. Hand-pick larvae at dawn. Apply Bacillus thuringiensis var. kurstaki at 1 tablespoon per gallon, spraying every 7 days until infestation clears.
Symptom: Stunted growth with purple leaf undersides.
Solution: Phosphorus lockout due to cold soil (below 55°F). Wait for soil warming or apply liquid fish emulsion (5-1-1) at root zone for immediate uptake.
Symptom: Blossom-end rot on tomatoes and peppers.
Solution: Calcium deficiency exacerbated by erratic watering. Maintain consistent moisture and apply calcium chloride foliar spray (1 tablespoon per gallon) every 10 days during fruiting.
Maintenance
Monitor plants every 48 hours during the first 3 weeks. Measure new leaf emergence; expect one new leaf every 4 to 5 days as an establishment indicator.
Fertilize at 4 weeks post-transplant with a side-dressing of compost (1 gallon per plant) or granular 5-10-10 at 2 tablespoons per square foot. Repeat every 4 weeks through the growing season.
Scout for aphids, whiteflies, and spider mites weekly. Populations exceeding 10 insects per leaf require intervention with insecticidal soap (2 tablespoons per quart) applied to leaf undersides.
Prune determinate tomatoes to a single leader by removing all suckers below the first flower cluster. Indeterminate varieties support two leaders for increased yield. Remove lower leaves up to the first fruit cluster to improve air circulation and reduce foliar disease pressure.
FAQ
How deep should vegetable transplant holes be?
Excavate to 10 inches for most vegetables. Root systems establish fastest when hole depth exceeds the rootball height by 2 inches, allowing for 1 inch of loose soil beneath and proper stem positioning.
Can I reuse the same holes for successive plantings?
Yes, but refresh the soil. Remove 50 percent of the backfill and replace it with new compost. Add 1 tablespoon of rock phosphate (0-3-0) to replenish phosphorus depleted by the previous crop.
What spade angle produces the cleanest cuts?
Maintain the blade at 90 degrees to the soil surface. Angled thrusts create tapered holes that concentrate water runoff away from roots and damage soil structure.
Should I water before or after digging?
Water 12 hours before digging if soil is dry. Moisture content at 40 to 50 percent of field capacity allows clean cuts without clumping or excessive crumbling.
How do I prevent back strain during repetitive digging?
Position feet shoulder-width apart. Bend at the knees, not the waist. Push the spade with your foot while keeping your spine neutral. Alternate sides every five holes.