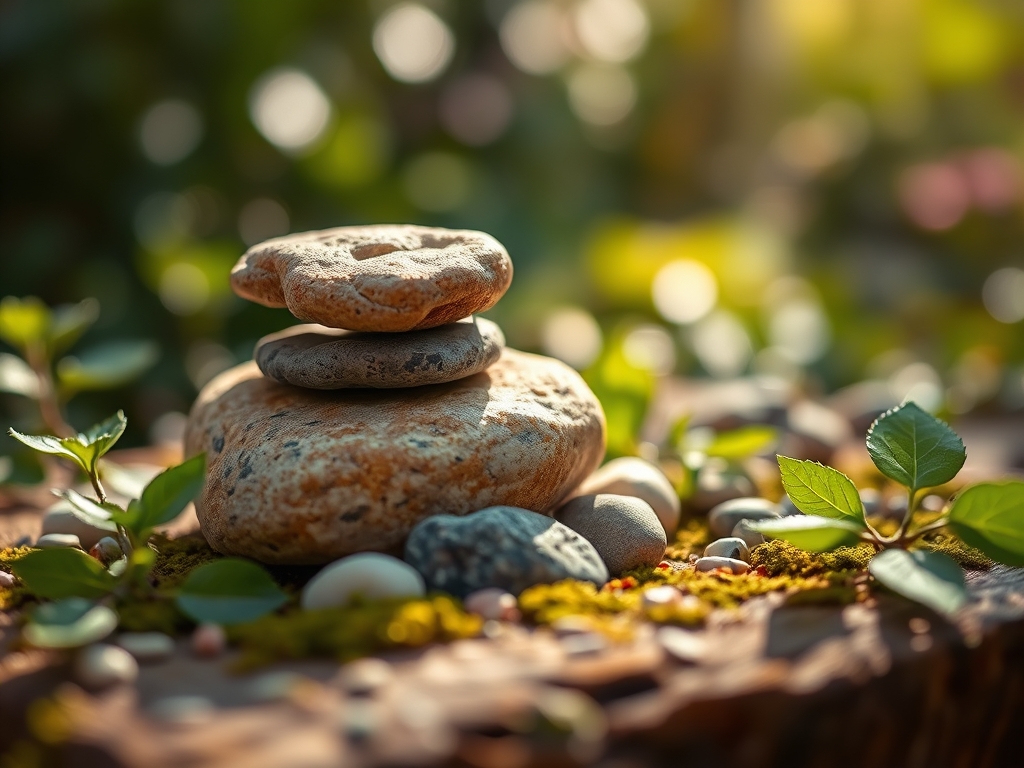
9 Best Natural Stones for Timeless Outdoor Design
The smell of damp earth after a hard rain signals a shift in soil respiration and pore space saturation. When the turgor pressure of a healthy leaf is at its peak; the plant stands rigid against the elements. Hardscaping is the skeletal system that supports this biological life. Choosing the best stones for outdoor design requires an understanding of mineral composition and how these materials interact with the local ecosystem. A stone is not merely a decorative element; it is a thermal mass that regulates the temperature of the surrounding rhizosphere.
Materials:
Selecting stone materials must align with the chemical needs of your plantings. Limestone and travertine are calcium carbonate based; they will gradually leach into the soil and raise the pH level above 7.0. This is ideal for alkaline loving species like lavender or clematis. Conversely, granite and slate are inert and will not alter the soil chemistry.
The ideal substrate surrounding these stones should be a friable loam with a Cation Exchange Capacity (CEC) between 15 and 25 meq/100g. For high performance beds, maintain an NPK ratio of 10-10-10 during the establishment phase. Avoid heavy clay that traps water against the stone base; this leads to anaerobic conditions and root rot. Ensure a drainage layer of 3/4 inch crushed gravel beneath any heavy stone installation to prevent frost heaving.
Timing:
Hardiness Zones 3 through 9 dictate the window for stone installation. You must complete heavy masonry and stone placement at least 30 days before the first hard frost. This allows the soil to settle and prevents the freeze-thaw cycle from shifting the stones before they are anchored.
The biological clock of your landscape transitions from the vegetative stage to the reproductive stage as the photoperiod shortens. Install your hardscaping during the dormant season or early spring when root disturbance to nearby perennials is less likely to cause permanent wilting. If you are planting around new stone features; wait until the soil temperature reaches a consistent 55 degrees Fahrenheit to ensure active microbial activity in the soil.
Phases:
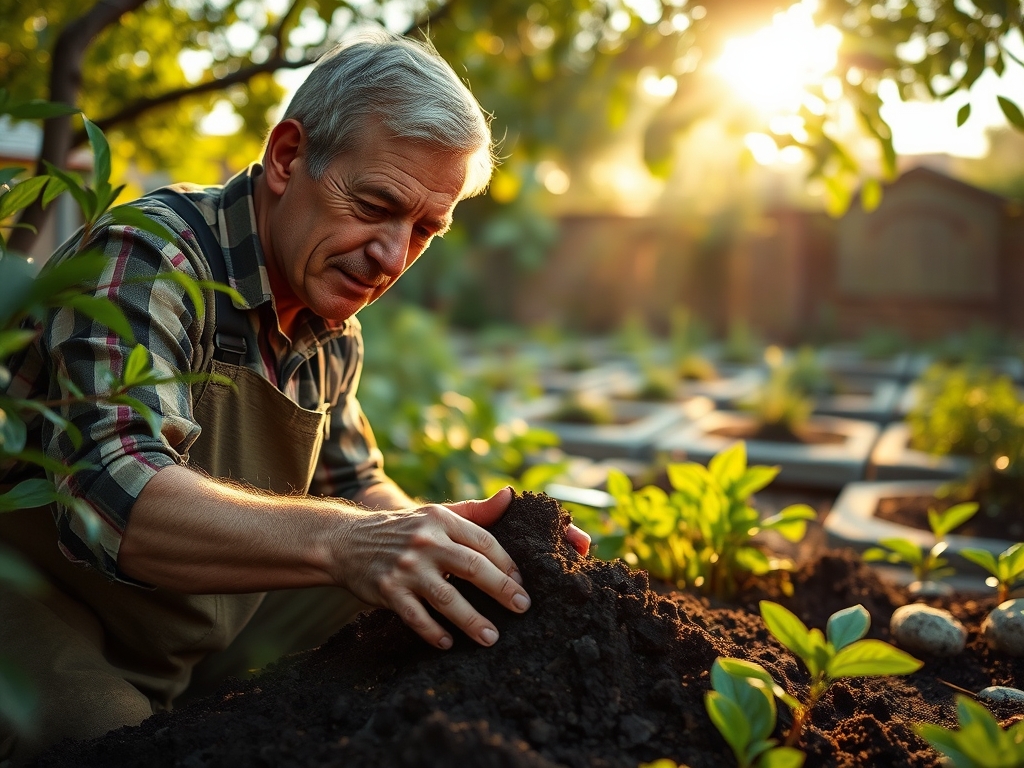
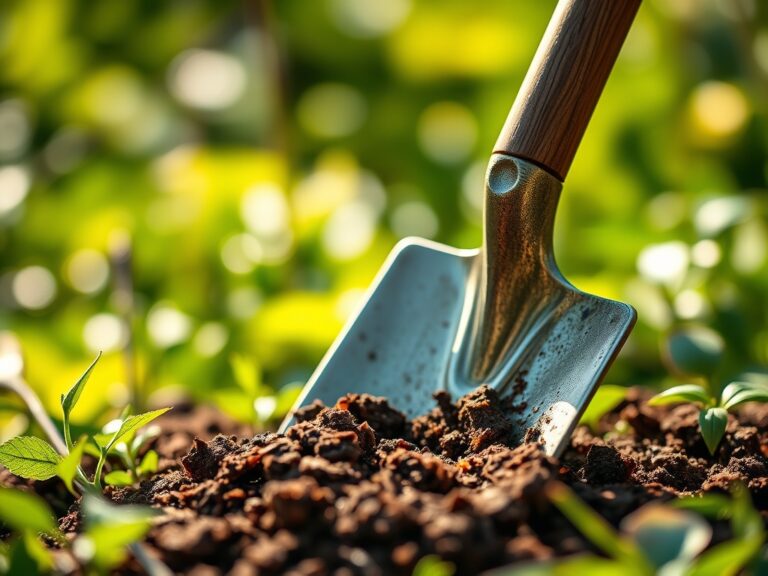
Sowing and Site Prep
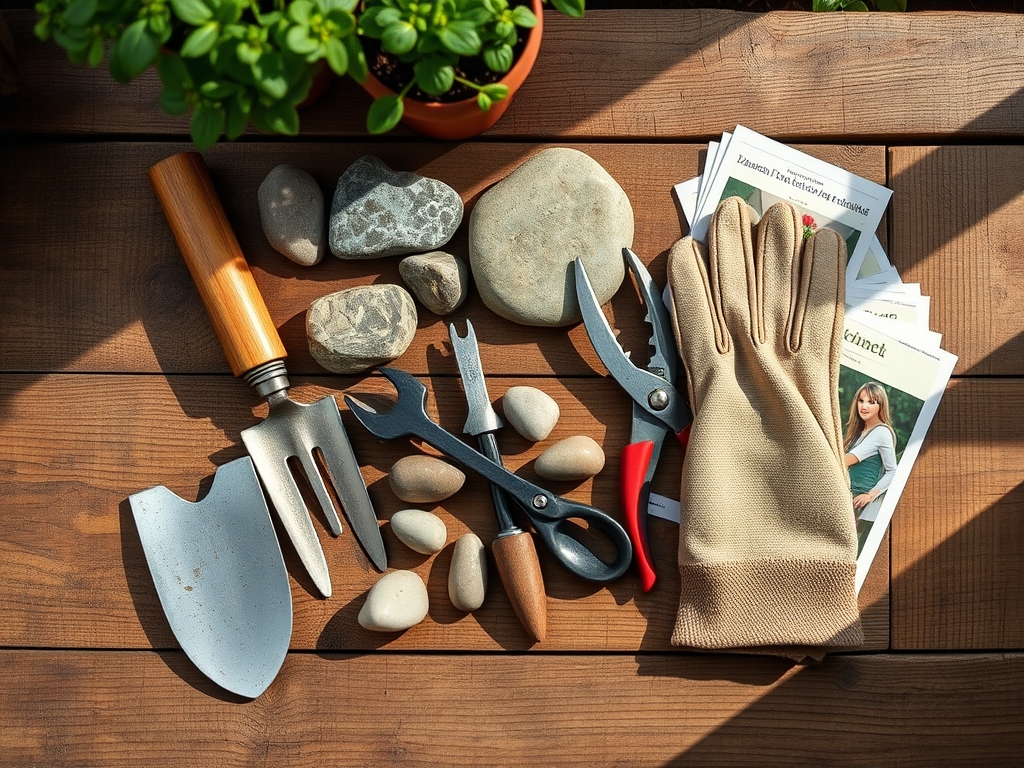
Clear all organic debris from the site. Excavate to a depth of 6 to 8 inches depending on the stone thickness. Compact the subsoil to prevent settling. If you are sowing seeds in the crevices between stones; use a mix of 70 percent sand and 30 percent compost.
Pro-Tip: Mycorrhizal symbiosis is essential here. Inoculate the soil with beneficial fungi before laying stones. This creates a fungal network that extends the root reach of nearby plants; allowing them to pull moisture from beneath the cool stone surfaces during heat waves.
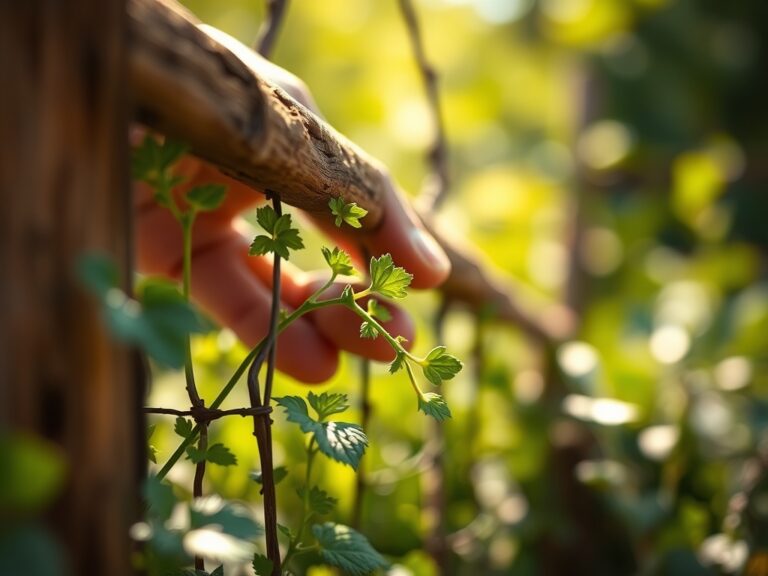
Transplanting
When placing plants into a stone heavy design; ensure the root ball is level with the soil surface. Use a hori-hori knife to slice through any circling roots. Backfill with the native soil to maintain consistent texture and prevent the "pot effect" where water fails to move between different soil types.
Pro-Tip: Avoid auxin suppression by pruning only the necessary branches during transplanting. Auxins are hormones produced in the growing tips that signal root development. Keeping the apical meristems intact helps the plant establish its root system faster in its new stone-bordered home.
Establishing
Water the area deeply immediately after installation. The stones will act as a mulch; reducing evaporation from the soil surface. Monitor the soil moisture regularly. Use a soil moisture meter to ensure the depth of the water reaches at least 6 inches below the surface.
Pro-Tip: Phototropism will cause plants to lean toward the light if stones reflect too much heat or block sun. Position taller stones on the north side of sun-loving plants to provide a windbreak without creating a light deficit.
The Clinic:
Symptom: Interveinal chlorosis (yellowing leaves with green veins).
Solution: This often indicates an iron deficiency caused by high pH. If you used limestone; the soil may be too alkaline. Apply chelated iron or elemental sulfur to lower the pH to a range of 6.0 to 6.5.
Symptom: Leaf scorch or marginal necrosis.
Solution: This is likely thermal stress. Dark stones like basalt or slate absorb high amounts of solar radiation and radiate heat at night. Increase irrigation frequency to maintain turgor pressure.
Symptom: Stunted growth and purplish leaves.
Solution: Phosphorus deficiency. This occurs in cold, wet soils often found under heavy flagstone. Improve drainage by adding expanded shale to the soil mix.
Fix-It for Nitrogen Chlorosis: If the entire leaf turns pale yellow; apply a high nitrogen fertilizer with an NPK of 20-0-0. Ensure the soil temperature is above 50 degrees for the plant to uptake the nutrients effectively.
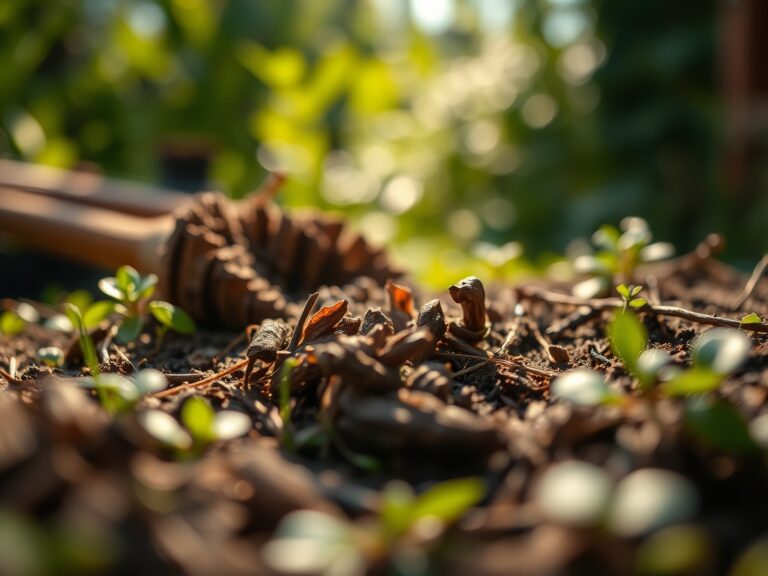
Maintenance:
Effective maintenance requires precision. Provide 1.5 inches of water per week at the drip line of any plants integrated into the stone design. Use bypass pruners to remove any dead or senescing tissue; this prevents the spread of pathogens in the microclimate created by the stones.
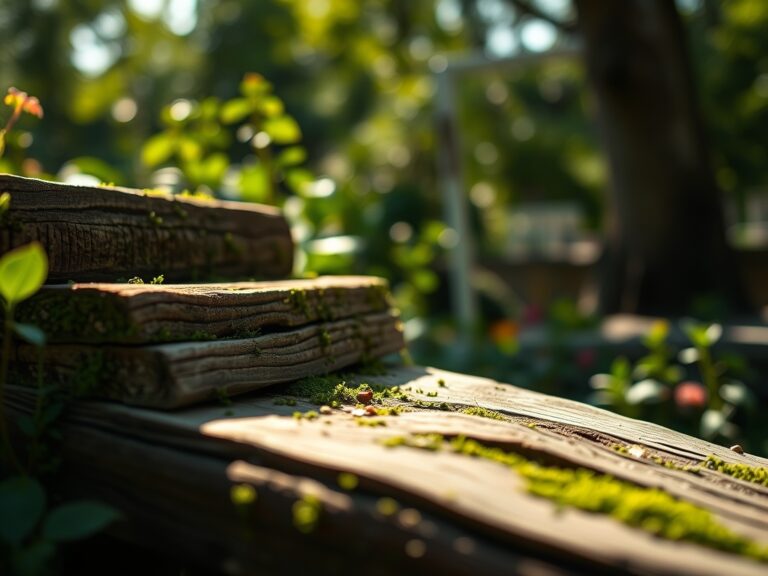
Check the integrity of stone joints annually. If using polymeric sand; ensure it remains intact to prevent weed seeds from reaching the soil. Use a soil moisture meter weekly during the first two growing seasons. If stones shift due to erosion; re-level them immediately to prevent water pooling which can lead to localized anaerobic soil conditions.
The Yield:
For those incorporating edible herbs like thyme or rosemary between stones; harvest timing is critical. Harvest in the early morning after the dew has evaporated but before the sun reaches its zenith. This is when essential oil concentration is highest.
Cut only the top one-third of the plant to encourage lateral branching. For "day-one" freshness; place the stems in a glass of cool water immediately. If harvesting stone-grown flowers; cut the stems at a 45-degree angle and plunge them into water to maintain the transpiration stream and prevent air embolisms in the xylem.
FAQ:
What are the best stones for high-traffic paths?
Granite and porphyry are the best choices. They possess high compressive strength and density. These stones resist weathering and do not polish over time; providing a slip-resistant surface that maintains structural integrity under constant physical pressure.
How does stone choice affect soil pH?
Limestone and marble are alkaline; they raise soil pH by releasing calcium carbonate. Granite; slate; and quartzite are chemically inert and will not alter the acidity of your soil. Always match your stone to the pH requirements of your plants.
Can I lay stone directly on soil?
No. You must use a sub-base of compacted gravel and sand. Direct contact with soil leads to shifting; cracking; and poor drainage. A proper base ensures the stone remains level and prevents the roots of nearby plants from suffocating.
How do I prevent weeds between stones?
Use a combination of geotextile fabric and polymeric sand in the joints. For a natural look; plant low-growing groundcovers like creeping thyme. These plants outcompete weeds and create a living mulch that regulates soil temperature and moisture.