9 Balance Steps to Prepare a Cut Flower Vegetable Garden
Learning how to prepare a garden for a cut flower vegetable garden transforms ordinary soil into a dual-purpose production system. The scent of warm earth mixed with compost, the resistance of clay breaking under a broadfork, and the sight of amended beds ready for seed define this preparatory phase. This guide addresses site selection, soil chemistry, and structural amendments that support both ornamental stems and edible crops in a single plot.
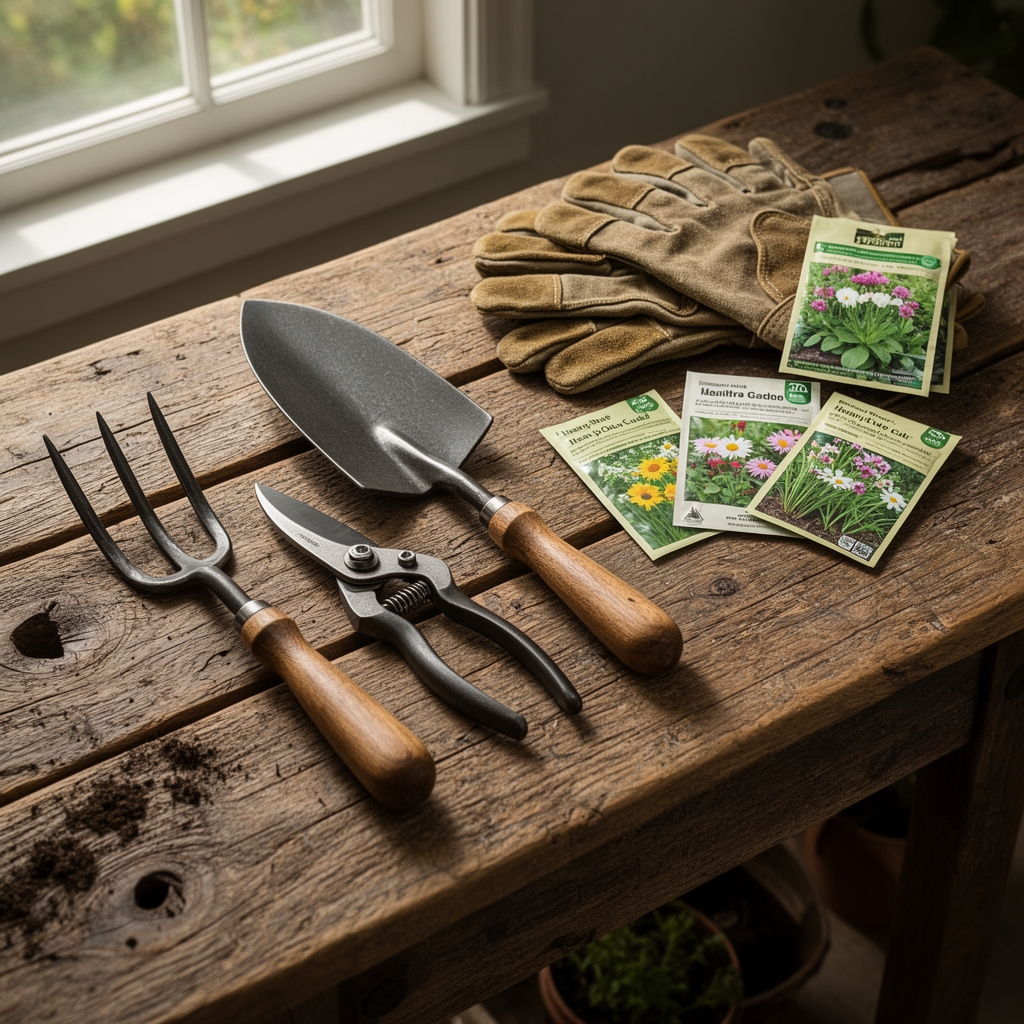
Materials
Assemble materials based on current soil pH and texture analysis. For acidic soils (pH 5.5-6.2), apply dolomitic lime at 50 pounds per 1,000 square feet to raise pH and add magnesium. For alkaline soils (pH 7.5+), incorporate elemental sulfur at 10 pounds per 1,000 square feet or sulfur-coated urea.
Select a balanced organic fertilizer such as 4-4-4 feather meal blend or 5-5-5 composted poultry manure. These ratios support both vegetative growth in leafy crops and bud formation in cut flowers. Add mycorrhizal fungi inoculant (Glomus intraradices or Rhizophagus irregularis) at 1 ounce per 100 square feet to enhance phosphorus uptake and drought tolerance.
Structural amendments include aged compost (2-3 inches broadcast), coarse perlite or pumice for clay soils (1 inch worked to 8-inch depth), and coconut coir for sandy soils (1.5 inches tilled to 6 inches). Procure landscape fabric or cardboard for initial weed suppression and hardwood mulch (not dyed) for pathways.
Timing
Match preparation windows to USDA Hardiness Zones and last frost dates. In Zones 3-5, begin soil work 4-6 weeks before the last expected frost (typically late April to mid-May). This allows amended soil to settle and microbial populations to establish before transplanting warm-season flowers like zinnias or edible crops such as tomatoes.
Zones 6-7 gardeners should start in early March for May 1-15 planting dates. Zones 8-10 offer flexibility with fall preparation (October-November) for cool-season crops and early spring flowers. Avoid working soil when moisture content exceeds field capacity. Squeeze a handful of soil; if water drips freely, postpone tillage to prevent compaction and damage to soil aggregates.
Phases
Sowing Phase
Clear existing vegetation with a sod cutter or smother method using 8-10 layers of cardboard overlapped by 6 inches. Remove perennial weed roots manually to prevent regrowth through mulch layers. Conduct a soil test to determine cation exchange capacity (CEC) and base saturation ratios. Ideal CEC for mixed flower-vegetable systems ranges from 10-25 milliequivalents per 100 grams.
Broadcast compost and mineral amendments evenly. Use a broadfork to fracture compacted subsoil layers without inverting horizons. This preserves beneficial fungal networks while improving drainage and root penetration to 12-inch depths.
Pro-Tip: Apply endomycorrhizal inoculant directly into seed furrows or transplant holes at a rate of 1/4 teaspoon per plant. Contact with root tissue during establishment increases colonization rates by 40 percent compared to broadcast application.
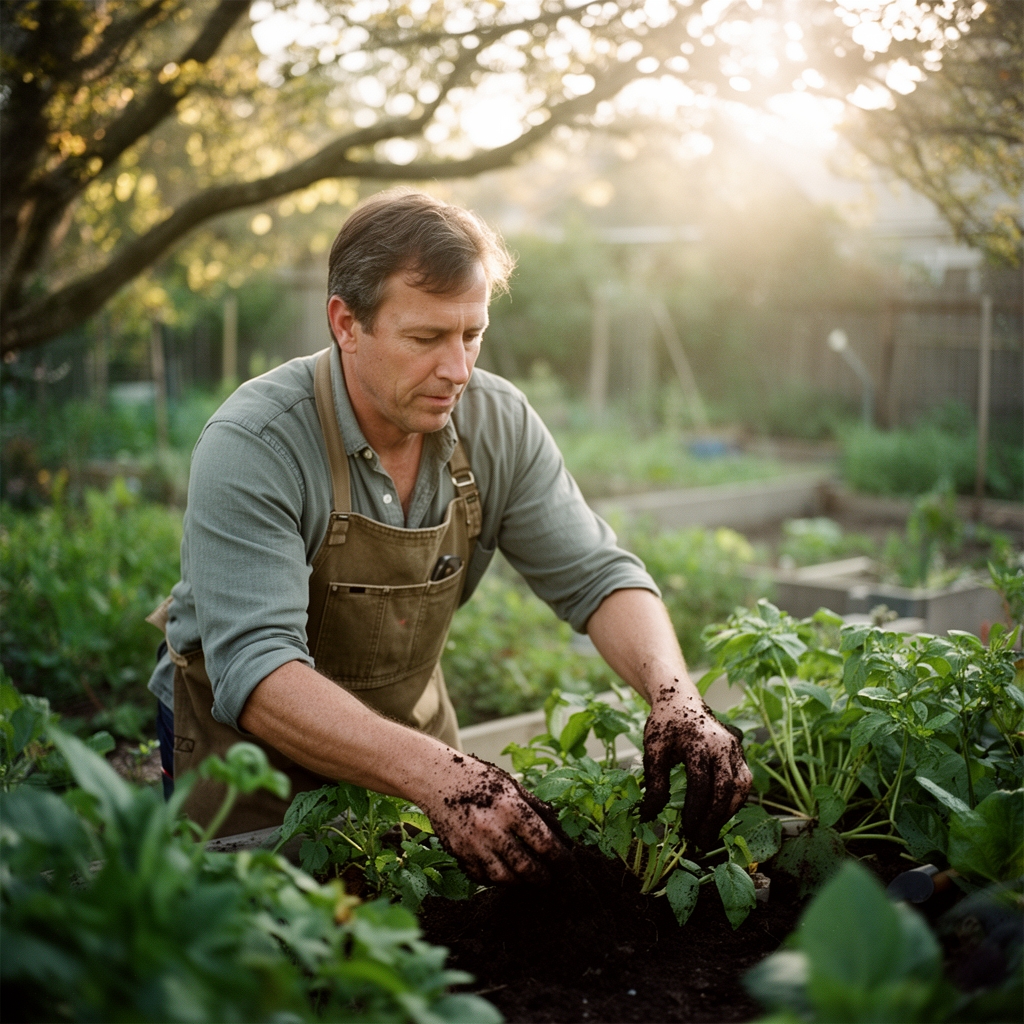
Transplanting Phase
Create permanent beds 3-4 feet wide with 18-inch pathways. Beds should run north-south to maximize light interception. Install drip irrigation lines 4-6 inches below the soil surface along bed centers before transplanting. This prevents root disturbance during later installation.
Harden off seedlings over 7-10 days by gradually exposing them to outdoor conditions. Transplant on overcast days or in early evening to reduce transplant shock. Dig holes 1.5 times the root ball diameter. Position transplants at the same depth they grew in containers, except for tomatoes, which benefit from burying 2-3 inches of stem to encourage adventitious root formation.
Pro-Tip: Prune flowers and lower leaves from transplants at a 45-degree angle using sterilized shears. This redirects auxin distribution toward root development rather than supporting existing foliage, cutting establishment time by 3-5 days.
Establishing Phase
Mulch beds with 2 inches of aged wood chips, maintaining a 2-inch gap around plant stems to prevent crown rot. Monitor soil moisture with a tensiometer or by checking moisture at 3-inch depth. Water when readings indicate 50-60 percent of available water has been depleted.
Apply starter fertilizer at half-strength (2-3-1 ratio) one week after transplanting. Side-dress established plants with compost tea (1:4 compost-to-water ratio, brewed 24 hours) every 14 days during active growth.
Pro-Tip: Install support structures for tall cut flowers and staking vegetables before plants reach 6 inches. Trellis netting with 6-inch squares works for both sweet peas and pole beans, reducing installation labor by 60 percent compared to single-plant stakes.
Troubleshooting
Symptom: Interveinal chlorosis on new growth.
Solution: Iron deficiency induced by high soil pH. Apply chelated iron (Fe-EDDHA) as foliar spray at 1 tablespoon per gallon weekly until color returns. Retest soil pH and adjust with elemental sulfur.
Symptom: Damping-off in seedling stage; stems pinch at soil line.
Solution: Pythium or Rhizoctonia fungal infection. Remove affected plants immediately. Reduce watering frequency and improve air circulation. Drench remaining seedlings with biological fungicide containing Trichoderma harzianum at labeled rates.
Symptom: Blossom end rot on tomatoes or summer squash.
Solution: Calcium deficiency exacerbated by inconsistent moisture. Maintain even soil moisture at 60-70 percent field capacity. Apply calcium chloride foliar spray at 3 tablespoons per gallon every 5 days for three applications.
Symptom: Aphid colonies on growing tips.
Solution: Release convergent ladybugs (Hippodamia convergens) at 1,500 adults per 1,000 square feet in early evening. Spray heavy infestations with insecticidal soap (potassium salts of fatty acids) at 2 percent solution, ensuring undersides of leaves receive coverage.
Symptom: Powdery white coating on zinnia and squash foliage.
Solution: Powdery mildew (Erysiphe cichoracearum). Apply sulfur dust at 3 pounds per 1,000 square feet or potassium bicarbonate spray (1 tablespoon per gallon) weekly. Space plants to increase airflow and avoid overhead irrigation.
Maintenance
Apply 1 inch of water per week measured with rain gauge, adjusting for precipitation. Water deeply once weekly rather than shallow daily watering to encourage roots to penetrate 12-18 inches. Fertilize established beds every 4 weeks with 5-10-10 granular blend at 2 pounds per 100 square feet, scratching into top 2 inches of soil.
Scout for pests twice weekly, inspecting leaf undersides and growing points. Hand-pick beetles and caterpillars into soapy water. Renew mulch layer to 2-inch depth every 8 weeks as material decomposes. Remove spent blooms and mature vegetables daily to prolong production through hormonal feedback mechanisms.
FAQ
When should I start preparing beds for spring planting?
Begin 6-8 weeks before your last frost date. This allows 4 weeks for amendments to integrate and 2-4 weeks for soil to settle before planting.
Can I grow root vegetables alongside cut flowers?
Yes. Carrots, radishes, and beets thrive with shallow-rooted annuals like cosmos and bachelor's buttons. Avoid deep tillage that disrupts flower root systems.
What NPK ratio works best for dual-purpose gardens?
Use balanced 5-5-5 or 4-4-4 formulations. These support leafy growth, flowering, and fruit set without overstimulating vegetative growth at the expense of blooms.
How do I prevent soil compaction in mixed beds?
Install permanent pathways with 3 inches of wood chip mulch. Never walk on growing beds. Use kneeling boards to distribute weight when planting or harvesting.
Should I rotate crops in a flower-vegetable garden?
Rotate solanaceous vegetables (tomatoes, peppers) and brassicas (cabbage, broccoli) to different bed sections each year. Most annual cut flowers do not require rotation but avoid planting asters in the same location more than two consecutive years to prevent Fusarium buildup.