8 Tips to Use a Square Shovel for Precision Design
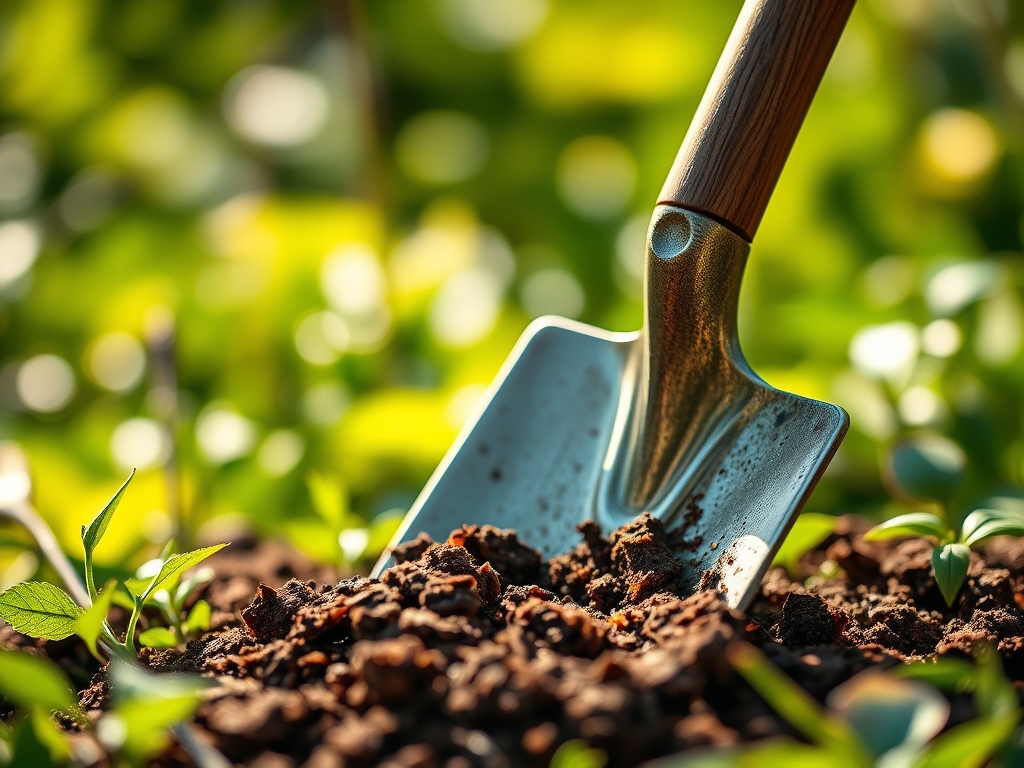
The scent of damp, disturbed earth signals the release of geosmin as the blade shears through the rhizosphere. Precision in the landscape begins with the physical manipulation of the soil profile. While a round-point shovel serves for bulk excavation, using a shovel for garden design requires the flat, sharpened edge of a square-point spade. This tool acts as a surgical instrument for defining bed edges and managing soil density. A well-designed garden relies on the structural integrity of its boundaries and the uniform depth of its planting pockets. Using a shovel for garden design allows the horticulturist to maintain vertical sidewalls in trenches, preventing the collapse of soil aggregates and ensuring that root systems are not compressed against angled surfaces. This mechanical advantage is essential for managing the turgor pressure of developing perennials; a clean cut through a root mass heals faster than a jagged tear. By mastering the square shovel, you control the transition between the managed turf and the cultivated loam, ensuring the aesthetic and biological success of the site.
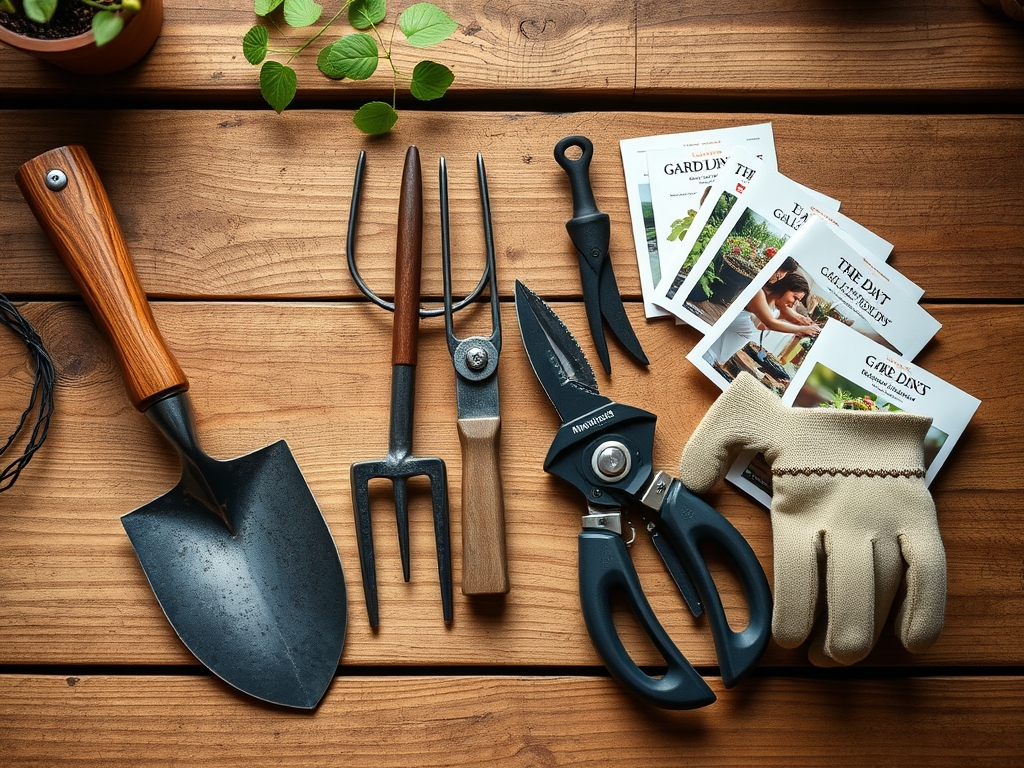
Materials:
The success of any design hinges on the chemical and physical composition of the substrate. For most temperate ornamental and vegetable crops, aim for a **friable loam** with a **Soil Cation Exchange Capacity (CEC) between 15 and 25 meq/100g**. This ensures the soil can hold and exchange essential nutrients. The ideal soil pH for a mixed perennial border is **6.2 to 6.8**.
When preparing the site, incorporate organic matter to achieve a target NPK ratio of 4-4-2 for establishment. Nitrogen (N) drives vegetative growth; Phosphorus (P) supports root development and ATP production; Potassium (K) regulates water movement and enzyme activation. If the soil is heavy clay, add coarse grit to increase macro-pore space. If it is sandy, incorporate compost to improve water retention and nutrient buffering.
Timing:
Garden design installations must align with the local frost-free window and the biological clock of the species involved. In Hardiness Zones 5 through 7, the primary window for structural soil work is between the last spring frost and the summer solstice. This period coincides with the vegetative stage, where high auxin levels promote rapid root elongation.
Avoid using a square shovel when soil moisture is above field capacity; compressing wet soil destroys the pore structure and leads to anaerobic conditions. The "Biological Clock" dictates that woody plants should be moved during dormancy (late winter) to minimize transplant shock, while herbaceous perennials are best divided when they are 3 to 5 inches tall in early spring. This ensures the plant has sufficient energy reserves to establish a new root-to-shoot ratio before the reproductive stage (flowering) begins.
Phases:

Sowing and Site Preparation
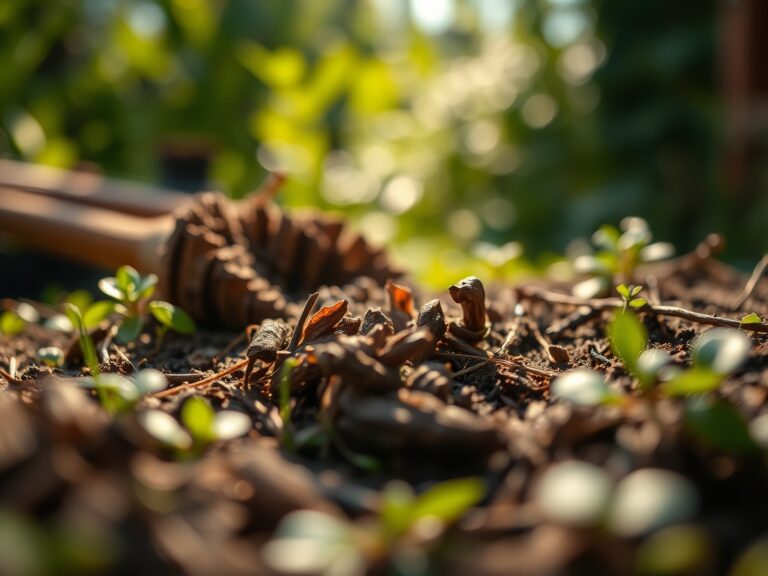
Use the square shovel to scalp existing vegetation at the crown level. Set the blade at a 30-degree angle to the surface and slide it just beneath the thatch layer. This removes the competition without overturning the deeper weed seed bank.
Pro-Tip: Maintaining a shallow cut preserves the mycorrhizal symbiosis in the upper 4 inches of soil. These fungal networks extend the reach of root systems by up to 100 times, significantly increasing phosphorus uptake.
Transplanting with Precision
When moving a specimen, use the square shovel to cut a vertical perimeter around the root ball. The flat blade ensures you do not "bowl out" the hole. The hole should be 2 times wider than the root ball but no deeper than the original container depth to prevent crown rot.
Pro-Tip: Vertical walls prevent mechanical impedance. If walls are sloped and glazed by a round shovel, roots may circle the hole rather than penetrating the native soil. A square blade creates a textured interface that encourages lateral root expansion.
Establishing the Edge
A "Victorian" or "English" edge is a trench 3 to 4 inches deep that separates the lawn from the bed. Use a string line for accuracy. Drive the square shovel vertically into the turf, then pull the handle back to pop the sod. This creates a physical barrier that prevents rhizomatous grasses from invading the bed.
Pro-Tip: This trench acts as a miniature "dry well," capturing runoff and directing it toward the rhizosphere. It also utilizes phototropism to keep grass roots from crossing the gap, as the roots are less likely to bridge the air pocket created by the trench.
The Clinic:
Physiological disorders often stem from improper soil management or tool use during the design phase.
- Symptom: Interveinal chlorosis on new growth (Yellowing leaves with green veins).
- Solution: This indicates an Iron (Fe) deficiency, often caused by a pH above 7.0. Use your shovel to incorporate elemental sulfur to lower the pH.
- Symptom: Marginal leaf burn and stunted growth.
- Solution: Likely "Potassium deficiency" or high salt index. Flush the root zone with 2 inches of water and ensure the square shovel has not created a "hardpan" layer that prevents drainage.
- Symptom: Wilting despite moist soil.
- Solution: Root rot (Phytophthora). The planting hole was likely too deep or the soil was compacted during installation. Re-excavate and integrate perlite or coarse sand to improve aeration.
Fix-It: For Nitrogen chlorosis (general yellowing of older leaves), top-dress with a high-nitrogen organic fertilizer like blood meal (12-0-0) at a rate of 1 pound per 100 square feet.
Maintenance:
Post-design care requires consistent monitoring. Plants require 1.5 inches of water per week delivered at the drip line to maintain turgor. Use a soil moisture meter to check the depth of hydration; the top 6 inches should remain moist but not saturated.
Keep your square shovel sharp using a mill file to ensure clean cuts during future edging. Use a hori-hori knife for precision weeding near delicate crowns and bypass pruners for removing dead wood (senescence). Every three years, use the square shovel to "re-edge" the beds, maintaining the 4-inch depth to prevent turf encroachment.
The Yield:
When harvesting flowers or herbs from your designed beds, timing is critical. Harvest in the early morning when turgor pressure is at its peak. Use sharp shears to make a 45-degree cut, then immediately submerge the stems in 100-degree Fahrenheit water. This "hardening off" process removes air bubbles from the xylem, ensuring "day-one" freshness for the longest possible duration. For woody stems, a slight vertical slit at the base of the stem increases water uptake surface area.
FAQ:
Why use a square shovel instead of a round one for edging?
A square shovel creates a perfectly vertical cut, preventing soil collapse and providing a clean aesthetic line. The flat blade allows for uniform depth control, which is essential for managing rhizomatous root spread in garden beds.
How deep should I dig a garden edge?
A depth of 3 to 4 inches is optimal. This depth is sufficient to sever the roots of most common turfgrasses and creates a physical air gap that prevents stolons from crossing into the cultivated soil area.
Can I use a square shovel for digging deep holes?
While possible, it is inefficient for deep excavation. Square shovels are designed for surface precision, leveling, and edging. Use a round-point shovel for bulk soil removal and the square shovel for "squaring off" the hole's bottom and sides.
How do I prevent my shovel from rusting?
Clean the blade after every use to remove soil and moisture. Wipe the metal surface with a thin layer of mineral oil or linseed oil. Store the tool in a dry area, preferably hanging, to prevent edge dulling.
What is the best way to sharpen a square shovel?
Use a 10-inch mill bastard file. Follow the factory bevel on the front side of the blade, pushing the file away from your body in smooth, even strokes. Only sharpen the front edge to maintain the flat back.