8 Symmetrical Steps to Prepare a Formal Style Garden
Formal garden design transforms chaos into geometry. Crisp edges, mirrored beds, and ordered rows create a sense of permanence that cottage gardens cannot match. How to prepare a garden for a formal style vegetable garden demands precision in layout, soil chemistry, and plant selection. Each step builds structural integrity. The work begins months before the first transplant enters the ground, when soil pH meets target ranges and organic matter reaches 5-8% by volume.
Materials
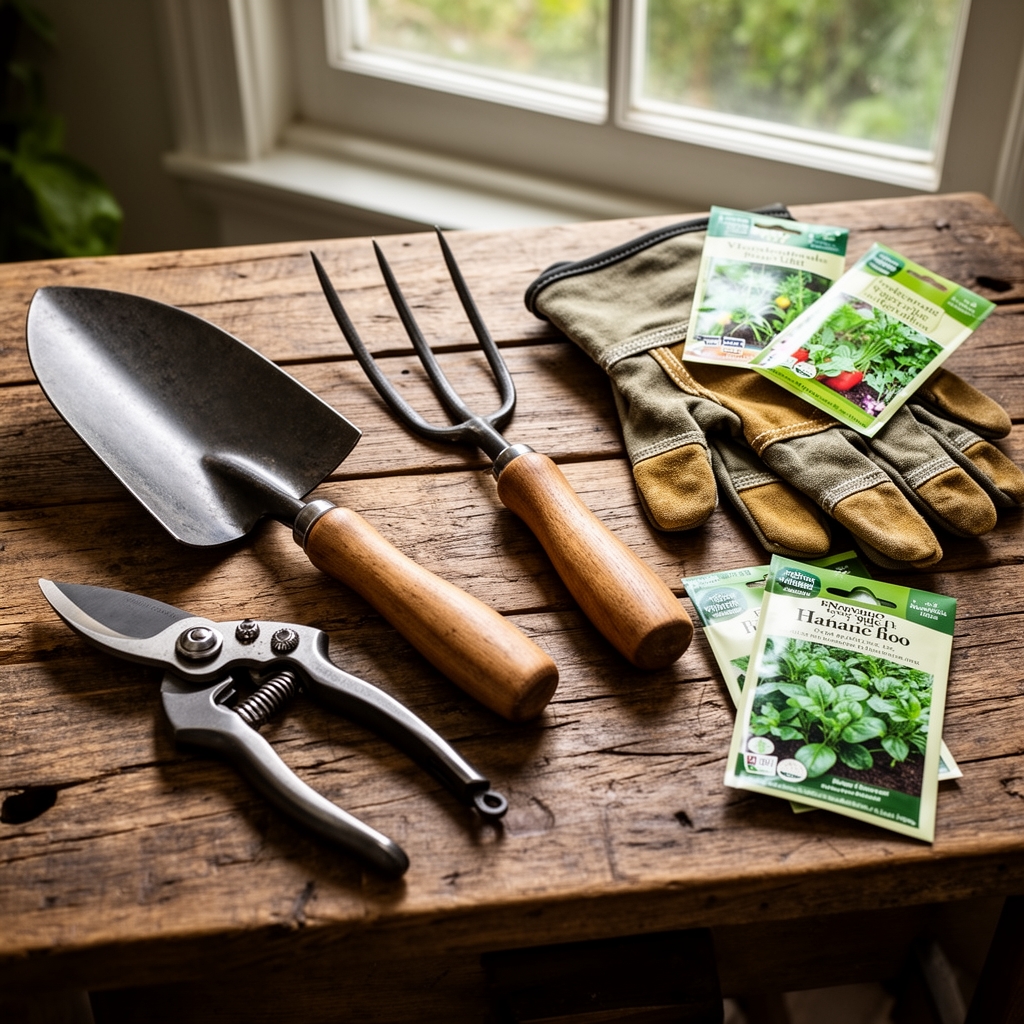
Soil amendments anchor the preparation process. Use a 4-4-4 organic fertilizer blend combining alfalfa meal, bone meal, and kelp meal. This ratio supports balanced auxin distribution and steady vegetative growth without excessive nitrogen spikes. Target soil pH between 6.2 and 6.8 for brassicas, nightshades, and root vegetables. Add dolomitic limestone at 5 pounds per 100 square feet to raise pH by 0.5 units. For acidification, apply elemental sulfur at 1 pound per 100 square feet.
Mycorrhizal fungi inoculant improves cation exchange capacity and phosphorus uptake. Select products containing Glomus intraradices at 120 propagules per gram. Compost should test at a C:N ratio below 25:1 to prevent nitrogen immobilization. Aged manure provides slow-release nitrogen while improving soil structure.
Hardscape materials define formal geometry. Use untreated cedar boards milled to 2 inches by 10 inches for raised bed frames. Gravel pathways require a 3-inch base layer of crushed limestone topped with 1 inch of pea gravel. Purchase landscape fabric rated at 3.0 ounces per square yard to suppress weeds beneath paths without blocking drainage.
Timing
Zone-specific scheduling prevents transplant shock and maximizes yield. Gardeners in USDA Hardiness Zones 5-6 begin soil preparation 6-8 weeks before the last spring frost date. This window allows amendments to integrate and soil temperature to stabilize above 50°F at 4-inch depth. Zones 7-8 can start 4-6 weeks prior, while Zone 9 gardeners work 2-3 weeks ahead of their nominal frost dates.
Fall preparation offers advantages for spring planting. September through October work in Zones 5-7 allows overwintering of organic matter. Microbial populations colonize amendments, breaking down complex compounds into plant-available nutrients. Freeze-thaw cycles improve soil tilth by fracturing compacted layers.
Track soil temperature with a dial thermometer inserted to root zone depth. Cool-season crops like lettuce, kale, and peas transplant when soil reaches 45-50°F. Warm-season vegetables including tomatoes, peppers, and squash require 60-65°F minimums to avoid root rot and stunted growth.
Phases
Sowing Phase
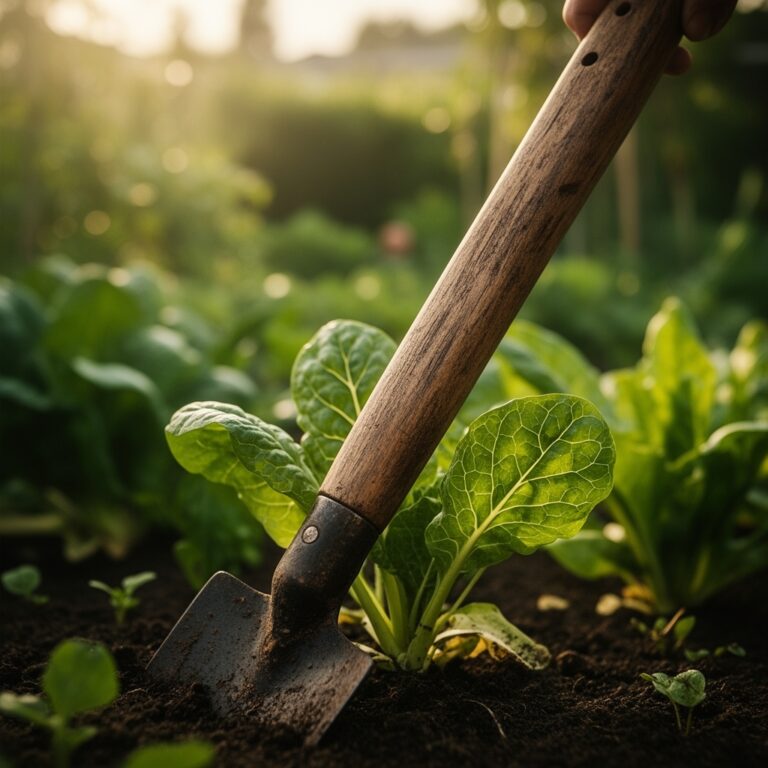
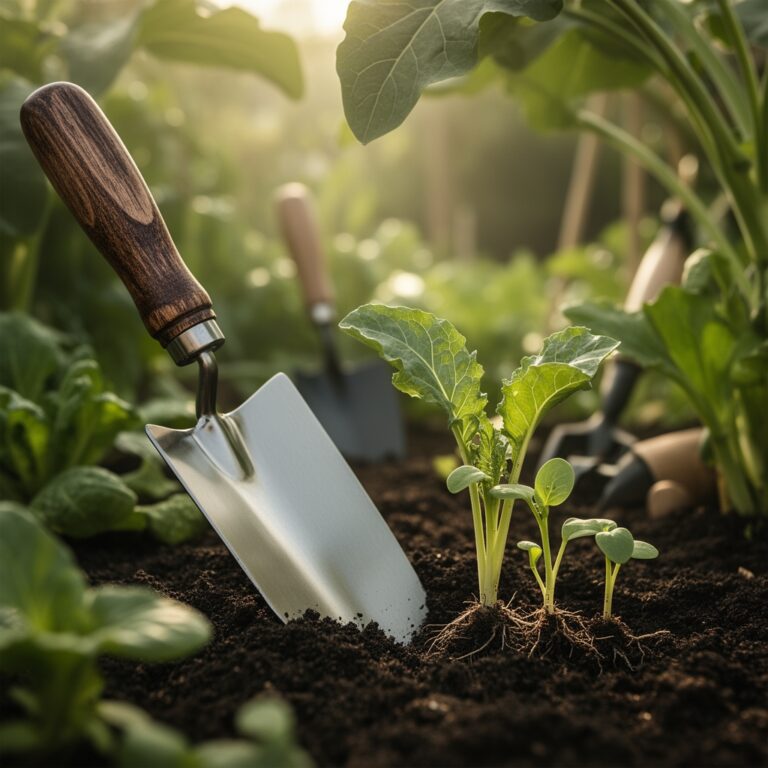
Mark the garden perimeter with stakes and mason's line. Formal layouts use 4-foot-wide beds separated by 2-foot paths. This ratio permits access from both sides without soil compaction. Remove existing vegetation by cutting sod into 12-inch squares and lifting with a flat spade. Stack sod grass-side-down in a corner to decompose into loam over 12 months.
Till or broadfork the soil to 8-inch depth. Incorporate 2 inches of finished compost and the 4-4-4 fertilizer at 2 pounds per 100 square feet. Rake the surface level using a bow rake, then compact lightly with a water-filled lawn roller. Level beds prevent water pooling and ensure uniform germination.
Pro-Tip: Apply mycorrhizal inoculant directly into transplant holes rather than broadcasting. This concentrated placement increases root colonization rates by 300% compared to soil mixing.
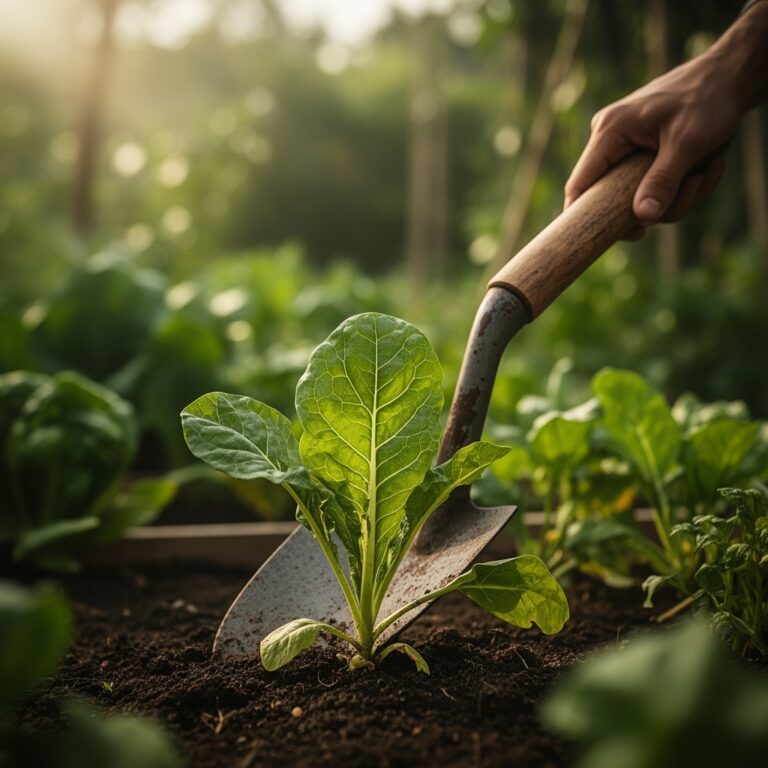
Transplanting Phase
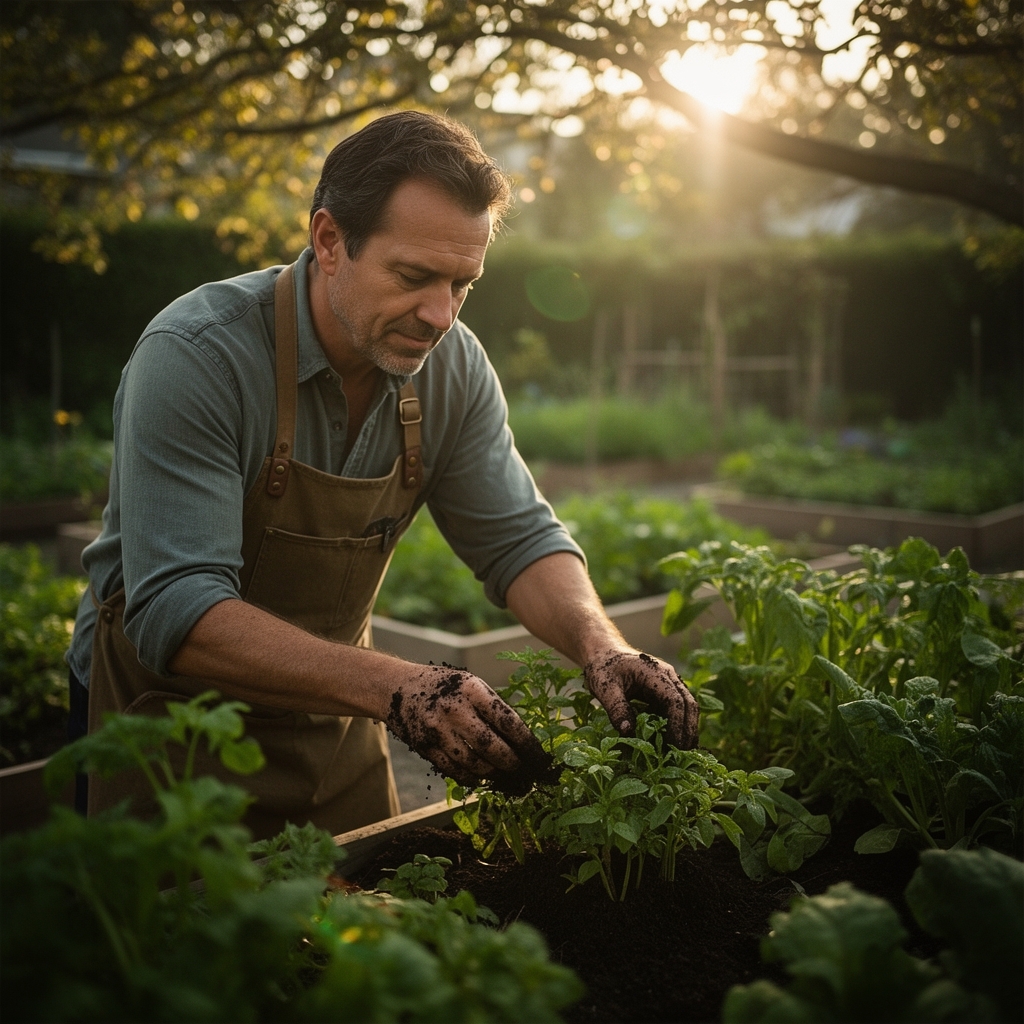
Harden off seedlings over 7-10 days by gradually increasing outdoor exposure. Begin with 2 hours of morning shade, extending to full sun by day seven. This process thickens cuticle layers and reduces transplant shock.
Space plants according to mature canopy diameter. Brassicas require 18-inch centers, tomatoes need 24-30 inches, and root vegetables space at 4-6 inches depending on variety. Use a measuring stick cut to exact spacing intervals to maintain geometric precision.
Water transplants with a solution containing 1 tablespoon of fish emulsion per gallon. This provides immediate nitrogen while beneficial bacteria in the emulsion colonize the rhizosphere.
Pro-Tip: Transplant in late afternoon or on overcast days when stomatal conductance decreases. This timing reduces water stress during the critical 48-hour establishment window.
Establishing Phase
Mulch beds with 2 inches of straw or shredded leaves after transplants show new growth. Maintain a 3-inch gap around plant stems to prevent crown rot. Organic mulch moderates soil temperature by 10-15°F and reduces evapotranspiration by 40%.
Install drip irrigation on 12-inch centers with pressure-compensating emitters rated at 0.5 gallons per hour. Run lines beneath mulch to minimize algae growth. Connect to a timer for consistent moisture delivery.
Pro-Tip: Pinch terminal buds on tomatoes and peppers at 60 days to redirect auxin toward fruit development. Remove growth at 45-degree angles using sterilized pruners.
Troubleshooting
Symptom: Interveinal chlorosis on young leaves.
Solution: Iron deficiency caused by alkaline pH. Apply chelated iron at 1 tablespoon per gallon as a foliar spray. Retest soil pH and amend with sulfur if above 7.2.
Symptom: Blossom end rot on tomatoes and peppers.
Solution: Calcium deficiency exacerbated by inconsistent watering. Maintain soil moisture at 60-70% of field capacity. Side-dress with gypsum at 2 pounds per 10 feet of row.
Symptom: Stippled leaves with fine webbing.
Solution: Two-spotted spider mite infestation. Spray undersides of leaves with insecticidal soap at 5 tablespoons per gallon every 3 days for 2 weeks. Increase humidity around plants to 50%.
Symptom: Wilting despite adequate soil moisture.
Solution: Root-knot nematodes damaging vascular tissue. Remove affected plants and solarize soil by covering with clear plastic for 6 weeks during peak summer heat. Rotate to non-host crops like grasses for one season.
Symptom: Stunted growth with purple-tinged leaves.
Solution: Phosphorus deficiency in cold soils below 55°F. Apply bone meal at 3 pounds per 100 square feet and wait for soil warming before expecting recovery.
Maintenance
Water established gardens with 1 inch per week, delivered in two 0.5-inch applications. Measure output by placing straight-sided containers throughout beds during irrigation cycles. Clay soils may require adjusted schedules to prevent waterlogging.
Side-dress nitrogen-hungry crops every 3 weeks with blood meal at 1 pound per 25 feet of row. Work granules into the top 2 inches of soil 6 inches from plant stems. Leafy greens and brassicas respond most dramatically to supplemental nitrogen.
Scout for pests twice weekly during morning inspections. Remove pest eggs, larvae, and diseased foliage immediately. Compost only disease-free material; burn or dispose of infected tissue to prevent pathogen spread.
Prune determinate tomatoes to single leaders by removing all suckers below the first fruit cluster. Indeterminate varieties require removal of suckers up to the third truss. This concentration directs photosynthates toward fruit rather than vegetative mass.
FAQ
How deep should formal garden beds be prepared?
Eight to twelve inches of worked soil accommodates most vegetable root systems. Carrots and parsnips may require 14-inch depth.
What spacing maintains formal symmetry?
Use 4-foot bed widths with 2-foot paths. This 2:1 ratio balances access with productive area while creating visual order.
When should I rotate crop families?
Rotate on a 3-year cycle minimum. Never plant nightshades, brassicas, or legumes in the same bed two consecutive years to break disease cycles.
Can formal gardens support succession planting?
Yes. Plant quick-maturing crops like radishes between slow-growing specimens. Harvest fast crops before neighboring plants reach full size.
How do I maintain crisp bed edges?
Re-cut edges monthly with a half-moon edger. Maintain a 90-degree angle between bed surface and path for sharp definition.