8 Fullness Steps to Prune a Schefflera for Height
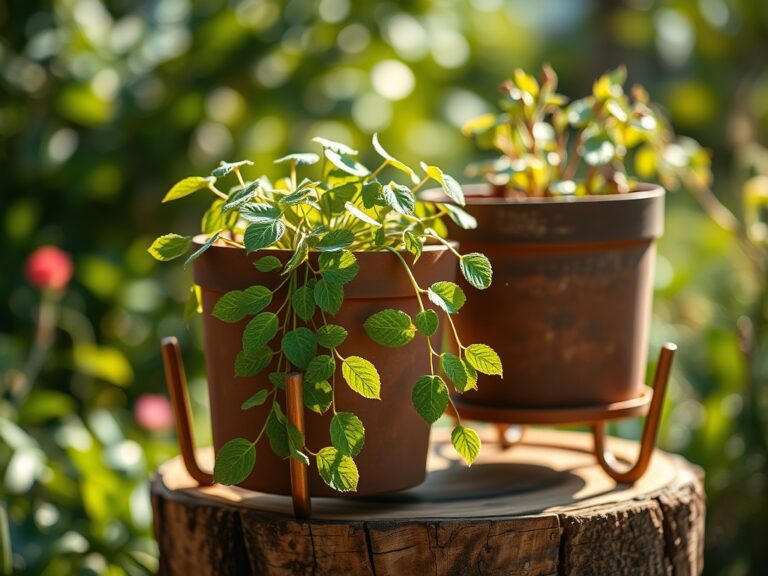
The scent of damp, peat-based potting mix and the tactile snap of high turgor pressure in a healthy Schefflera arboricola leaf signal a plant ready for intervention. When a specimen becomes leggy or hits the ceiling, you must execute precise Steps for pruning a Schefflera plant to redirect its hormonal energy. This process is not merely aesthetic; it is a calculated manipulation of the plant's apical dominance to force lateral branching and increase leaf density. By removing the terminal bud, you halt the flow of auxins down the stem, allowing dormant axillary buds to break through the bark and form a robust, bushy canopy.
Effective pruning requires a deep understanding of the plant's vascular system. A Schefflera operating at peak physiological capacity will have leaves that feel firm and leathery, indicating sufficient cellular hydration and nutrient uptake. If the plant is limp or showing signs of chlorosis, the pruning process will fail to trigger the desired regrowth. You are looking for a specimen with a thick woody trunk and a healthy rhizosphere. Successful height management depends on the timing of your cuts and the sterility of your tools. A clean, 45 degree angle cut just above a leaf node ensures rapid callousing and prevents the pooling of moisture, which can lead to fungal pathogens.
Materials:
The foundation of a successful pruning recovery is the substrate and nutrient availability. Schefflera requires a **pH range of 6.0 to 6.5** to ensure optimal nutrient solubility. The ideal substrate is a **friable loam** consisting of two parts peat moss, one part perlite, and one part coarse sand. This mixture provides a high **Cation Exchange Capacity (CEC)**, allowing the soil to retain essential positively charged ions like Calcium (Ca2+) and Magnesium (Mg2+).
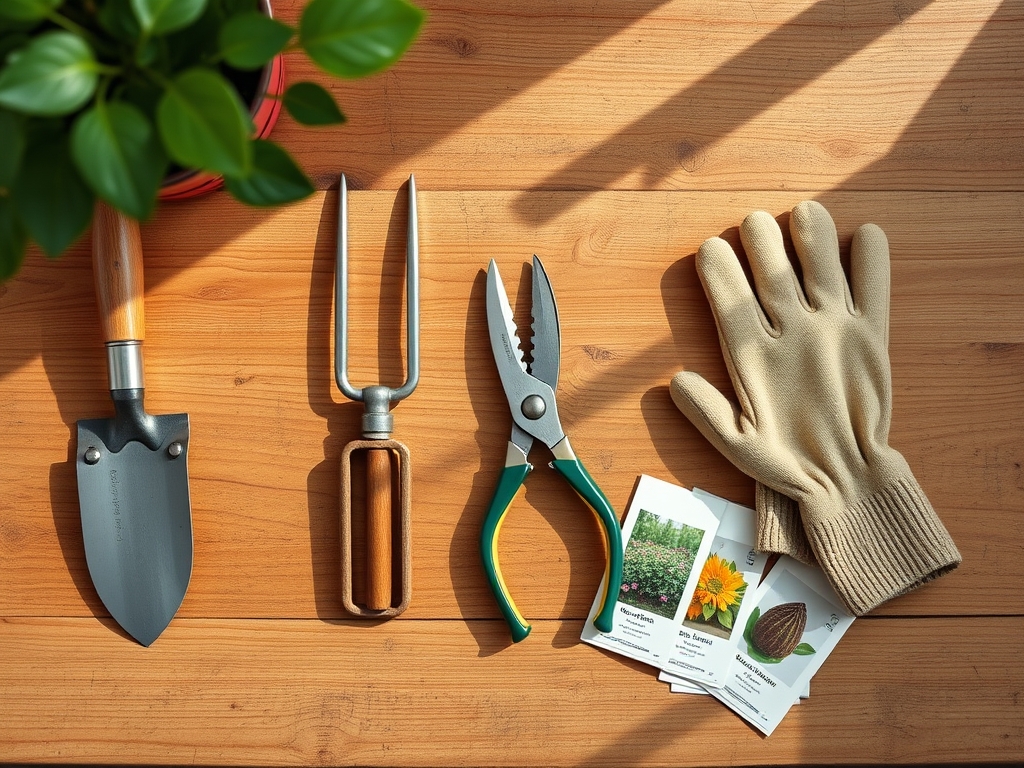
Before pruning, ensure the plant has been fed a balanced NPK ratio of 20-20-20 at half strength. Nitrogen is critical for the flush of new vegetative growth that follows a heading cut. Phosphorus supports the root system during the stress of tissue removal, while Potassium regulates the opening and closing of stomata, maintaining internal water pressure. You will need bypass pruners with high carbon steel blades and a 70 percent isopropyl alcohol solution to sterilize the equipment between every cut to prevent the transmission of vascular wilt.
Timing:
Schefflera is native to tropical climates, thriving in Hardiness Zones 10 through 12. In these regions, it can remain outdoors year round. For indoor growers in cooler zones, pruning must align with the "Biological Clock" of the plant. The ideal window is the transition from late winter to early spring, just as the photoperiod increases. This shift from a semi dormant state to active vegetative growth ensures the plant has the metabolic momentum to heal.
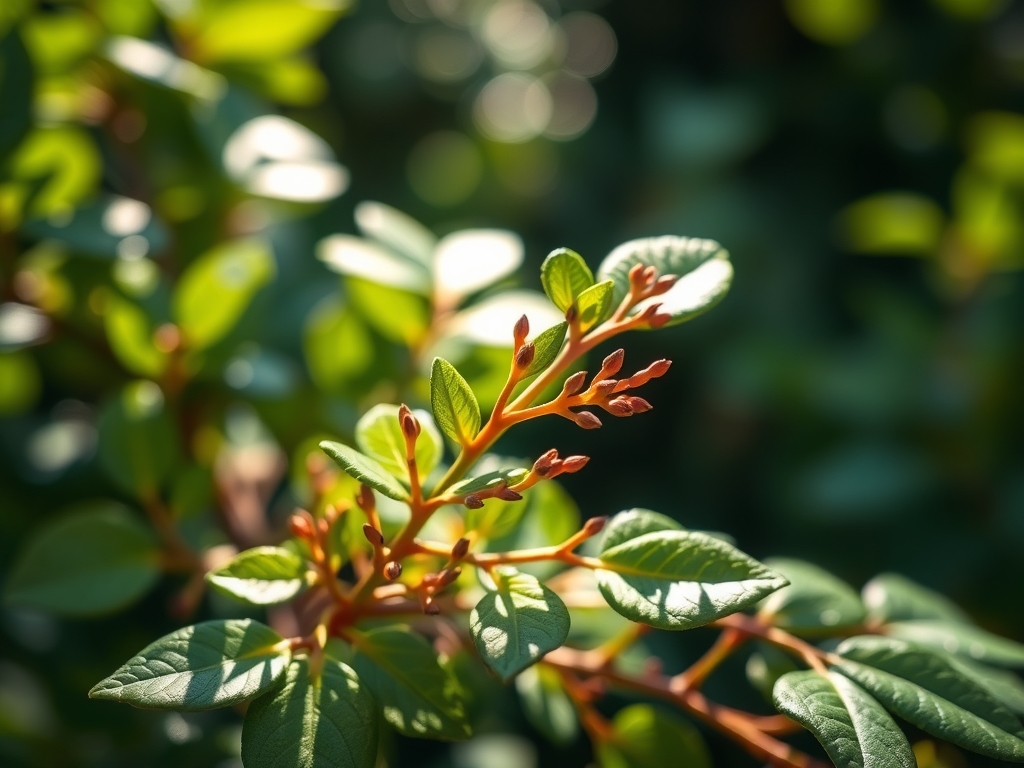
Avoid pruning during the reproductive stage if the plant is flowering, as energy is diverted toward seed production rather than leaf primordia. The "Biological Clock" is governed by phytochrome receptors that sense increasing light duration. When the day length exceeds 12 hours, the plant enters a high metabolic state. Pruning during this phase maximizes the rate of photosynthesis, providing the glucose necessary for the development of new structural lignin in the emerging branches.
Phases:
Sowing and Preparation
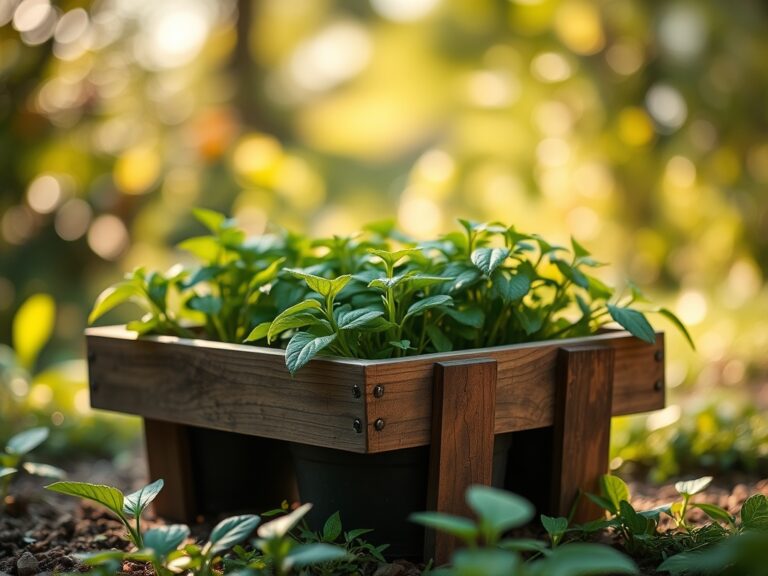
Before the first cut, hydrate the plant 24 hours in advance to ensure maximum turgor pressure. This makes the stems easier to slice and reduces tissue shattering. Survey the plant for the "leader" stem, which is the primary vertical growth point.
Pro-Tip: Understanding Auxin Suppression is key. Auxins are hormones produced in the apical meristem that inhibit the growth of lower buds. By removing the tip, you remove the source of auxin, allowing cytokinins to stimulate lateral bud break.
Transplanting and Root Check
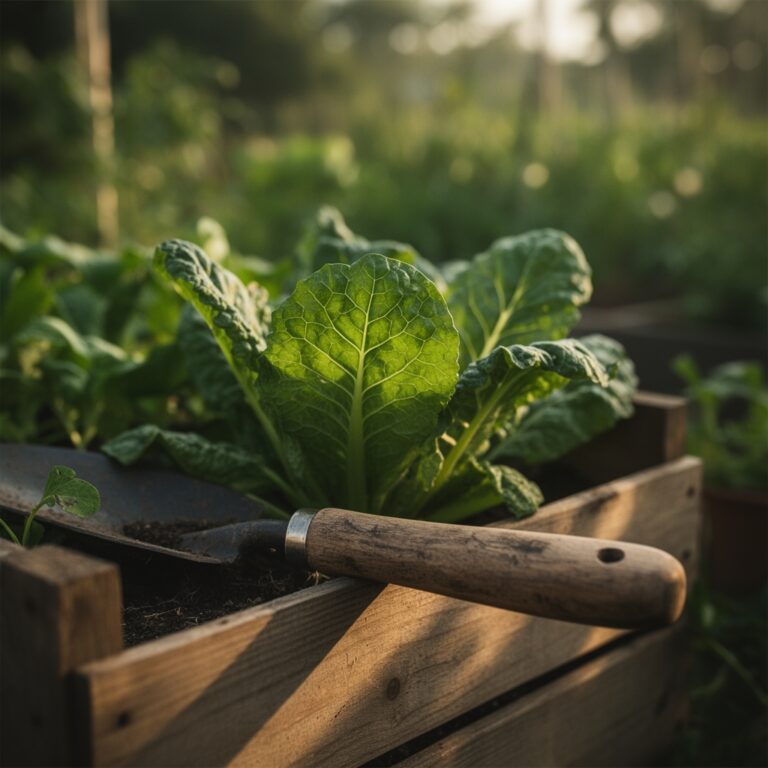
If the plant is root bound, its ability to recover from pruning is diminished. Inspect the root ball; it should be firm and white. If the roots are circling the pot, transplant into a container 2 inches wider in diameter. Use a hori-hori knife to gently loosen the outer roots before placing them in the new friable loam.
Pro-Tip: Encouraging Mycorrhizal Symbiosis during transplanting increases the surface area of the root system. These beneficial fungi exchange phosphorus for plant sugars, significantly boosting the plant's recovery speed after heavy pruning.
Establishing the New Height
Identify the desired height and locate a node approximately 1 inch below that mark. Make a clean, slanted cut. Remove no more than 25 percent of the total leaf mass in a single session to avoid shocking the vascular system.
Pro-Tip: Utilize Phototropism by rotating the plant 90 degrees every week after pruning. This ensures that light hits the newly exposed interior nodes evenly, preventing the plant from leaning toward the light source as it regrows.
The Clinic:
Symptom: Interveinal Chlorosis
Solution: This is often a sign of Magnesium deficiency. The older leaves turn yellow while the veins remain green.
Fix-It: Apply a solution of 1 tablespoon of Epsom salts per gallon of water. This provides the Magnesium ion necessary for the central atom of the chlorophyll molecule.
Symptom: Leaf Drop Post-Pruning
Solution: This usually indicates a sudden drop in humidity or overwatering. The plant's transpiration rate decreases after leaf removal.
Fix-It: Reduce watering frequency and use a soil moisture meter to ensure the top 2 inches of soil are dry before re-irrigating.
Symptom: Soft, Brown Stem Bases
Solution: This is a sign of Pythium root rot caused by anaerobic soil conditions.
Fix-It: Remove the plant from the pot, prune away mushy roots, and repot in a fresh substrate with increased perlite for better aeration.
Maintenance:
Post-pruning maintenance requires surgical precision. Provide 1.5 inches of water per week at the drip line, avoiding the trunk to prevent crown rot. Use a soil moisture meter to maintain a consistent moisture level of 4 on a scale of 10. Every 14 days, wipe the remaining leaves with a damp cloth to remove dust, which can block up to 30 percent of available light from reaching the chloroplasts.
Monitor for pests like scale or spider mites, which target the tender new growth stimulated by pruning. If detected, use a high pressure water spray to dislodge them physically before resorting to horticultural oils. Keep the ambient temperature between 65 and 80 degrees Fahrenheit. Temperatures dropping below 55 degrees will cause the plant to drop leaves and enter a state of metabolic senescence.
The Yield:
While Schefflera is not an edible crop, the "yield" in this context is the production of high quality cuttings for propagation. The stems removed during the pruning process can be repurposed. Select a 6 inch cutting with at least two nodes. Dip the basal end in a rooting hormone (Indole-3-butyric acid) and place it in a sterile medium of perlite and vermiculite. Maintain a constant temperature of 75 degrees and high humidity. Within 21 to 30 days, the cutting will develop a secondary root system, effectively cloning the parent plant with day one freshness and vigor.
FAQ:
How far back can I prune a Schefflera?
You can safely remove up to one third of the plant's total height. Always leave at least two sets of leaves on each stem to maintain the photosynthetic capacity required for the plant to regenerate new tissue.
What happens if I cut the main trunk?
Cutting the main trunk removes the apical meristem. This forces the plant to develop multiple new leaders from the nodes below the cut, resulting in a significantly bushier, multi stemmed appearance rather than a single tall stalk.
Why are the new leaves on my Schefflera very small?
Small new growth typically indicates a Nitrogen deficiency or insufficient light intensity. Ensure the plant receives bright, indirect light and a balanced fertilizer with a high nitrogen count to support robust leaf expansion and cellular development.
Can I prune a Schefflera in the winter?
It is not recommended. During winter, the plant's metabolic rate slows due to lower light levels. Pruning now can lead to "bleeding" of sap and increases the risk of fungal infections before the plant can callous over.