7 Steps to Prepare a Level Garden Shed Base
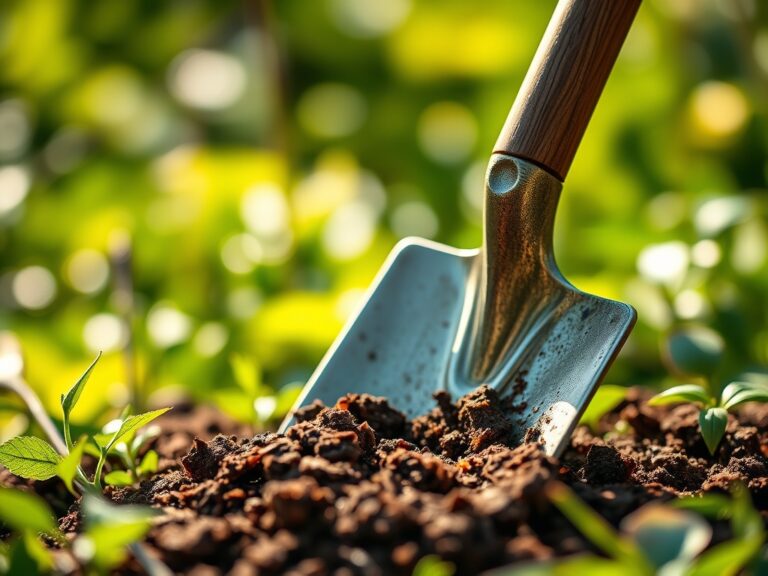
The scent of damp, disturbed earth signals the beginning of a structural intervention in the landscape. When you break the surface of a friable loam, you are interacting with a complex rhizosphere that must now support a static load. Learning how to prepare a site for a garden shed requires more than a shovel; it demands an understanding of soil compaction and drainage physics. A poorly leveled base leads to door binding and structural rot as turgor pressure in the surrounding vegetation fluctuates. You must strip the organic layer to reach the mineral subsoil, ensuring the foundation sits on a stable, non-compressible medium. This process prevents the shifting that occurs when organic matter decomposes beneath a heavy structure. Proper preparation ensures the shed remains plumb while the surrounding flora continues its seasonal cycles without interference from runoff or localized soil compaction.
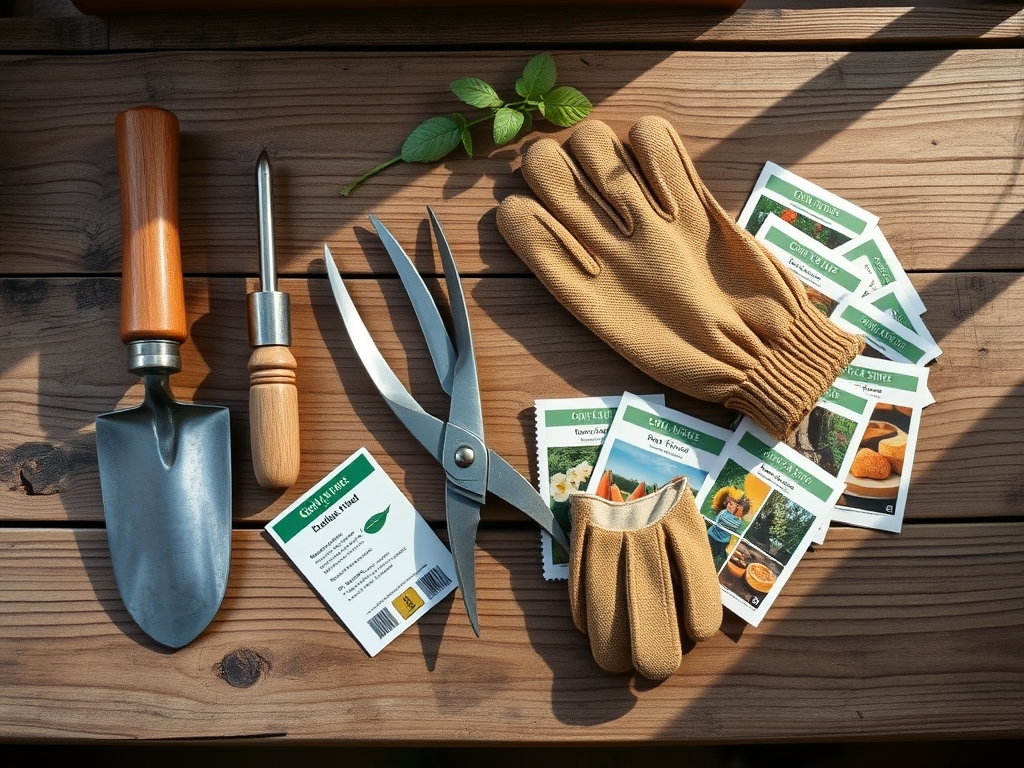
Materials:
The substrate beneath your shed should be inert to prevent fungal colonization of the floor joists. However, the perimeter soil requires a specific chemical profile to manage runoff and support edge-zone plantings. Aim for a soil pH between 6.0 and 7.0 to ensure high nutrient availability. For the surrounding soil, maintain an NPK ratio of 5-10-10 to encourage root development rather than excessive foliar growth.
- Base Material: Use 3/4-inch minus crushed limestone. This material provides a high Cation Exchange Capacity (CEC) in the runoff zone and packs into a dense, interlocking matrix.
- Geotextile Fabric: A 4-ounce non-woven weed barrier is essential to separate the mineral base from the native soil.
- Substrate Texture: The ideal surrounding soil is a friable loam, consisting of 40% sand, 40% silt, and 20% clay. This balance ensures a high percolation rate of approximately 1 inch per hour.
Timing:
Work must align with the local frost-date windows to avoid the heave-thaw cycle of saturated soils. In Hardiness Zones 5 through 7, the ideal window opens after the last spring frost when soil moisture levels allow for compaction without creating a "puddled" surface. You must observe the biological clock of your garden; site preparation is best performed during the vegetative stage of nearby perennials, typically late spring or early autumn. Performing excavation during the reproductive stage (flowering) can induce stress in nearby high-value specimens due to root zone disturbance. Avoid construction when the ground is frozen or during the spring thaw, as the soil's load-bearing capacity is at its annual minimum.
Phases:

Sowing the Foundation
Mark a perimeter 12 inches wider than the shed dimensions on all sides. Use a transit level to identify the high point of the site. Excavate the area to a depth of 6 inches, removing all sod and organic debris. This removes the "O" soil horizon, which is prone to compression.
Pro-Tip: Removing the organic layer prevents anaerobic decomposition. When organic matter is trapped under a barrier, it rots without oxygen, releasing gases and creating voids that cause the shed to settle unevenly.
Transplanting the Base
Lay the geotextile fabric across the excavated pit. Fill the area with 4 inches of crushed stone. Use a plate compactor to reach a compaction rating of 95% Proctor density. Level the stone using a long straightedge and a spirit level, ensuring a slope of no more than 1/8 inch per foot for drainage.
Pro-Tip: High mineral compaction limits capillary action. By using crushed stone, you break the upward movement of groundwater, protecting the shed's wooden frame from moisture-induced senescence.
Establishing the Perimeter
Backfill the edges with the reserved friable loam. Use a hori-hori knife to integrate the new soil with the existing landscape. Plant low-growing, shade-tolerant groundcovers to stabilize the soil and prevent erosion from the shed's roof runoff.
Pro-Tip: Establishing plants immediately utilizes mycorrhizal symbiosis. The fungal networks in the soil will quickly colonize the new area, binding soil particles together and increasing the structural integrity of the shed's perimeter.
The Clinic:
Physiological disorders in the perimeter plants often signal issues with the shed base construction.
- Symptom: Leaf wilting despite moist soil.
- Solution: Check for soil compaction. Use a soil moisture meter to verify if the roots are drowning in a "bathtub effect" created by the excavation. Increase drainage with a French drain.
- Symptom: Yellowing of lower leaves (Nitrogen chlorosis).
- Solution: Apply a water-soluble 20-20-20 fertilizer to jumpstart nitrogen uptake. The construction process often leaches mobile nutrients.
- Symptom: Stunted growth and purple leaf undersides (Phosphorus deficiency).
- Solution: Incorporate bone meal or a high-phosphate fertilizer into the top 2 inches of soil. Low soil temperatures during early spring construction often inhibit phosphorus solubility.
- Symptom: Marginal leaf burn.
- Solution: This indicates salt accumulation or pH shock from the crushed limestone. Flush the area with 2 inches of water and apply elemental sulfur to lower the pH.
Maintenance:
Post-installation care is critical for the surrounding ecosystem. Provide 1.5 inches of water per week at the drip line of the shed to compensate for the rain shadow created by the roof. Use bypass pruners to keep vegetation at least 12 inches away from the shed walls to maintain airflow and prevent fungal pathogens. Monitor the level of the base annually using a soil moisture meter to ensure the ground has not shifted due to excessive saturation. If the shed settles, use a jack to lift the corner and pack additional crushed stone underneath.
The Yield:
If you are integrating the shed into a kitchen garden, the "yield" is the efficiency of your workspace. Harvest herbs and vegetables during the early morning hours when turgor pressure is at its peak. This ensures the cell walls are fully hydrated, providing "day-one" freshness. Immediately transfer harvested crops into the shaded environment of the shed to slow down the rate of respiration and senescence. Use a sharp hori-hori knife for clean cuts that heal quickly, preventing pathogen entry into the parent plant.
FAQ:
How deep should I dig for a shed base?
Excavate to a minimum depth of 6 inches. This depth allows you to remove the unstable organic topsoil and replace it with 4 inches of compacted gravel and a 2-inch leveling layer of finer stone.
Can I build a shed on bare dirt?
No. Placing a shed on bare soil leads to moisture wicking and uneven settling. The soil will compress under the weight, causing the frame to warp and the wood to rot through fungal colonization.
What is the best material for a shed foundation?
Crushed limestone (3/4-inch minus) is the professional standard. It provides superior drainage compared to concrete and offers better structural stability than pea gravel, which tends to shift under load.
How do I stop weeds from growing under my shed?
Install a 4-ounce non-woven geotextile fabric beneath your gravel base. This barrier prevents weed seeds in the subsoil from germinating while allowing water to percolate through, preventing hydrostatic pressure buildup.
Should a shed base be perfectly level?
Yes. A shed base must be level within 1/8 inch across its span. If the base is not level, the doors will not align, the roof load will distribute unevenly, and the structural joints will fail prematurely.