7 Steps to Install a Traditional Garden Arbor
Crushed cedar mulch and the sharp, metallic scent of wet clay define the workspace of a serious horticulturist. Successful structural integration requires more than aesthetic placement; it demands an understanding of soil load-bearing capacity and root zone protection. Executing the correct steps for installing a garden arbor ensures that your vertical support survives the seasonal expansion and contraction of the earth. A poorly anchored arbor will lean as soon as the soil reaches saturation, leading to structural failure under the weight of a mature canopy. Professional installation prioritizes the structural integrity of the rhizosphere while providing a stable framework for climbing woody perennials.
Materials:
Before setting the first post, analyze the soil substrate. An ideal site consists of **friable loam** with a **pH between 6.0 and 7.0**. High clay content increases water retention but risks frost heave, while sandy soils lack the Cation Exchange Capacity (CEC) to hold nutrients for the climbers you will eventually plant.
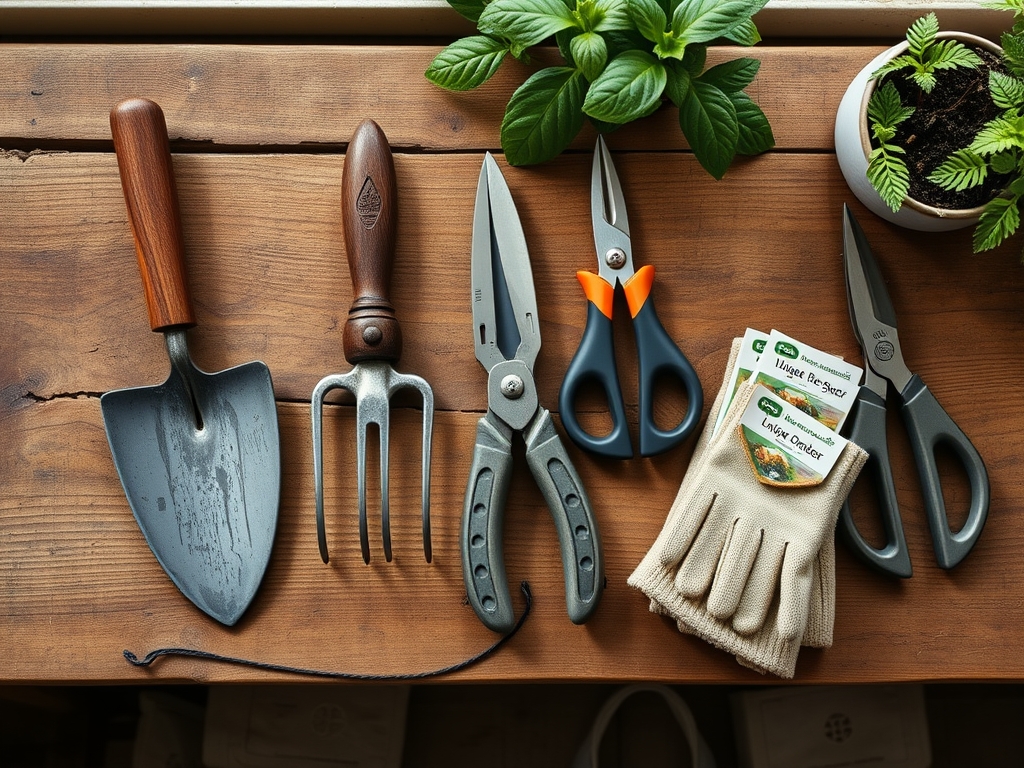
For the surrounding planting area, maintain a balanced NPK ratio of 10-10-10 for general establishment. If you are planting heavy-flowering vines like Clematis, shift to a 5-10-10 ratio to prioritize phosphorus for root development and bud set over excessive nitrogen-driven foliage. You will need 4×4 pressure-treated lumber or rot-resistant cedar, 80-lb bags of fast-setting concrete, and 3-inch galvanized deck screws.
Timing:
Installation should occur during the dormant season or early spring, specifically between Hardiness Zones 4 and 9. In colder zones, wait until the frost has left the ground to a depth of 24 inches to ensure accurate leveling. The biological clock of your future climbers is critical; installing the arbor before the spring "flush" of growth allows you to direct new shoots immediately, preventing the stress of retroactively detaching vines from temporary supports. Aim for a window where soil temperatures are consistently above 45 degrees Fahrenheit to allow for immediate post-installation planting.
Phases:

Sowing the Site
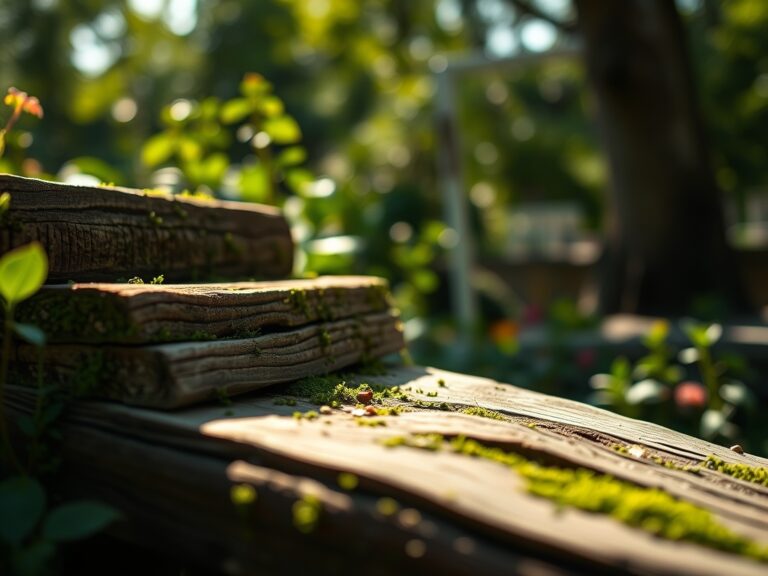
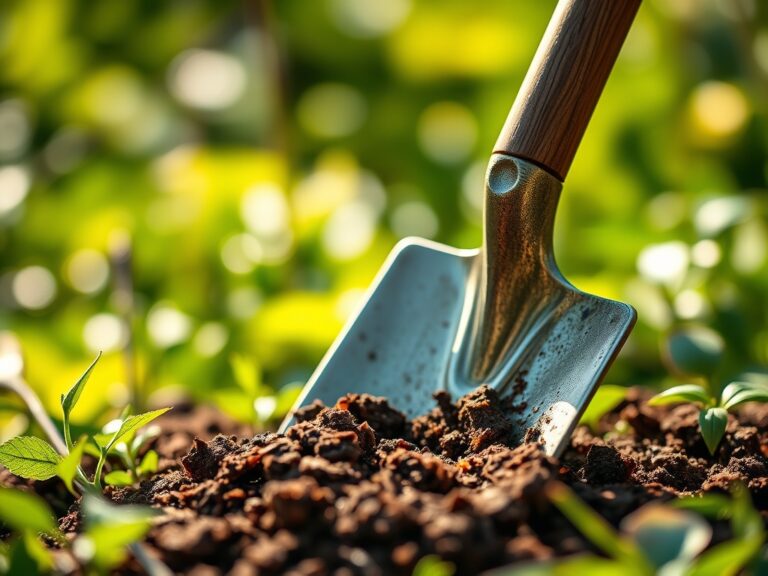
Clear a 48-inch diameter workspace. Use a post-hole digger to reach a depth of 30 inches, which is generally below the frost line in mid-latitude regions. Ensure the bottom of the hole contains 3 inches of crushed gravel to facilitate drainage away from the wood.
Pro-Tip: Proper drainage at the base prevents anaerobic conditions that lead to fungal pathogens. By keeping the wood dry, you protect the local mycorrhizal symbiosis in the soil, ensuring that beneficial fungi can colonize the roots of your future plants without competing with wood-rot organisms.
Transplanting the Structure
Assemble the side panels on a flat surface before uprighting. Place the posts into the holes and use a level on two axes. Pour the dry concrete mix into the hole, followed by water, or pre-mix for maximum density. The arbor must remain braced for 24 hours to ensure the vertical alignment does not shift during the chemical curing process.
Pro-Tip: Align the arbor on a North-South axis if possible. This maximizes phototropism efficiency, as the sun will travel over the structure, providing equal light distribution to both sides of the climbing plants and preventing "bare legs" at the base of the vines.
Establishing the Canopy
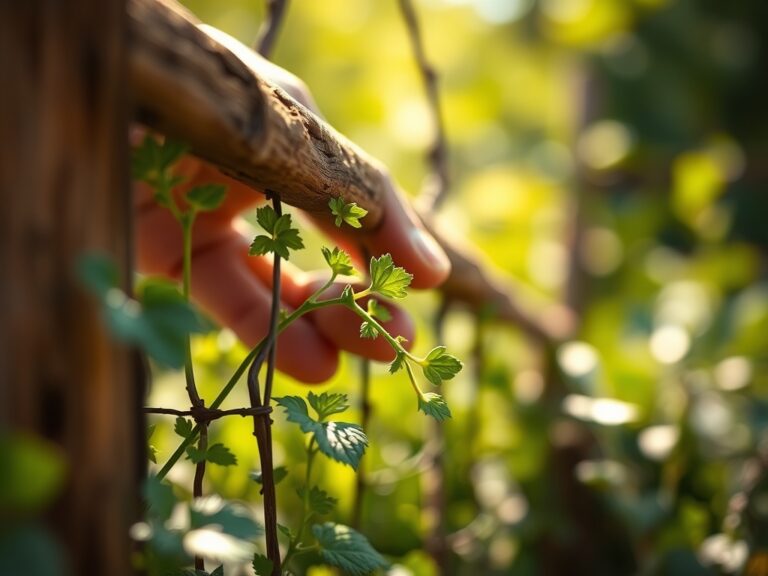
Once the concrete has cured, backfill the remaining 4 inches with the friable loam identified earlier. Space your plants at least 12 inches away from the posts to allow for secondary thickening of the woody stems over time. Secure the primary leads to the arbor using soft garden twine.
Pro-Tip: Use a technique called "directional pruning" to suppress auxin production in the lead terminal. By bending the stems horizontally across the arbor's lateral laths, you encourage lateral bud break, resulting in a denser wall of foliage and more prolific flowering.
The Clinic:
Structural and botanical health are linked. Monitor these physiological disorders:
- Symptom: Yellowing of older leaves with green veins (Interveinal Chlorosis).
Solution: This indicates a Magnesium deficiency or high pH locking out micronutrients. Apply chelated iron or Epsom salts. - Symptom: Sudden wilting despite moist soil.
Solution: Likely Phytophthora root rot. Improve drainage around the arbor base by incorporating perlite or expanding the gravel sump. - Symptom: Stunted growth and purple tint on undersides of leaves.
Solution: Phosphorus deficiency. Incorporate bone meal or a high-phosphorus starter fertilizer into the top 6 inches of soil.
Fix-It for Nitrogen Chlorosis: If the entire leaf turns pale green or yellow, the plant is scavenging nitrogen from old growth to support new shoots. Apply a liquid kelp emulsion for rapid uptake.
Maintenance:
Consistency is the hallmark of a master gardener. Provide 1.5 inches of water per week at the drip line, measured with a rain gauge. Do not spray the foliage directly; use a soaker hose to keep the leaves dry and prevent powdery mildew.
Use a hori-hori knife to remove deep-rooted weeds within the arbor's footprint to eliminate competition for nutrients. Every spring, inspect the structural joints. Use bypass pruners to remove any dead, damaged, or diseased wood (the "3 Ds") from your climbers. Check soil moisture levels twice weekly using a soil moisture meter probe inserted 6 inches deep; the reading should stay in the "Moist" range (4-7) for most temperate climbers.
The Yield:
For flowering vines like Jasmine or Roses, harvest blooms in the early morning when turgor pressure is at its peak. This ensures the cells are fully hydrated, extending the vase life. Cut at a 45-degree angle just above a node using sharpened shears. For "day-one" freshness, immediately submerge the stems in 110-degree Fahrenheit water to break any air embolisms in the xylem, then move to a cool, dark location for two hours before arranging.
FAQ:
How deep should arbor posts be buried?
Posts should be buried at least 24 to 30 inches deep. This depth ensures the structure sits below the frost line to prevent shifting and provides enough leverage to support the weight of heavy, wet foliage during storms.
Can I install an arbor in heavy clay soil?
Yes, but you must increase the gravel drainage layer to 6 inches at the bottom of the post hole. This prevents water from pooling around the wood, which causes rot and destabilizes the Cation Exchange Capacity in the rhizosphere.
What is the best wood for a garden arbor?
Western Red Cedar or Black Locust are the superior choices due to their natural resistance to decay and insects. If using pressure-treated lumber, ensure it is rated for "ground contact" to withstand constant moisture exposure in the soil.
How do I stop my arbor from leaning?
Ensure the concrete footing is wider at the bottom than at the top, creating a "bell" shape. This anchors the structure against wind shear. Use a soil moisture meter to ensure the ground isn't becoming an unstable slurry.