7 Rustic Steps to Prepare a Traditional Vegetable Plot
The smell of turned earth in early spring signals the start of an ancient cycle. When learning how to prepare a garden for a rustic vegetable garden, you engage with methods that have fed families for centuries. The ground beneath your boots holds microbial communities numbering in the billions per tablespoon. These organisms will convert raw amendments into plant-available nutrients through processes of decomposition and mineral chelation. Traditional preparation honors this biological complexity rather than bypassing it with synthetic shortcuts.
Materials
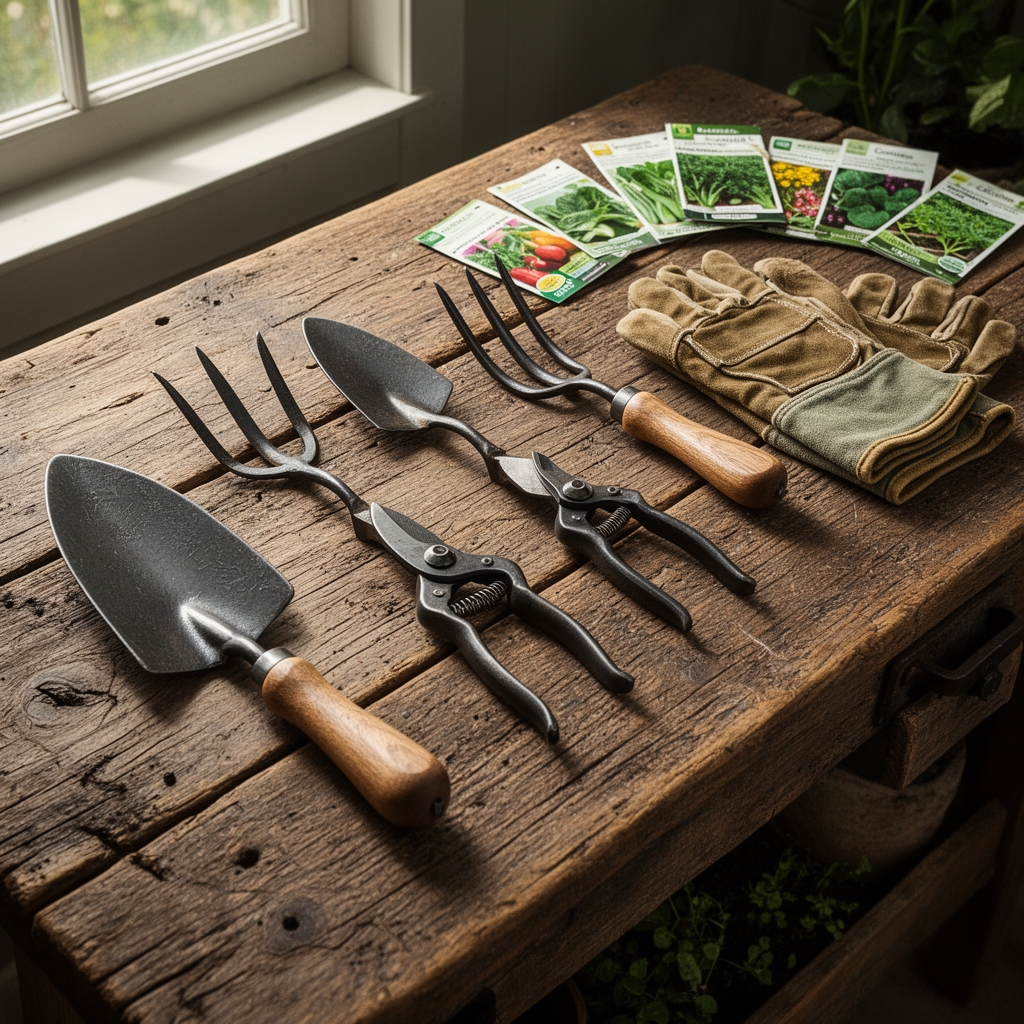
Assemble your amendments based on existing soil chemistry. Test pH first. Most vegetables thrive between 6.2 and 6.8, where nutrient solubility reaches optimal levels. For acidic soils below 6.0, apply dolomitic limestone at 5 pounds per 100 square feet to raise pH by approximately one point. This amendment also supplies calcium and magnesium, critical for cell wall integrity.
Select a balanced organic fertilizer rated 4-4-4 or 5-5-5. These equal-ratio products deliver nitrogen for foliage, phosphorus for root development, and potassium for disease resistance. Composted cattle manure typically grades around 0.5-0.3-0.5 but improves cation exchange capacity dramatically. One cubic yard treats 400 square feet at a 2-inch depth. Well-aged leaf mold provides minimal NPK but boosts soil structure and water retention by 30 to 40 percent.
Add bone meal (3-15-0) at 3 pounds per 100 square feet if transplanting fruiting crops like tomatoes or peppers. The phosphorus accelerates root establishment during the critical first three weeks. Kelp meal (1-0-2) introduces over 60 trace elements plus natural growth hormones that stimulate auxin distribution. Apply at 1 pound per 100 square feet. Mycorrhizal fungi inoculants seed beneficial associations that extend effective root surface area by a factor of ten.
Timing
Preparation schedules align with USDA Hardiness Zones and last-frost dates. In Zones 6 and 7, begin soil work four to six weeks before the average last frost. This timing allows amendments to integrate without waterlogging from heavy spring rains. Zones 8 and 9 can prepare as early as mid-February. Colder Zone 5 gardeners should wait until soil temperatures stabilize above 45°F, typically late April.
Clay soils worked while wet form impenetrable clods. Perform the squeeze test: compress a handful of soil. If it holds a tight ball and resists crumbling, wait another week. Sandy loam should break apart with light pressure, indicating adequate dryness for cultivation. Fall preparation offers an alternative in all zones. Spread amendments in October, allowing freeze-thaw cycles to incorporate materials naturally over winter months.
Phases

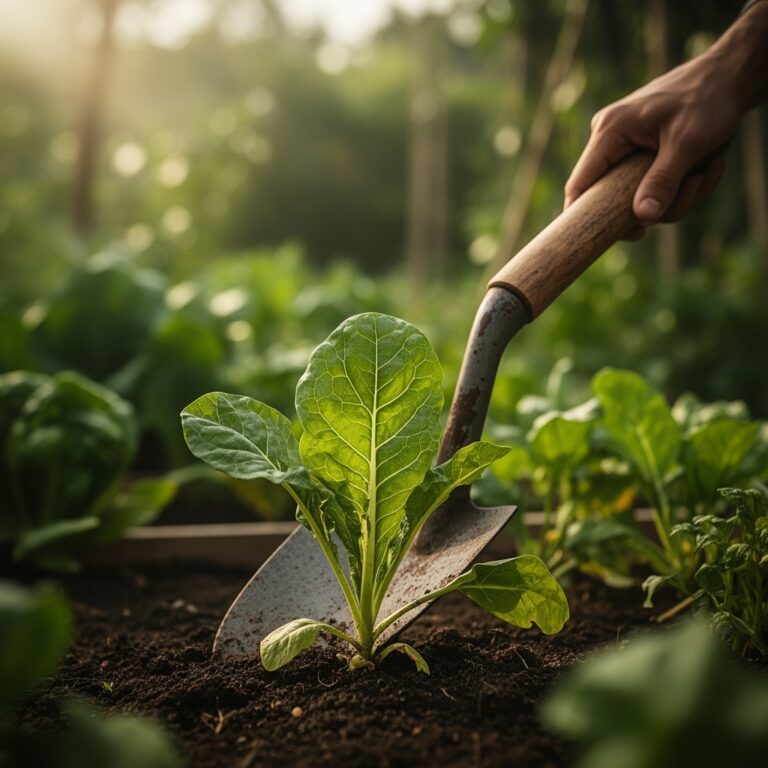
Sowing Phase
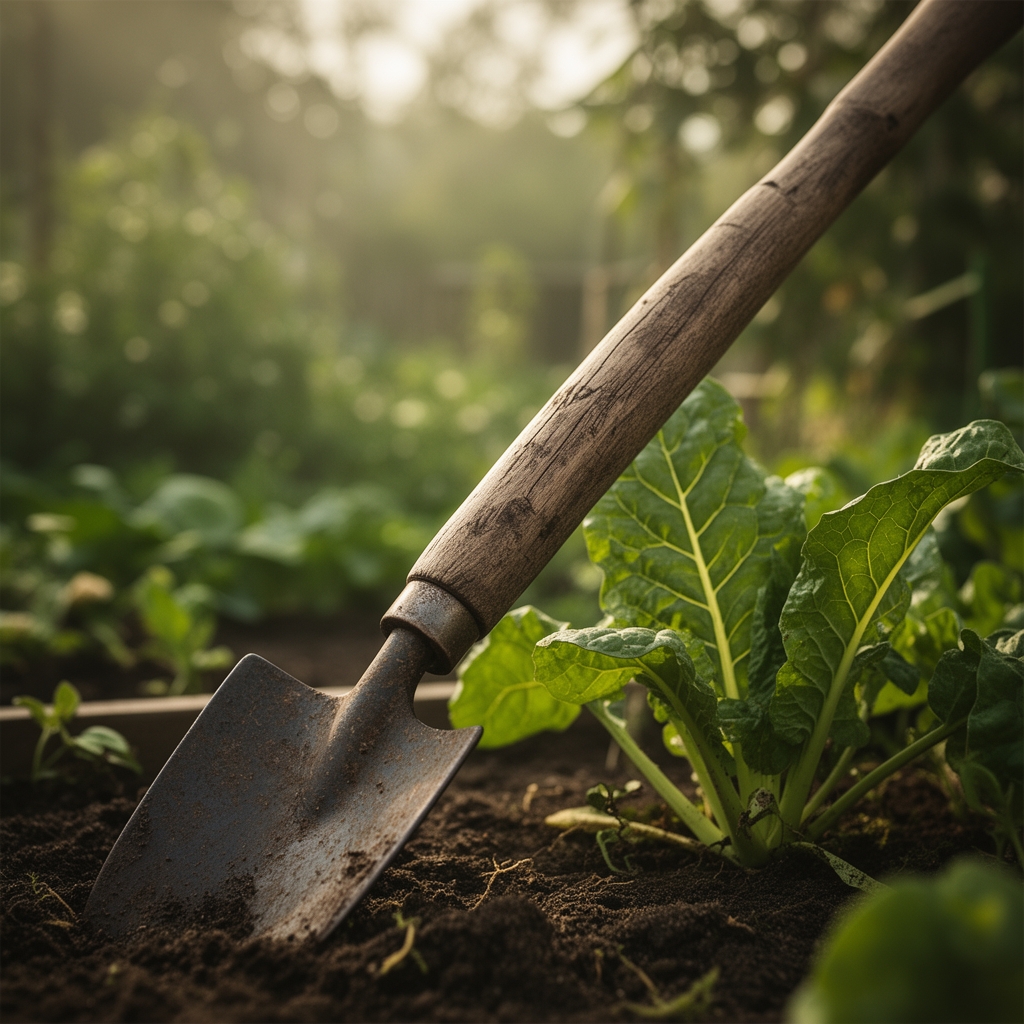
Remove existing vegetation by skimming the top 2 inches with a sharp spade. Perennial weeds like quackgrass require full root extraction. Spread compost and balanced fertilizer evenly across the plot. Turn soil to a depth of 8 to 10 inches using a digging fork, which preserves soil structure better than rototilling. Break clods to pea-sized aggregates. Rake smooth and create shallow furrows spaced according to seed packet specifications.
Pro-Tip: Inoculate legume seeds (peas, beans) with Rhizobium bacteria immediately before planting. This symbiotic organism colonizes root nodules and fixes atmospheric nitrogen at rates of 50 to 150 pounds per acre annually.
Transplanting Phase
Harden off greenhouse-grown seedlings over seven days by gradually increasing outdoor exposure. Dig planting holes twice the root ball diameter. Amend each hole with a handful of compost and one tablespoon of bone meal. Set transplants at the same depth they occupied in containers, except for tomatoes. Bury tomato stems up to the first true leaves. Adventitious roots will form along buried stem tissue, creating a more robust anchor.
Pro-Tip: Water transplants with a dilute kelp solution (1 tablespoon per gallon) to reduce transplant shock. The cytokinins in kelp extract promote rapid cell division in stressed root systems.
Establishing Phase
Mulch around plants with 3 inches of straw or shredded leaves once soil warms to 60°F. Premature mulching in cool spring soil delays warming and stunts growth. The mulch layer suppresses annual weed germination by blocking light. It also moderates soil temperature swings by 10 to 15 degrees and reduces moisture loss by 25 percent.
Pro-Tip: Apply foliar sprays of fish emulsion (5-1-1) every 14 days during establishment. Leaves absorb nutrients 8 to 20 times faster than roots, accelerating vegetative growth during critical early weeks.
Troubleshooting
Symptom: Yellowing lower leaves with green veins. Solution: Iron or manganese deficiency caused by high pH. Apply sulfur at 1 pound per 100 square feet to acidify soil gradually. Foliar spray with chelated iron (1 tablespoon per gallon) provides immediate relief.
Symptom: Purple tinting on leaf undersides and stems. Solution: Phosphorus deficiency, common in cold soils below 55°F. Warm soil with clear plastic mulch for one week. Side-dress with bone meal.
Symptom: Blossom end rot on tomatoes and peppers. Solution: Calcium uptake disruption from inconsistent watering. Maintain even moisture and apply calcium chloride spray (1 tablespoon per gallon) weekly.
Symptom: Curled, distorted new growth. Solution: Aphid infestation. Release ladybugs at 1,500 per 1,000 square feet. Spray horticultural oil at 2% concentration for severe cases.
Symptom: Wilting despite adequate moisture. Solution: Root rot from Pythium or Phytophthora. Improve drainage by adding coarse sand. Drench soil with beneficial Trichoderma fungi.
Maintenance
Water deeply once per week, applying 1 inch total measured with a rain gauge. This schedule encourages roots to penetrate 8 to 12 inches downward. Shallow daily watering creates weak, surface-level root systems. Side-dress heavy feeders (tomatoes, squash, corn) with balanced fertilizer at 2 tablespoons per plant every four weeks. Weed when soil is slightly moist. Dry soil resists tool penetration while saturated soil compacts when walked on. Remove weeds before they reach 2 inches tall and develop competitive root systems.
FAQ
When should I start preparing my vegetable garden?
Begin four to six weeks before your last expected frost date when soil temperature reaches 45°F or higher.
How deep should I till a new vegetable garden?
Turn soil to 8 to 10 inches using a fork. This depth accommodates most vegetable root systems without disrupting beneficial deep-soil organisms.
What is the best organic fertilizer ratio for vegetables?
A balanced 4-4-4 or 5-5-5 formula supports all growth stages. Supplement with phosphorus-rich bone meal for fruiting crops.
How much compost do I need for a vegetable garden?
Apply 2 inches across the entire plot. One cubic yard covers approximately 160 square feet at this depth.
Can I plant immediately after adding amendments?
Wait one week after incorporating fertilizers and two weeks after lime application to prevent root burn from concentrated nutrients.