7 Harvest Steps to Prepare a Productive Kitchen Garden
The scent of warm soil after spring rain signals the season when knowing how to prepare a garden for a kitchen vegetable garden separates enthusiastic beginners from harvesters with crates of produce. A productive plot begins not at seed selection but in the weeks before planting, when microbial populations multiply, organic matter integrates into the soil matrix, and amendments adjust cation exchange capacity. How to prepare a garden for a kitchen vegetable garden requires systematic soil remediation, tactical timing, and attention to the nutritional demands of annual crops.
Materials
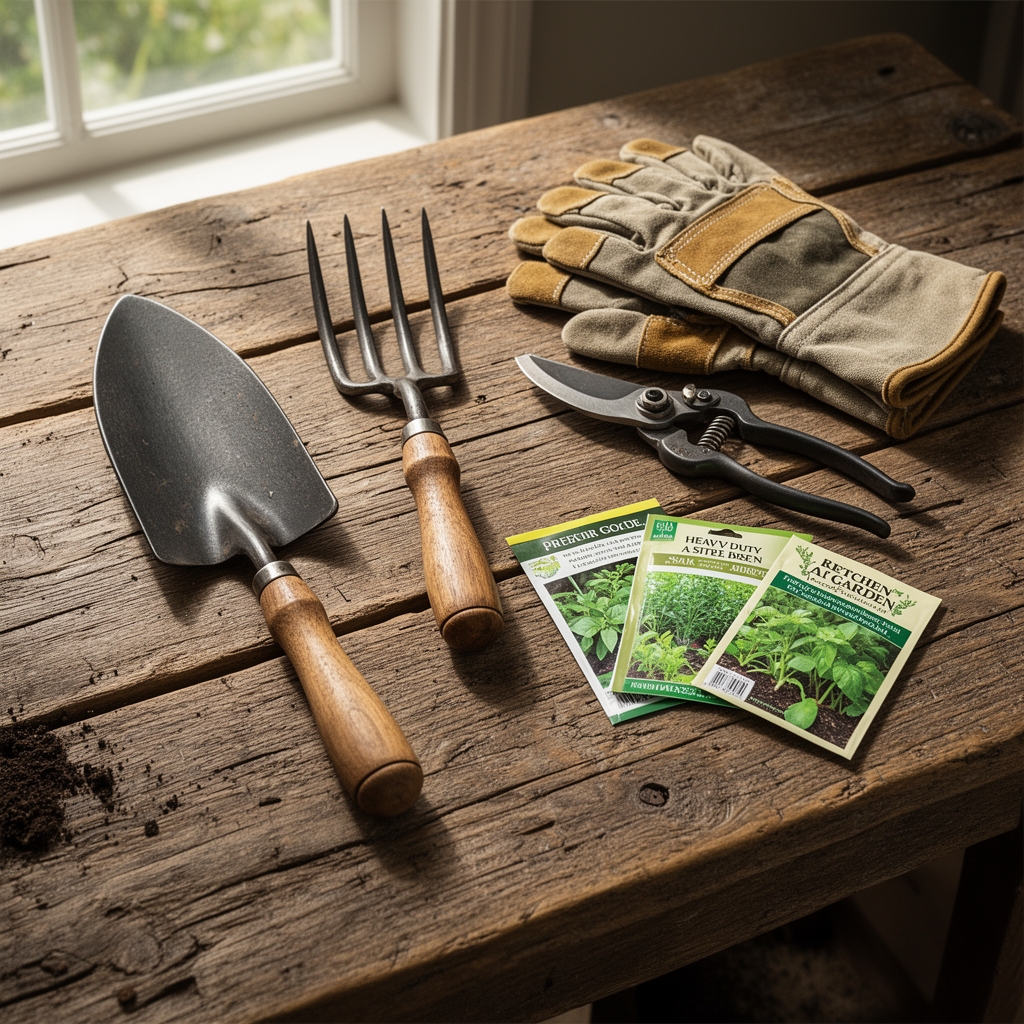
Begin with a soil test kit that measures pH, nitrogen (N), phosphorus (P), and potassium (K). Target a pH range of 6.0 to 6.8 for most vegetable species. For nitrogen-hungry leafy greens, apply a 4-4-4 organic meal at 2 pounds per 100 square feet. Blood meal (12-0-0) accelerates foliar growth in brassicas and lettuce. Bone meal (3-15-0) supports root development in carrots, beets, and alliums. Kelp meal (1-0.5-2.5) supplies trace minerals and growth hormones. Sulfur lowers pH by approximately 0.5 units per pound per 10 square feet. Dolomitic lime raises pH and adds calcium and magnesium. A 2-inch layer of finished compost introduces mycorrhizal fungi and beneficial bacteria. Broadfork or spading fork penetrates compacted layers. Landscape fabric or cardboard smothers perennial weeds. Granular rock phosphate (0-3-0) remains stable in alkaline soils where conventional phosphorus forms lock out.
Timing
Hardiness zones dictate preparation schedules. Zones 3 through 5 begin soil work 4 to 6 weeks before the last frost date, allowing microbial populations to stabilize before transplanting. Zones 6 through 8 start 6 to 8 weeks prior. Zones 9 and 10 prepare beds in late winter for spring crops or in early autumn for cool-season plantings. Soil temperatures must reach 50°F for bacterial activity to resume after winter dormancy. Cold frames and low tunnels extend the effective season by 3 to 4 weeks in either direction. Monitor frost dates through NOAA records rather than anecdotal folklore. Fall preparation allows organic matter to decompose over winter, releasing nutrients as mineralization accelerates in warming soil.
Phases
Sowing Phase
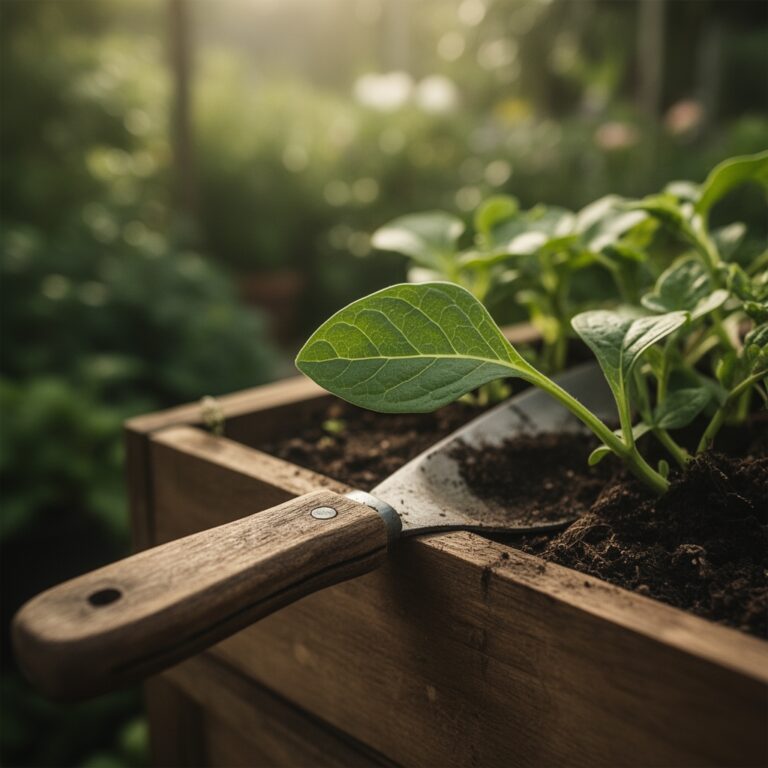
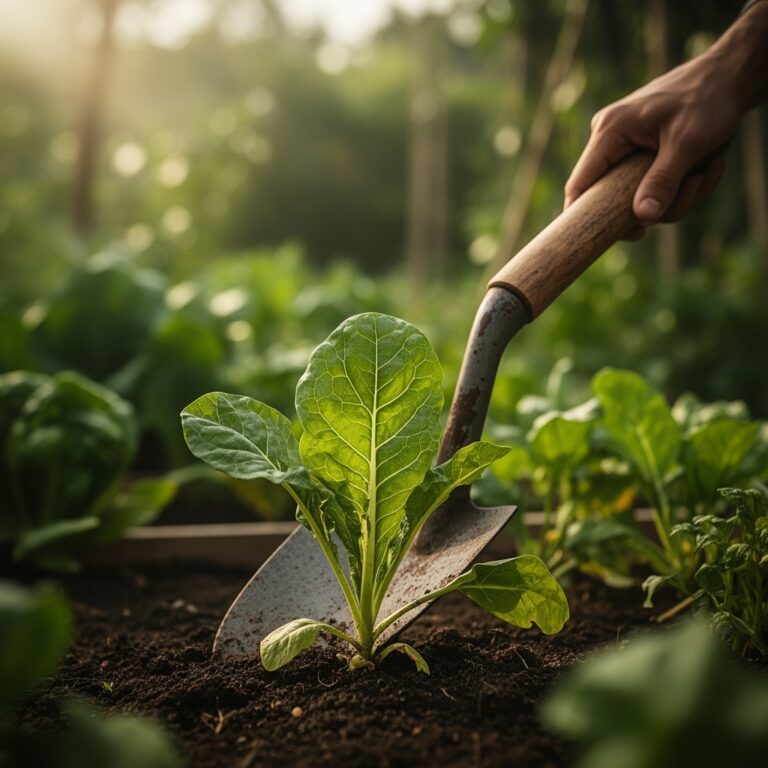
Clear all vegetation from the plot. Remove stones larger than 1 inch. Spread compost in a uniform layer. Broadcast amendments based on soil test results. Work materials into the top 8 inches using a broadfork to preserve soil structure and avoid inverting layers. This maintains stratified microbial communities and preserves fungal networks. Create raised beds 4 feet wide and 8 to 12 inches tall to improve drainage and extend the root zone. Compact pathways to prevent encroachment.
Pro-Tip: Inoculate beds with mycorrhizal fungi spores at 1 teaspoon per 10 square feet to increase phosphorus uptake by 40 to 60 percent in tomatoes, peppers, and squash.
Transplanting Phase
Allow 2 weeks after amendment incorporation before transplanting seedlings. This waiting period prevents ammonia burn from fresh manure or high-nitrogen meals. Harden off indoor seedlings by reducing water and exposing them to outdoor conditions for 7 to 10 days. Dig planting holes twice the width of root balls. Set transplants at the same depth as container soil lines, except for tomatoes, which benefit from deep planting to encourage adventitious root formation along buried stems. Space plants according to mature canopy diameter to maximize airflow and light penetration.
Pro-Tip: Prune tomato transplants at a 45-degree angle 1 inch above the soil line to redirect auxin distribution and promote lateral branching.
Establishing Phase
Water transplants immediately with 1 cup per plant. Apply a 2-inch mulch layer of straw or shredded leaves around each plant, keeping material 2 inches away from stems to prevent fungal collar rot. Install drip irrigation or soaker hoses to deliver water directly to root zones. Monitor for transplant shock symptoms: wilting, yellowing lower leaves, or stunted growth. Foliar spray with kelp extract diluted at 1 tablespoon per gallon supports recovery through cytokinin activity.
Pro-Tip: Install reflective mulch (aluminum foil or reflective plastic) around pepper and eggplant transplants to increase light exposure by 30 percent and deter aphids.
Troubleshooting
Symptom: Yellowing leaves with green veins (interveinal chlorosis).
Solution: Iron deficiency caused by high pH. Apply chelated iron at 1 tablespoon per gallon as a soil drench or foliar spray. Lower soil pH with elemental sulfur.
Symptom: Purple-tinged leaves and stunted growth.
Solution: Phosphorus lockout in cold soil below 50°F. Warm soil with black plastic mulch or wait for ambient temperature increase.
Symptom: Wilting despite adequate soil moisture.
Solution: Root rot from overwatering or poor drainage. Reduce irrigation frequency and improve drainage with perlite or coarse sand incorporation at 20 percent by volume.
Symptom: Small holes in leaves with slime trails.
Solution: Slug feeding. Apply diatomaceous earth around plant bases or set beer traps at soil level.
Symptom: Blossom end rot in tomatoes.
Solution: Calcium deficiency or irregular watering. Maintain consistent soil moisture at 1 inch per week and sidedress with gypsum at 1 pound per 10 square feet.
Maintenance
Deliver 1 inch of water per week through rainfall or irrigation. Insert a rain gauge or empty tuna can to measure accumulation. Sidedress with compost or 5-5-5 fertilizer every 4 weeks at 1 pound per 100 square feet. Prune indeterminate tomatoes to single leaders by removing suckers weekly. Stake plants within 7 days of transplanting to avoid root disturbance. Scout for pests twice weekly. Hand-pick hornworms, aphids, and beetles into soapy water. Rotate crop families annually to disrupt soil-borne pathogen cycles.
FAQ
When should I start preparing my garden bed?
Begin 4 to 6 weeks before your last frost date to allow amendments to integrate and microbial populations to establish.
What is the ideal soil pH for vegetable gardens?
Most vegetables thrive between 6.0 and 6.8. Blueberries and potatoes prefer 4.5 to 5.5.
How deep should I work compost into the soil?
Incorporate compost into the top 8 inches without inverting soil layers to preserve beneficial fungi.
Can I plant immediately after adding amendments?
Wait 2 weeks after adding high-nitrogen materials to prevent ammonia burn on roots.
How often should I fertilize established plants?
Sidedress every 4 weeks with compost or balanced fertilizer at 1 pound per 100 square feet.