7 Aeration Steps to Prepare a Custom Perlite Mix
The smell of damp earth and the high turgor pressure of a healthy leaf are the primary indicators of a thriving rhizosphere. When a plant possesses sufficient internal water pressure, its cells remain rigid; this allows for optimal gas exchange through the stomata. Achieving this state requires a substrate that balances drainage with moisture retention. Learning how to prepare a perlite and vermiculite mix is the foundational skill for any horticulturist aiming to prevent root hypoxia. Perlite provides the necessary macropores for oxygen diffusion, while vermiculite offers the high cation exchange capacity (CEC) required to hold onto essential nutrients. Without this balance, the substrate becomes compacted, leading to anaerobic conditions and eventual root senescence. A professional mix ensures that the root system can access both atmospheric oxygen and dissolved minerals simultaneously. This technical synergy between volcanic glass and micaceous minerals creates a friable medium that supports rapid vegetative growth and robust vascular development.
Materials:
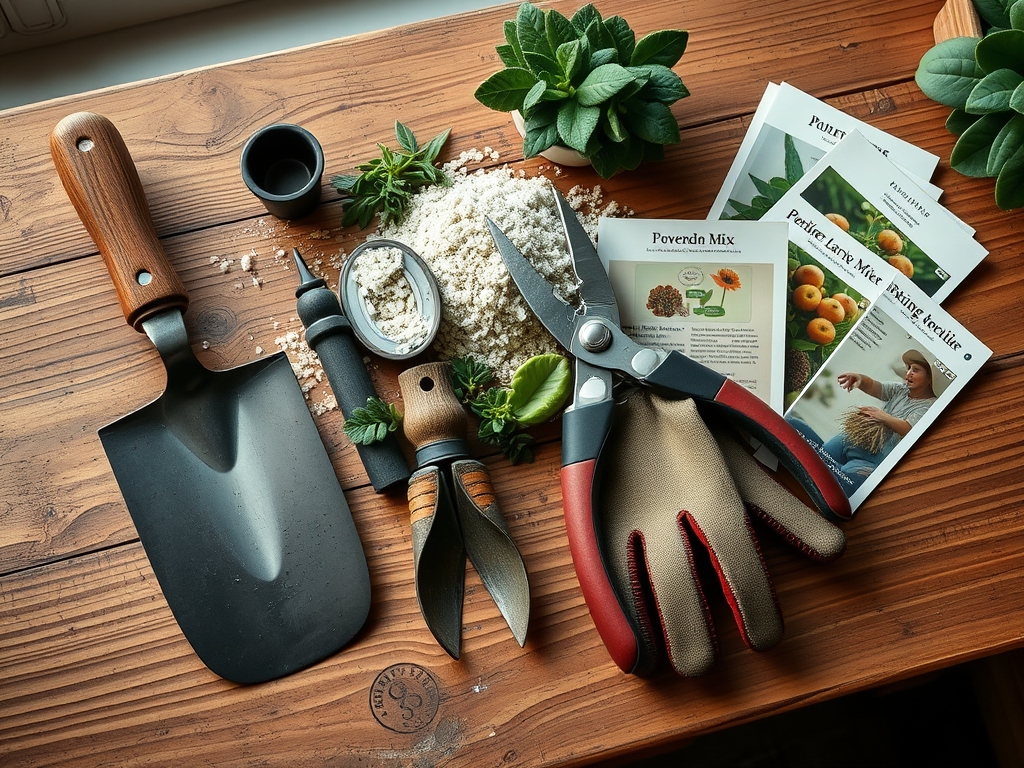
To construct a professional grade substrate, you must select components based on their chemical and physical properties. The ideal substrate is a friable loam with a **pH range of 5.8 to 6.5**. This range ensures that micronutrients like iron and manganese remain bioavailable. You will need coarse-grade perlite (4-8mm) and horticultural-grade vermiculite. For the organic component, use a peat moss or coconut coir base that has been buffered to neutralize acidity.
The initial nutrient charge should be low to prevent osmotic shock to young seedlings. Aim for an NPK ratio of 0.5-0.5-0.5 or use a slow-release synthetic resin-coated fertilizer with a 14-14-14 NPK profile. The physical texture must be granular enough to resist clumping when squeezed. High-quality perlite has a bulk density of approximately 5 to 8 pounds per cubic foot, providing the structural scaffolding for the mix. Vermiculite, conversely, can hold up to three times its weight in water, acting as a reservoir for the nutrient solution.
Timing:
The biological clock of your crop dictates the preparation window. In USDA Hardiness Zones 5 through 7, substrate preparation should begin at least four weeks before the last frost date, typically between late March and mid-April. This allows the microbial life within the mix to stabilize before the transition from the vegetative stage to the reproductive stage.
Photoperiod sensitivity is also a factor; as daylight hours increase toward the vernal equinox, plants experience a surge in auxin production. Preparing your perlite and vermiculite mix during this window ensures that the substrate is ready to receive transplants exactly when their metabolic demand for nitrogen peaks. If you are working in Zones 8 through 10, your window shifts to late January to capitalize on the cooler shoulder season before extreme summer heat increases the rate of evapotranspiration.
Phases:
Sowing
Begin by blending one part perlite, one part vermiculite, and two parts organic matter. Ensure the mix is thoroughly hydrated before the seeds are placed. Use a fine mist to settle the particles without compressing the air pockets.
Pro-Tip: Maintaining a consistent moisture level is vital for imbibition, the physical process where a seed absorbs water to trigger germination. If the vermiculite dries out, the seed coat may harden, trapping the embryo and causing a failure to emerge.
Transplanting
When the first true leaves appear, move the seedlings into a mix with a higher perlite ratio (40% perlite) to encourage lateral root branching. Use a hori-hori knife to create a clean pilot hole, minimizing root disturbance.
Pro-Tip: Minimizing light exposure to the roots during this phase prevents phototropism from disrupting the downward growth of the primary radicle. Roots are negatively phototropic; they grow away from light to seek the stability of the deep rhizosphere.
Establishing
Once the plant is in its final container or bed, the focus shifts to structural support. The substrate must be firm enough to anchor the root ball but porous enough to allow for a 15% leachate fraction during irrigation.
Pro-Tip: Establishing a robust root system early relies on mycorrhizal symbiosis. These beneficial fungi extend the reach of the root hairs, significantly increasing the surface area for phosphorus uptake in exchange for plant sugars.
The Clinic:
Physiological disorders often stem from substrate imbalances rather than pathogens.
- Symptom: Interveinal chlorosis on new growth (yellowing between green veins).
- Solution: This indicates an Iron (Fe) deficiency, often caused by a substrate pH above 7.0. Adjust the mix with elemental sulfur to lower the pH.
- Symptom: Leaf tip burn or marginal necrosis.
- Solution: This suggests high salt accumulation or "EC burn." Flush the substrate with deionized water until the runoff EC matches the input water EC.
- Symptom: Edema (small bumps on the underside of leaves).
- Solution: This is caused by high turgor pressure when the roots absorb water faster than the leaves can transpire it. Increase airflow and reduce the vermiculite ratio to improve drainage.
Fix-It for Nitrogen Chlorosis: If older leaves turn a uniform pale yellow, the plant is scavenging nitrogen from its own tissues. Apply a water-soluble fertilizer with a high N-value (e.g., 20-10-10) at half strength to restore chlorophyll production.
Maintenance:
Precision is the hallmark of professional maintenance. Use a soil moisture meter daily to ensure the substrate stays within the 40% to 60% saturation range. Most established plants require approximately 1.5 inches of water per week delivered at the drip line to ensure deep root penetration.
Use bypass pruners to remove any necrotic tissue or suckers that divert energy from the main canopy. Clean your tools with a 70% isopropyl alcohol solution between plants to prevent the mechanical transfer of viruses. If the substrate settles over time, top-dress with a 50/50 mix of perlite and compost to maintain the integrity of the upper rhizosphere and protect surface roots from UV degradation.
The Yield:
Harvesting is the culmination of precise substrate management. For fruiting crops, harvest when the fruit reaches its "breaker stage" or full color saturation, typically in the early morning when turgor pressure is at its peak. Use a sharp blade to make clean cuts; ragged tears create entry points for opportunistic fungi.
Post-harvest handling is critical for "day-one" freshness. Immediately reduce the field heat by placing the harvest in a shaded, cool environment (approx. 55 degrees Fahrenheit). This slows the rate of senescence and preserves the sugars and volatile oils developed during the growth cycle. For flowers, a clean 45-degree cut to the stem while submerged in water prevents air embolisms from blocking the xylem.
FAQ:
What is the best ratio for a perlite and vermiculite mix?
A standard starting ratio is 1 part perlite, 1 part vermiculite, and 2 parts peat or coir. This provides a balance of 25% aeration, 25% moisture retention, and 50% organic structure for nutrient buffering.
Can I reuse a perlite and vermiculite mix?
Yes, but it must be pasteurized to kill pathogens. Sift out old root mass and recharge the mix with fresh organic matter. Perlite eventually crushes, so add 10% new perlite to restore the original macropore space.
Does perlite affect the pH of my soil?
Perlite is chemically inert with a neutral pH of 7.0. It does not provide nutrients or alter the acidity of the mix. Its primary function is physical aeration and improving the drainage characteristics of the substrate.
Why is my vermiculite turning mushy?
Vermiculite has a plate-like structure that can collapse if over-handled or compressed when wet. To prevent this, avoid over-mixing and never pack the substrate down tightly into the pots. Use coarse grades for better structural longevity.