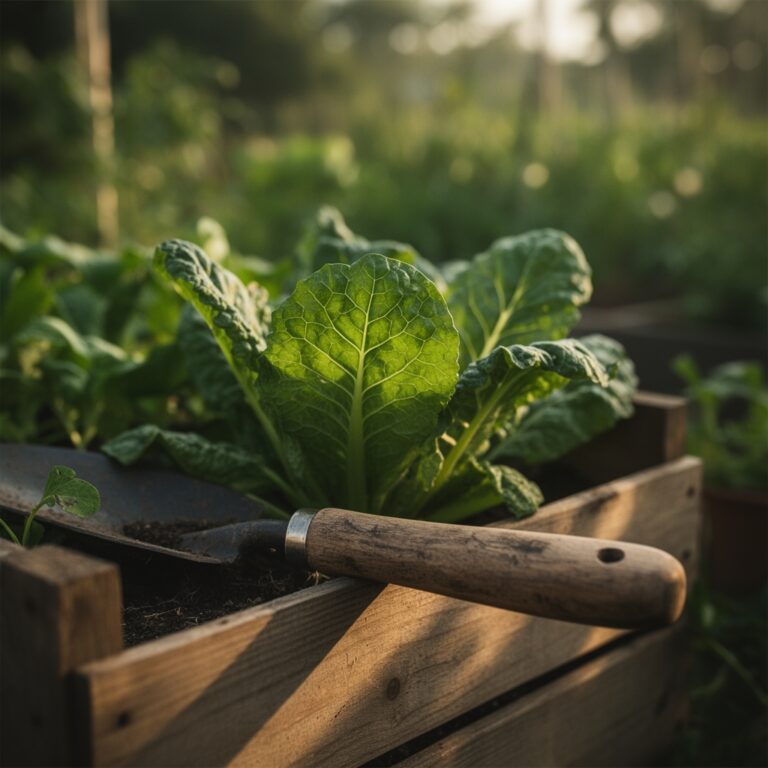
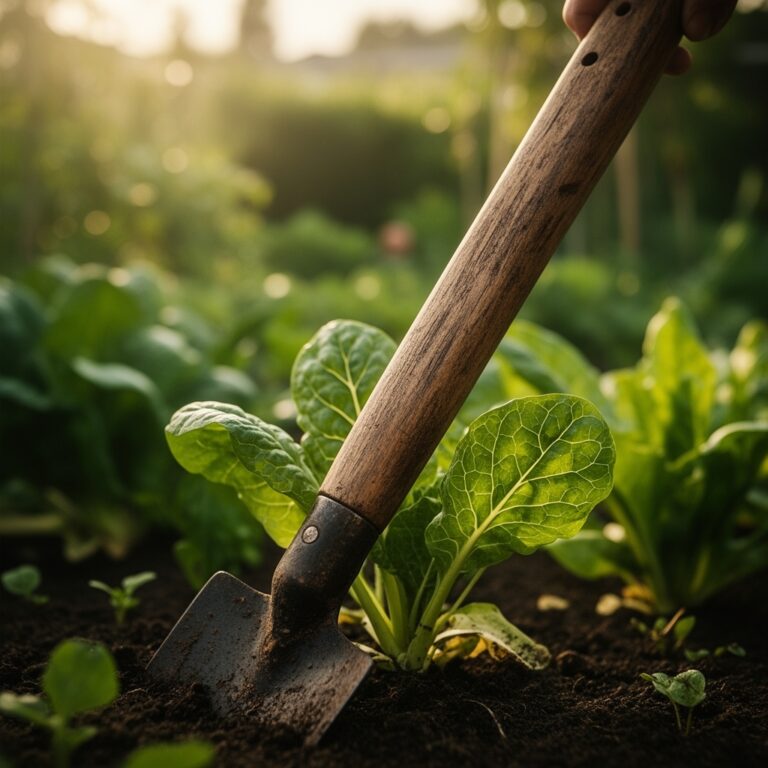
6 Mastery Steps to Use a Garden Trowel for Planting
The blade slides through loam at fifteen degrees, parting soil with minimal compaction. Using a garden trowel for vegetable planting transforms a simple hand tool into a precision instrument for root establishment, nutrient placement, and moisture management. The curved stainless steel blade measures six inches from tip to handle, displacing approximately 0.4 liters of soil per stroke. Proper technique increases transplant survival rates by 30 to 40 percent compared to bare-hand methods.
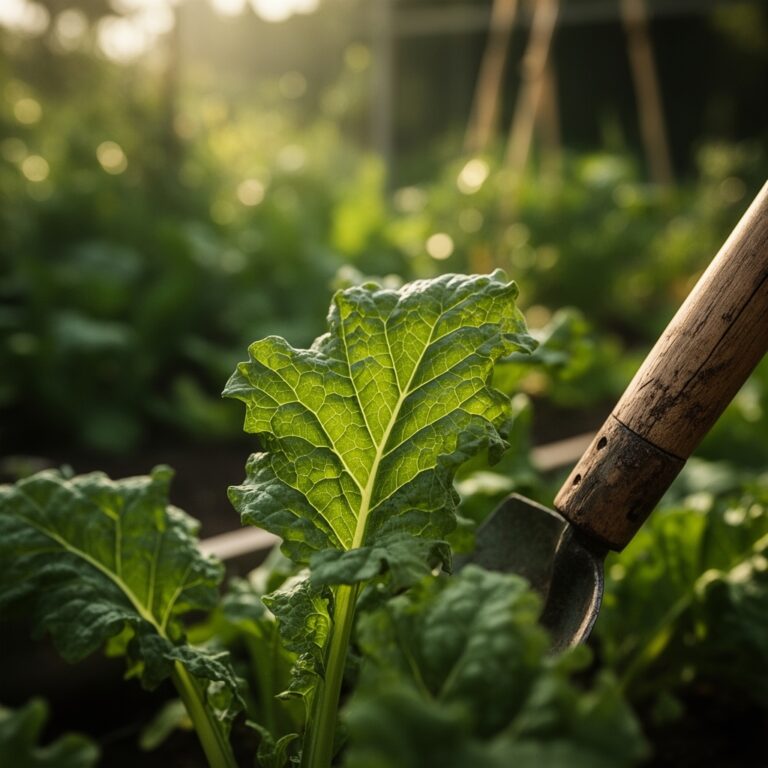
Materials
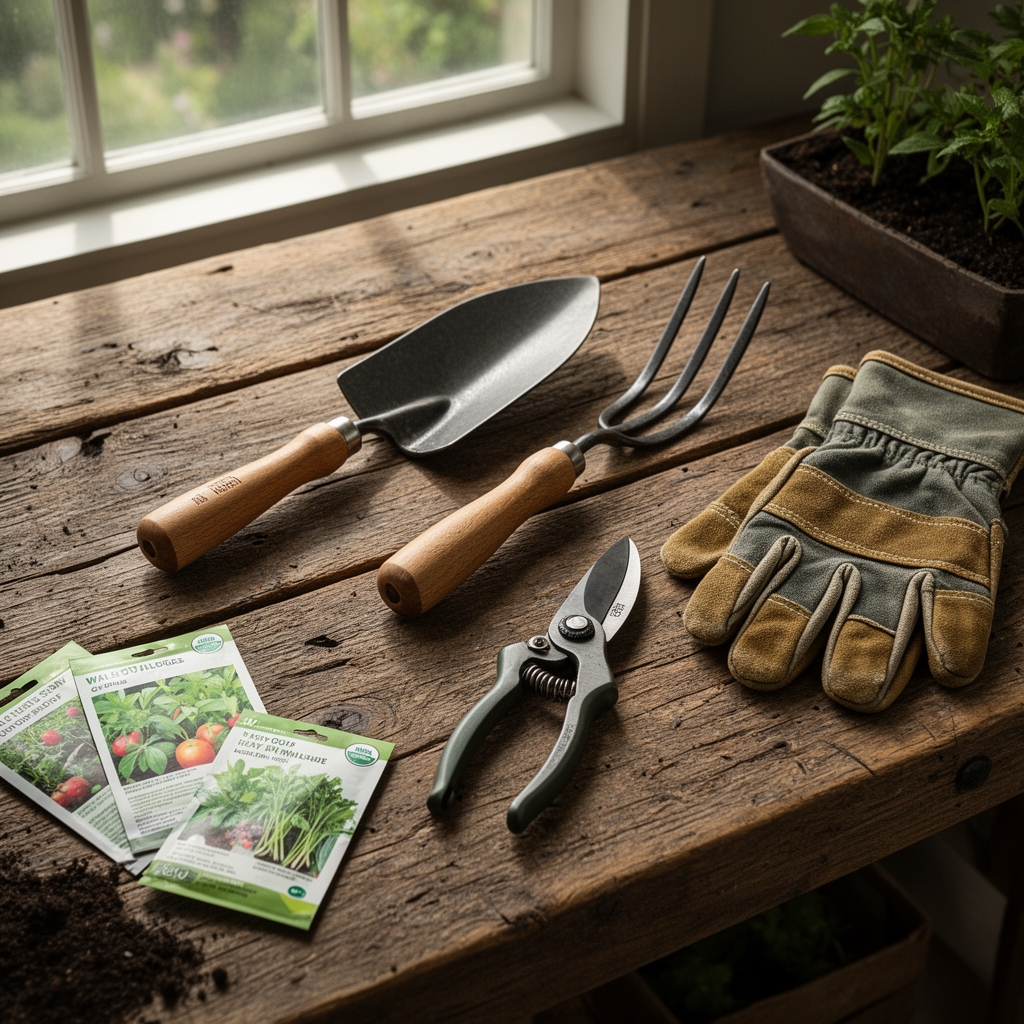
Select a forged steel trowel with a blade width of 2.5 to 3 inches. Wooden or polymer handles reduce hand fatigue during extended sessions. Gather these amendments before digging:
Acidic-Neutral Range (pH 6.0–7.0):
- Compost aged 9–12 months (NPK approximately 1-1-1)
- Blood meal (12-0-0) for leafy greens
- Bone meal (3-15-0) for root crops
Balanced Formulations:
- Organic vegetable blend (4-4-4) containing kelp and alfalfa meal
- Fish emulsion (5-1-1) for rapid nitrogen availability
- Rock phosphate (0-3-0) to support flowering vegetables
Cation Exchange Enhancers:
- Humic acid granules (0.5 cups per 10 square feet)
- Biochar pre-charged with liquid nutrients
- Worm castings (15-20 percent by volume)
Mycorrhizal inoculant powder contacts roots directly when applied to the hole walls.
Timing
Vegetable planting windows align with USDA Hardiness Zones and last frost dates. Cool-season crops tolerate soil temperatures of 40–50°F. Warm-season vegetables require 60–65°F soil measured at 4-inch depth.
Zone 5–6:
- Lettuce, peas, spinach: March 15–April 30
- Tomatoes, peppers: May 10–June 1
- Fall brassicas: August 1–15
Zone 7–8:
- Early spring greens: February 15–March 30
- Heat-lovers: April 15–May 30
- Second succession: July 15–August 30
Zone 9–10:
- Winter vegetable planting: October 1–November 15
- Summer crops: March 1–April 15
Transplant seedlings when roots circle the container perimeter but have not become pot-bound. Root-bound transplants exhibit stunted auxin distribution and delayed establishment.
Phases

Sowing Phase
Insert the trowel blade vertically to the depth specified on seed packets. For carrots and radishes, create furrows 0.25 inches deep. Beet and chard seeds require 0.5-inch depth. Pea and bean seeds sit 1 to 1.5 inches below the surface.
Drag the trowel at a consistent angle to maintain uniform depth across the row. Firm soil contact ensures moisture wicks to the seed coat. Scatter small seeds at 12 to 15 seeds per linear foot. Large legume seeds space 2 inches apart.
Pro-Tip: Coat large seeds with powdered mycorrhizal inoculant before sowing. The fungal spores colonize emerging radicles within 72 hours, extending phosphorus uptake radius by 400 percent.
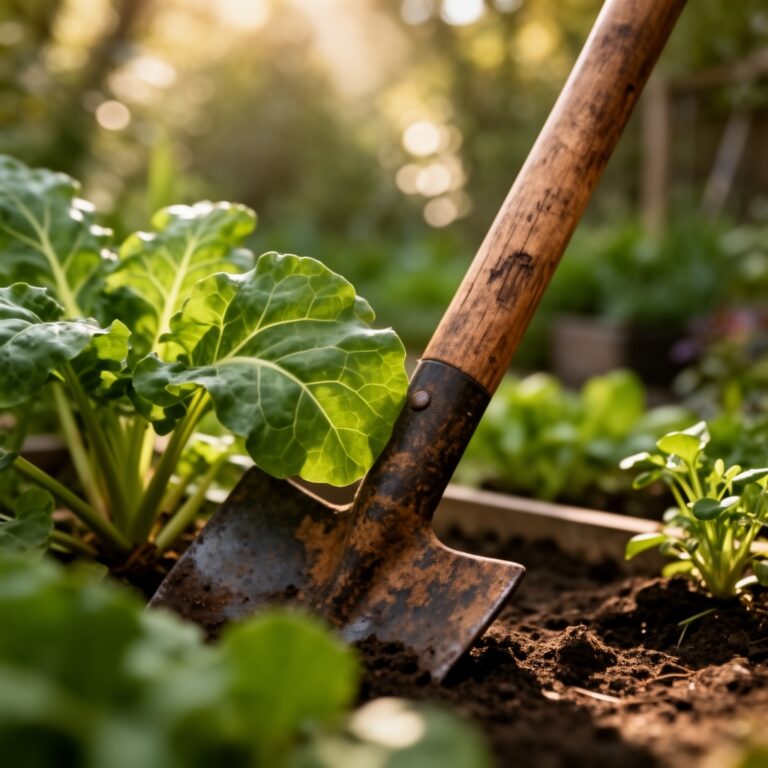
Transplanting Phase
Excavate holes 1.5 times the root ball diameter using circular trowel motions. Loosen sidewalls with vertical jabs to prevent glazing. Glazed holes restrict lateral root penetration and create waterlogged pockets.
Position transplants so the original soil line matches garden grade. Tomatoes are the exception. Bury stems up to the first true leaves to encourage adventitious rooting along the internode. Sprinkle 1 tablespoon of balanced 4-4-4 fertilizer in the hole bottom, then add 1 inch of plain soil as a buffer layer.
Remove the transplant from its container by inverting and squeezing gently. Never pull plants by the stem. Teasing outer roots outward prevents circling patterns that girdle the crown.
Pro-Tip: Dust root balls with soluble kelp powder (0-0-17 with micronutrients) immediately before planting. Cytokinins in kelp reduce transplant shock by 50 percent.
Establishing Phase
Create a shallow moat 3 inches from the stem using the trowel edge. This ring captures irrigation water and directs it to the active root zone rather than allowing runoff. The moat diameter expands as plants mature.
Mulch the soil surface with 2 inches of shredded leaves or straw. Leave a 1-inch gap around stems to prevent collar rot. Organic mulch moderates soil temperature swings and reduces evaporation by 60 percent.
Monitor plants daily for seven days post-transplant. Wilting during midday heat is acceptable if turgidity returns by evening. Prolonged wilting indicates root desiccation.
Pro-Tip: Prune lower leaves at a 45-degree angle using sanitized shears once transplants show new growth. Removing bottom foliage 2 inches above soil improves air circulation and reduces fungal spore splash.
Troubleshooting
Symptom: Transplants lean or tip over within 48 hours.
Solution: Soil was not firmed adequately. Re-excavate, position plant, then press soil with palm applying 10–15 pounds of force. Water immediately to eliminate air pockets.
Symptom: Yellowing lower leaves with green veins (interveinal chlorosis).
Solution: Iron deficiency caused by high pH (above 7.5). Amend with sulfur at 1 pound per 100 square feet to lower pH by 0.5 units over 60 days. Apply chelated iron as foliar spray (0.1 percent solution).
Symptom: Stunted growth, purple leaf undersides.
Solution: Phosphorus immobilization in cold soil (below 55°F). Apply liquid fish emulsion (5-1-1) diluted 1:20 every 10 days until soil warms. Phosphorus uptake requires soil temperatures above 60°F.
Symptom: Irregular holes in leaves with slime trails.
Solution: Slug feeding. Remove mulch 3 inches from stems. Apply diatomaceous earth in a 6-inch band around plants. Replace after rain.
Symptom: Sudden wilting with no moisture stress, brown vascular tissue in stems.
Solution: Fusarium or Verticillium wilt. Remove infected plants and 6 inches of surrounding soil. Do not compost. Rotate to non-susceptible crops for 4 years. Solarize soil by covering with clear plastic for 6 weeks in summer.
Maintenance
Water transplants with 0.5 gallons per plant immediately after planting. Provide 1 inch of water per week through drip irrigation or soaker hoses applied in the early morning. Deep watering every 3 days outperforms daily shallow watering by encouraging roots to 12-inch depth.
Side-dress with granular 4-4-4 fertilizer at 2 tablespoons per plant when flowering begins. Scratch into soil 4 inches from stems using the trowel edge. Repeat every 21 days during peak production.
Cultivate soil 1 inch deep around plants weekly using the trowel point. Shallow cultivation severs emerging weed seedlings without damaging vegetable roots. Most vegetable feeder roots occupy the top 6 inches.
Clean trowel blades after each use with a wire brush. Oil carbon steel blades with mineral oil to prevent rust. Stainless steel requires only soap and water. Sharpen cutting edges with a mill file at 20-degree angle every 40 hours of use.
FAQ
How deep should I plant tomato seedlings with a trowel?
Dig holes 8–10 inches deep. Strip lower leaves and bury two-thirds of the stem. Auxins in buried stems generate adventitious roots that double the root system within 14 days.
Can I use the same trowel for diseased plants?
No. Disease pathogens survive on tools for 30 days. Sanitize with 10 percent bleach solution (9 parts water, 1 part bleach) for 2 minutes between plants showing symptoms.
What trowel angle prevents root damage during transplanting?
Insert at 15–20 degrees from vertical. Steeper angles sever lateral roots. Shallower angles create compacted layers that impede drainage.
Should I add fertilizer directly to planting holes?
Yes, but buffer with 1 inch of plain soil. Direct root contact with concentrated nutrients causes tip burn and osmotic stress, delaying establishment by 7–10 days.
How do I know if soil is too wet for trowel work?
Squeeze a handful into a ball. If it holds shape without crumbling when poked, clay particles are saturated. Working wet soil destroys aggregate structure and reduces pore space by 40 percent. Wait 24–48 hours after heavy rain.