6 Handling Steps to Repot a Prayer Plant Safely
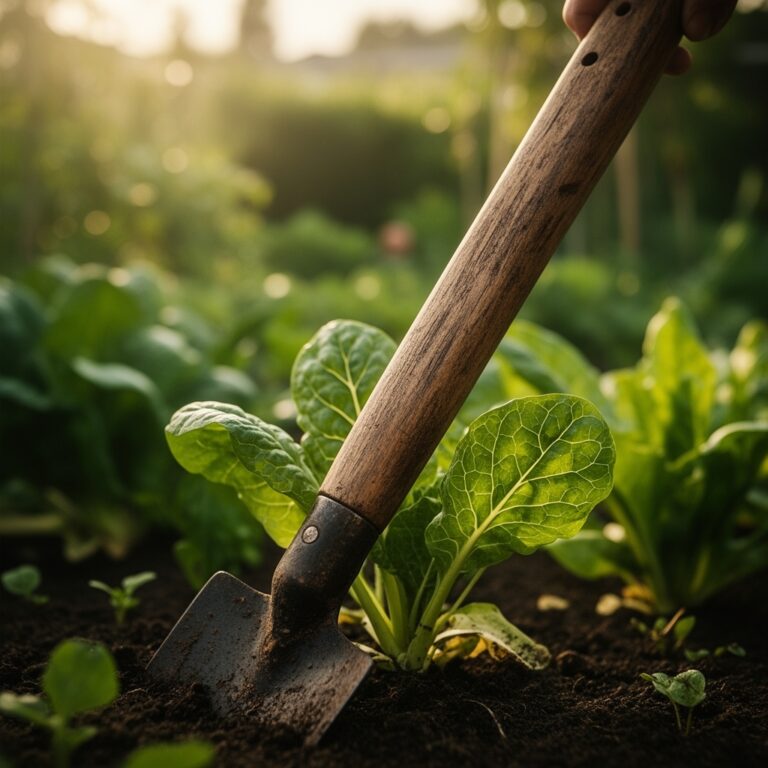
The smell of damp peat moss and the gritty texture of perlite under fingernails signal the start of a necessary physiological reset for Maranta leuconeura. When the turgor pressure in the velvety leaves begins to fluctuate or roots emerge from drainage ports, the plant has likely reached its maximum capacity within its current container. Executing the correct steps for repotting a prayer plant ensures the specimen maintains its circadian rhythm of nyctinasty without suffering from transplant shock or root desiccation.
A prayer plant requires a delicate balance of moisture retention and oxygen availability within the rhizosphere. If the soil becomes compacted, the Cation Exchange Capacity (CEC) drops, preventing the roots from accessing vital micronutrients. The goal is to move the plant into a vessel that is only one to two inches wider than the previous one. This prevents the "perched water table" effect, where excess soil remains saturated and leads to anaerobic conditions. Proper timing and substrate selection are the primary variables that dictate success in this horticultural maneuver.
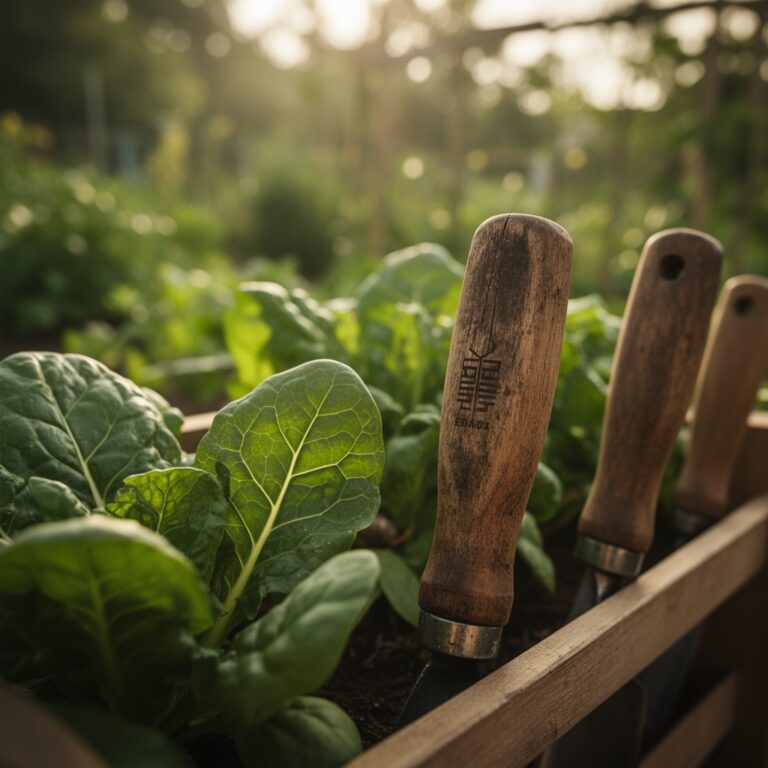
Materials:

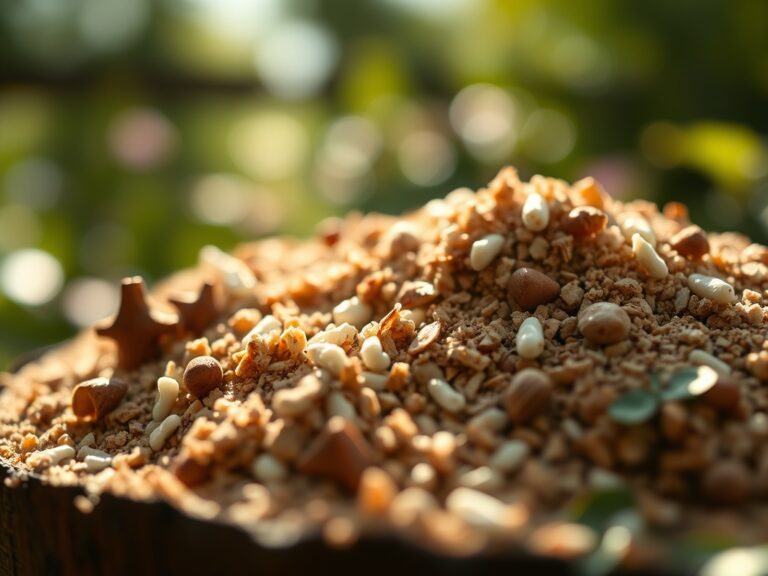
The substrate must be a friable loam with a high organic matter content to support the plant's metabolic demands. Aim for a soil pH between 5.5 and 6.0. Maranta species are sensitive to fluoride and chlorine, so the medium should be free of heavy chemical additives.
The ideal NPK ratio for the initial transplant phase is a low-dose 5-10-5. High phosphorus levels encourage root elongation and cellular repair after the stress of moving. The physical texture should consist of two parts peat moss or coco coir, one part perlite, and one part coarse builder's sand. This mixture ensures a high porosity rate, allowing for gas exchange at the root level. Avoid using garden soil, which has a high bulk density and can harbor pathogens that thrive in the humid conditions required by this genus.
Timing:
In USDA Hardiness Zones 11 and 12, Maranta can grow outdoors year-round, but for most indoor enthusiasts, the biological clock is governed by the photoperiod. The optimal window for repotting is early spring, specifically between late March and early May. This coincides with the transition from the dormant phase to the vegetative growth stage.
During this period, the plant increases its production of auxins, the hormones responsible for root and shoot development. Attempting to repot during the late autumn or winter months, when the plant is in a state of semi-senescence, increases the risk of root rot because the metabolic rate is too low to process the moisture in a new, larger volume of soil. Ensure the ambient temperature is consistently between 65 and 80 degrees Fahrenheit before initiating the process.
Phases:

Sowing and Preparation
Before removing the plant, hydrate it thoroughly 24 hours in advance. This increases the turgor pressure within the cells, making the stems less brittle and easier to handle. Prepare the new container by ensuring it has at least two drainage holes. Place a thin layer of the prepared substrate at the bottom, tamping it down lightly to remove large air pockets.
Pro-Tip: Maintaining high turgor pressure through pre-watering prevents "mechanical bruising" of the vascular tissue. When cells are fully hydrated, they act as a structural hydraulic system, protecting the plant from the physical stress of being handled.
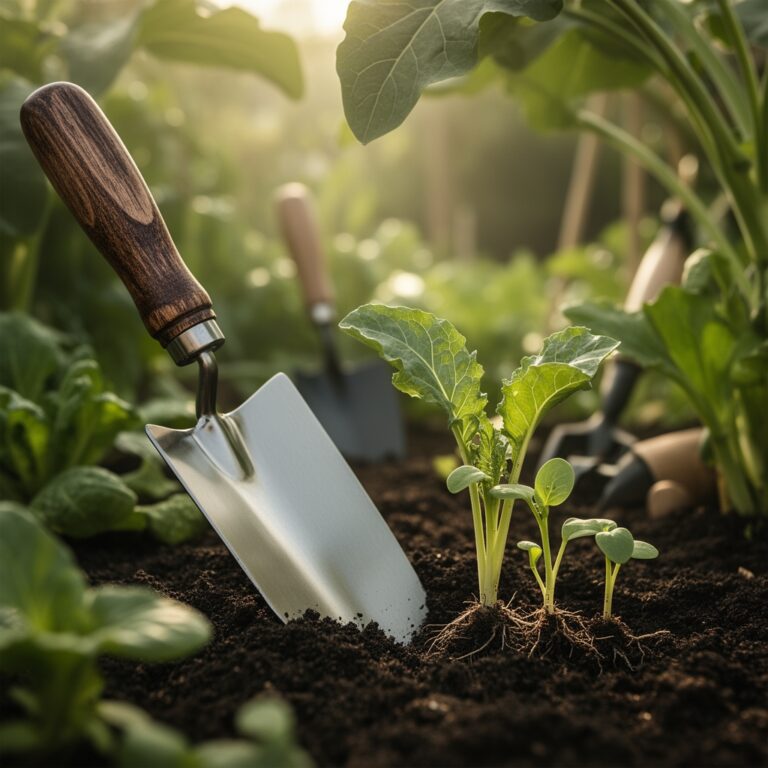
Transplanting
Gently invert the pot while supporting the base of the plant with your palm. If the plant is stuck, use a hori-hori knife to slide along the inner circumference of the pot to break the suction. Once removed, inspect the root ball. Use sterilized bypass pruners to clip any roots that appear black or mushy. Gently tease the outer roots to break the "circling" pattern common in pot-bound specimens. Place the plant in the new container, ensuring the top of the root ball sits one inch below the rim.
Pro-Tip: Teasing the roots triggers a "wound response" that stimulates the production of lateral roots. This process, driven by the redistribution of auxins, encourages the plant to explore the new substrate more aggressively than if the root ball remained compacted.
Establishing
Fill the remaining space with the substrate, pressing down firmly but not aggressively. Immediately water the plant until liquid flows freely from the drainage holes. This "settling water" is critical for eliminating air pockets that can cause root desiccation. Place the plant in a location with filtered light, avoiding direct solar radiation for at least seven to ten days.
Pro-Tip: This period of reduced light intensity prevents excessive transpiration. Because the root hairs (the primary site of water uptake) are often damaged during transplanting, the plant cannot efficiently replace water lost through the leaves. Reducing the light load allows the plant to focus energy on mycorrhizal symbiosis and root re-establishment.
The Clinic:
Symptom: Yellowing Lower Leaves (Nitrogen Chlorosis)
Solution: This indicates a lack of mobile nutrients. If the soil is old, the Nitrogen has likely been leached out.
Fix-It: Apply a water-soluble fertilizer with a 10-10-10 ratio diluted to half strength. Ensure the soil pH is not above 7.0, as high alkalinity locks out Nitrogen.
Symptom: Brown, Crispy Leaf Margins
Solution: This is typically caused by low humidity or high salt accumulation from tap water.
Fix-It: Flush the soil with distilled water to remove mineral salts and increase local humidity to above 50 percent.
Symptom: Drooping Leaves Despite Wet Soil
Solution: This is a classic sign of root rot (Pythium). The roots have lost their ability to transport water due to fungal decay.
Fix-It: Remove the plant from the pot, prune away necrotic root tissue, and repot in a fresh, sterile medium with increased perlite for better aeration.
Maintenance:
Post-repotting care requires precision. Use a soil moisture meter to ensure the substrate remains at a "moist but not saturated" level. Typically, this translates to 1.5 inches of water per week, delivered evenly across the soil surface rather than at a single point.
Avoid fertilizing for the first four to six weeks after repotting to prevent burning the new, sensitive root tips. Clean the leaves bi-weekly with a damp cloth to remove dust, which can block stomata and reduce photosynthetic efficiency. If the plant becomes leggy, use bypass pruners to make a clean cut just above a node; this encourages bushier growth through the suppression of apical dominance.
The Yield:
While Maranta is not an edible crop, its "yield" is measured in leaf count and color intensity. To maximize the aesthetic output, maintain a consistent temperature range. If you intend to propagate, wait until the plant has established a robust root system in its new pot, usually three months post-repotting. Take cuttings with at least two nodes and place them in distilled water. Once the secondary roots reach one inch in length, they can be transitioned to the same friable loam mixture used for the parent plant.
FAQ:
How do I know when to repot?
Observe the drainage holes. If roots are protruding or if water runs straight through without being absorbed, the plant is root-bound. Usually, this occurs every two years for a healthy Maranta.
What is the best soil for a prayer plant?
A well-draining, peat-based mix with a pH of 5.5 to 6.0. Combine two parts peat, one part perlite, and one part sand to ensure proper aeration and moisture retention for the rhizosphere.
Can I use tap water after repotting?
Maranta are sensitive to fluoride and chlorine. Use distilled, rain, or filtered water. If using tap water, let it sit for 24 hours to allow the chlorine to dissipate before application.
Why are the leaves not "praying" after transplanting?
This is a sign of transplant shock. The plant is prioritizing root repair over nyctinasty. Maintain high humidity and consistent warmth; the leaves should resume their nightly movement within two weeks.