6 Cooling Steps to Prepare a DIY Fan-Integrated Cabinet
Turgor pressure dictates the structural integrity of a botanical collection; a leaf lacking water tension wilts, signaling a failure in the vascular system. In the enclosed environment of a glass enclosure, heat buildup from high-intensity LEDs often leads to stomatal closure and metabolic arrest. Learning how to prepare a plant cabinet with fans is the only way to facilitate gas exchange and regulate the boundary layer of air surrounding the foliage. Stagnant air encourages fungal pathogens and prevents the transpiration necessary for nutrient uptake. By integrating active ventilation, you simulate the natural wind currents that strengthen cell walls and prevent localized humidity spikes. This process requires a precise understanding of fluid dynamics and thermal regulation within a confined cubic volume. Without mechanical airflow, the internal temperature can easily exceed 85 degrees Fahrenheit, causing rapid transpiration that the root system cannot sustain. Success depends on the systematic installation of intake and exhaust systems to maintain a constant state of atmospheric equilibrium.
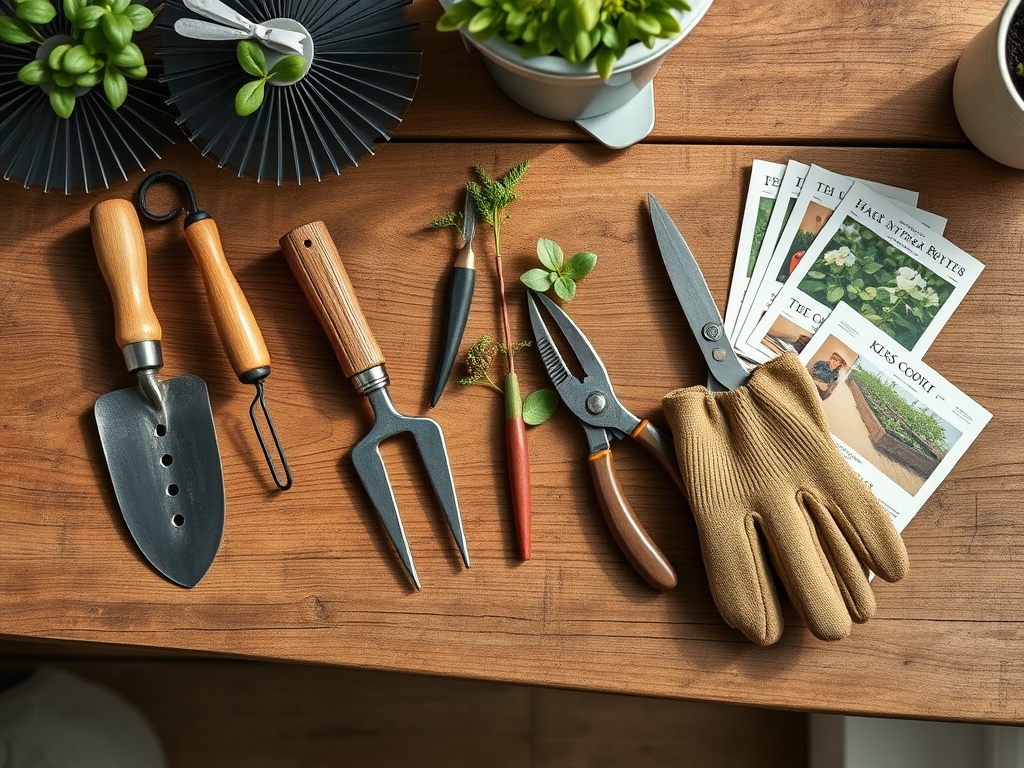
Materials:
Substrate selection is the foundation of the cabinet ecosystem. For high-humidity environments, use a friable loam composed of 40 percent coco coir, 30 percent perlite, and 30 percent orchid bark to ensure high porosity. The target soil pH must remain between 5.8 and 6.5 to maximize nutrient bioavailability. Incorporate a slow-release fertilizer with an NPK ratio of 10-10-10 for general foliage or a 5-10-10 ratio for flowering species to prevent excessive vegetative stretching. The Cation Exchange Capacity (CEC) of this mix should be high, allowing the medium to hold onto essential ions like calcium and magnesium. Physical texture must be gritty; if the medium compacts, oxygen cannot reach the rhizosphere, leading to anaerobic conditions and root rot. Ensure all containers have adequate drainage to prevent the accumulation of mineral salts, which can spike the Electrical Conductivity (EC) levels beyond the 2.0 mS/cm threshold.
Timing:
While indoor cabinets operate independently of external Hardiness Zones, the biological clock of the plants remains tethered to seasonal photoperiods. Most tropical species thrive in conditions mimicking Zones 10 through 12, where temperatures never drop below 60 degrees Fahrenheit. The transition from the vegetative stage to the reproductive stage is triggered by adjusting the light duration; 16 hours of light promotes growth, while 12 hours can induce flowering in short-day plants. Observe the "Biological Clock" by monitoring the nodes for signs of senescence or new bud development. In a fan-integrated cabinet, timing also refers to the duty cycle of the ventilation. Fans should run 24 hours a day at low speeds to prevent the dew point from being reached during the dark cycle, which is when the risk of Botrytis cinerea is highest.
Phases:
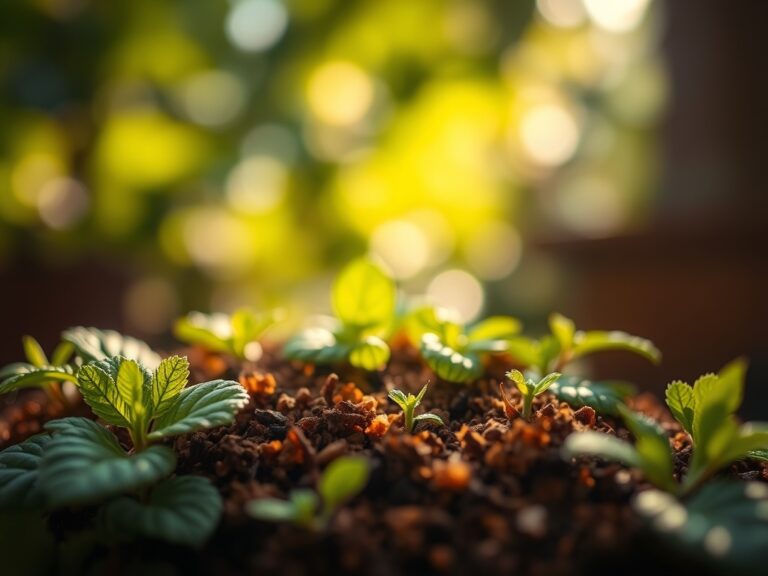
Sowing and Propagation
Start seeds or cuttings in a sterile medium with a temperature maintained at 75 degrees Fahrenheit. Use a heating mat if the cabinet floor is cold. Ensure the fans are not blowing directly on the delicate tissue to avoid desiccation.
Pro-Tip: Maintaining high humidity during this phase prevents the loss of turgor. The Biological Why is rooted in the lack of a developed root system; the plant must absorb moisture through its cuticle until the xylem can transport water from the base.
Transplanting and Positioning
Move established starts into the cabinet once they possess at least two sets of true leaves. Position the largest plants near the exhaust fans to allow for maximum airflow through their denser canopies. Smaller plants should be placed near the intake vents where the air is freshest.
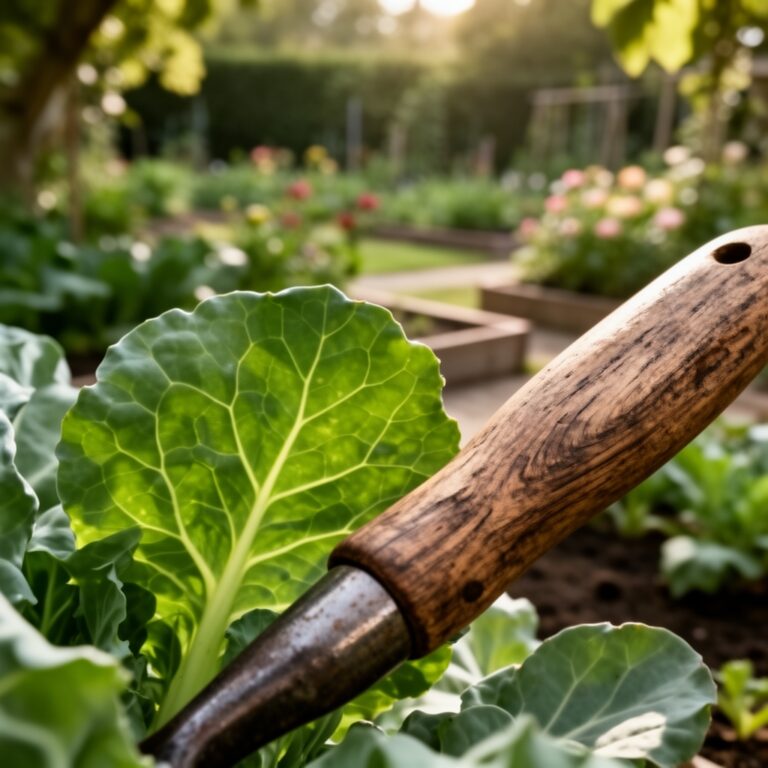
Pro-Tip: Use a hori-hori knife to loosen the root ball. The Biological Why involves preventing root circling; by disrupting the outer roots, you encourage the development of lateral roots which increases the surface area for mycorrhizal symbiosis.
Establishing the Microclimate
Once the plants are positioned, calibrate the fan speeds. The goal is a gentle rustle of the leaves, known as "mechanical stress." This stress triggers the production of lignin, making the stems thicker and more resilient.
Pro-Tip: Monitor the leaf angle. The Biological Why is phototropism; if plants lean aggressively toward the light, increase the light intensity or adjust the fan to ensure the CO2 levels are not depleted in the corners of the cabinet.
The Clinic:
Physiological disorders in a cabinet often stem from an imbalance between light, water, and airflow.
- Symptom: Edema (small bumps on the underside of leaves).
Solution: Increase airflow and reduce humidity. This occurs when the plant absorbs more water than it can transpire.
2. Symptom: Tip Burn on new growth.
Solution: Check for Calcium deficiency or excessive wind burn from a fan pointed directly at the meristem.
3. Symptom: Interveinal Chlorosis (yellowing between green veins).
Solution: This is a classic Nitrogen or Magnesium deficiency. Adjust the pH to 6.2 to ensure these cations are mobile.
4. Symptom: Powdery Mildew (white flour-like spots).
Solution: Immediately increase the fan speed to lower the relative humidity below 70 percent and improve air circulation.
Fix-It: For Nitrogen chlorosis, apply a water-soluble 20-0-0 fertilizer at half strength. The results should be visible in the new growth within 7 to 10 days as the plant reallocates mobile nutrients.
Maintenance:
Precision is mandatory for long-term cabinet health. Provide 1.5 inches of water per week distributed evenly across the substrate. Use a soil moisture meter to verify that the root zone is not waterlogged before adding more. Pruning is essential in a confined space; use bypass pruners to remove any yellowing or dead tissue, which can become a vector for pathogens. Clean the glass surfaces and fan blades monthly to ensure maximum light penetration and airflow efficiency. Check the seals of the cabinet to ensure the internal environment remains controlled. If using a carbon filter for odor or dust, replace the pre-filter every six months to prevent the fan motor from overheating due to static pressure.
The Yield:
For those growing herbs or edible greens, harvest when the plant has reached 75 percent of its mature size but before it enters the flowering stage. Use sharp snips to take no more than 30 percent of the foliage at one time. To maintain "day-one" freshness, submerge the cut ends in 40-degree Fahrenheit water immediately. This rapid cooling halts the metabolic processes of senescence and preserves the volatile oils responsible for flavor and aroma. For flowering plants, harvest when 50 percent of the trichomes have turned from clear to milky white.
FAQ:
How many fans do I need for a standard cabinet?
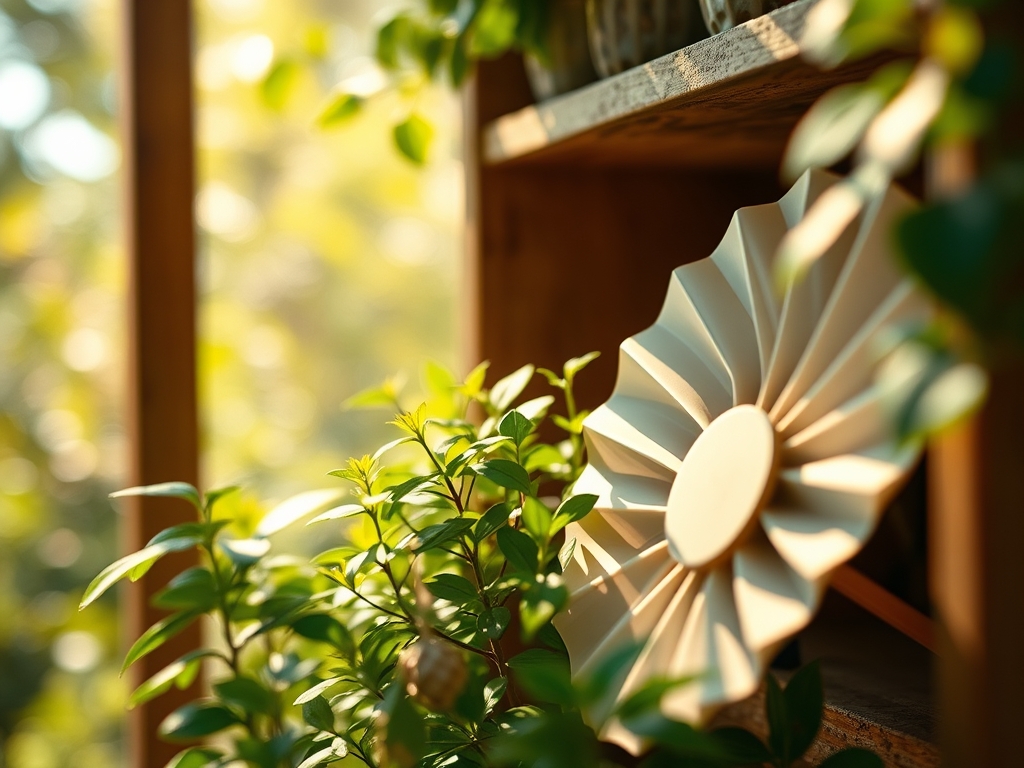
Install at least two fans. One should be placed at the bottom for intake and one at the top for exhaust. This creates a vertical chimney effect, pulling cool air up through the canopy and removing heat.
What fan speed is best for tropical plants?
Set fans to a medium-low speed. You want enough movement to see the leaves jitter slightly. Excessive speed causes wind burn and dries out the substrate too quickly, leading to chronic underwatering symptoms.
Can I use computer fans for my plant cabinet?
Yes, 120mm DC computer fans are ideal. They are quiet, energy-efficient, and easy to mount. Use a variable speed controller to adjust the airflow based on the seasonal temperature changes within your home.
Why are my plants wilting even though the soil is wet?
This is likely root rot caused by a lack of oxygen in the rhizosphere. High humidity and poor airflow prevent the soil from drying. Increase fan speed and ensure your substrate has high porosity.